-
How To Make Lighting (Load) Come on At Night
Published: Wednesday, October 9th 2024 01:44:57 PM - EDT
Updated: Tuesday, January 7th 2025 11:41:37 AM - EST
Written by: jbick
Category: SOLAR
Detailing how to make a load for solar, AC, or DC applications come on at night. I ran into the need for this upon using a waterproof solar charge controller. It's water proof but it's simple.
Buy Featured Items Come on At Night")
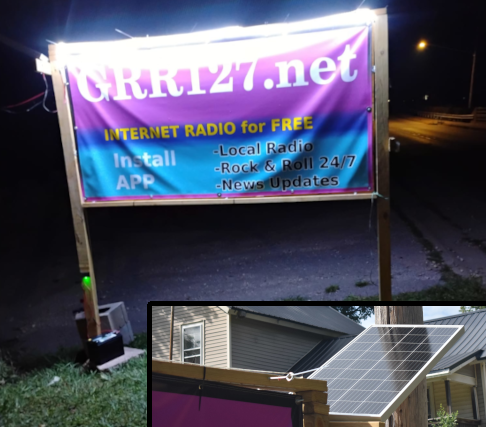
I built my road sign over the summer and needed to light it up at night. After already having been experienced in solar panels I decided to go the solar route instead of digging a trench out to the sign, for my lighting power source. This would mean I needed a real basic out door solar charge controller to maintain the 12V DC battery.
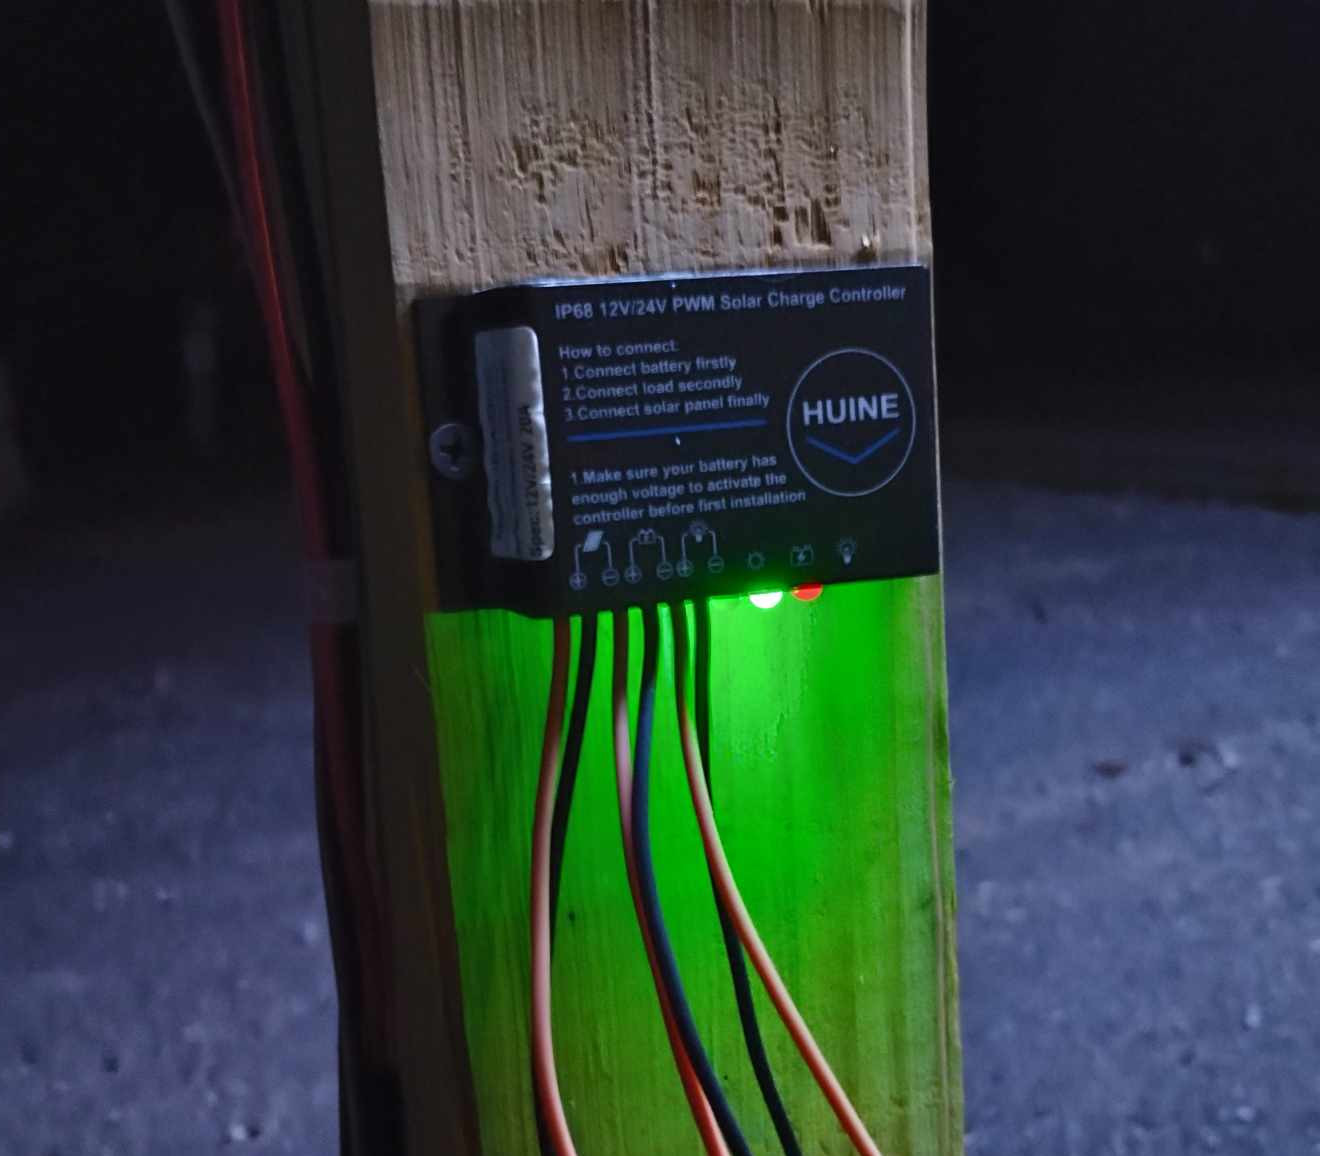
I found the HUINE outdoor solar charge controller and it serves my needs great other than the load is "always on" if the battery level is above 11.57 volts. If the battery level is lower than 11.57 volts the load is automatically shut off - so as to save the battery itself.
Unlike the charge controller(s) in my previous installation, there are not many user-controllable settings on the huine charge controller - which is just fine considering it's an outdoor installation. Before I realized that most solar charge controllers come with settings to control the load, like dusk to dawn, I had purchased a pair of photo sensor light switches, not knowing what to expect for my harbor freight solar installation.
Once I learned that the typical indoor charge controllers are equipped with dusk to dawn load control I realized I would not need the photo-cell sensors I had purchased. Instead of using them in my harbor freight installation, I simple set them aside for a rainy day. As mentioned in other posts, this is why I added a 2nd charge controller to my indoor solar installation. One has it's load on 24/7 while the other the load is only on from DUSK until DAWN.
Making Lights Automatically Turn on @ Night
That rainy day came when I needed to install lighting for my road sign! I utilized the photo-cell sensor light load switches that I had purchased earlier. They work great and do what they are advertised to do. They are good not only in solar installations but also on-grid installations for both AC and DC.
Thanks to the switches I had on hand, I am ABLE to use a more simple charge controller, optimized for out door usage, while still getting dusk to dawn load control. The lights come on at night and shut off as soon as the sun comes up.
Photo Cell Light Switch Specifications
There are a host of options for photo cell switch sensors. The blue one pictured above, in this post is the one I used in my solar installation, and the one I think is the best for the money.
- Voltage: DC 12v / AC 120v
- AMPS: 10 AMPS
- Waterproof: YES
- On-Time: DUSK until DAWN
Notes about Mounting Photo-Cell Sensor
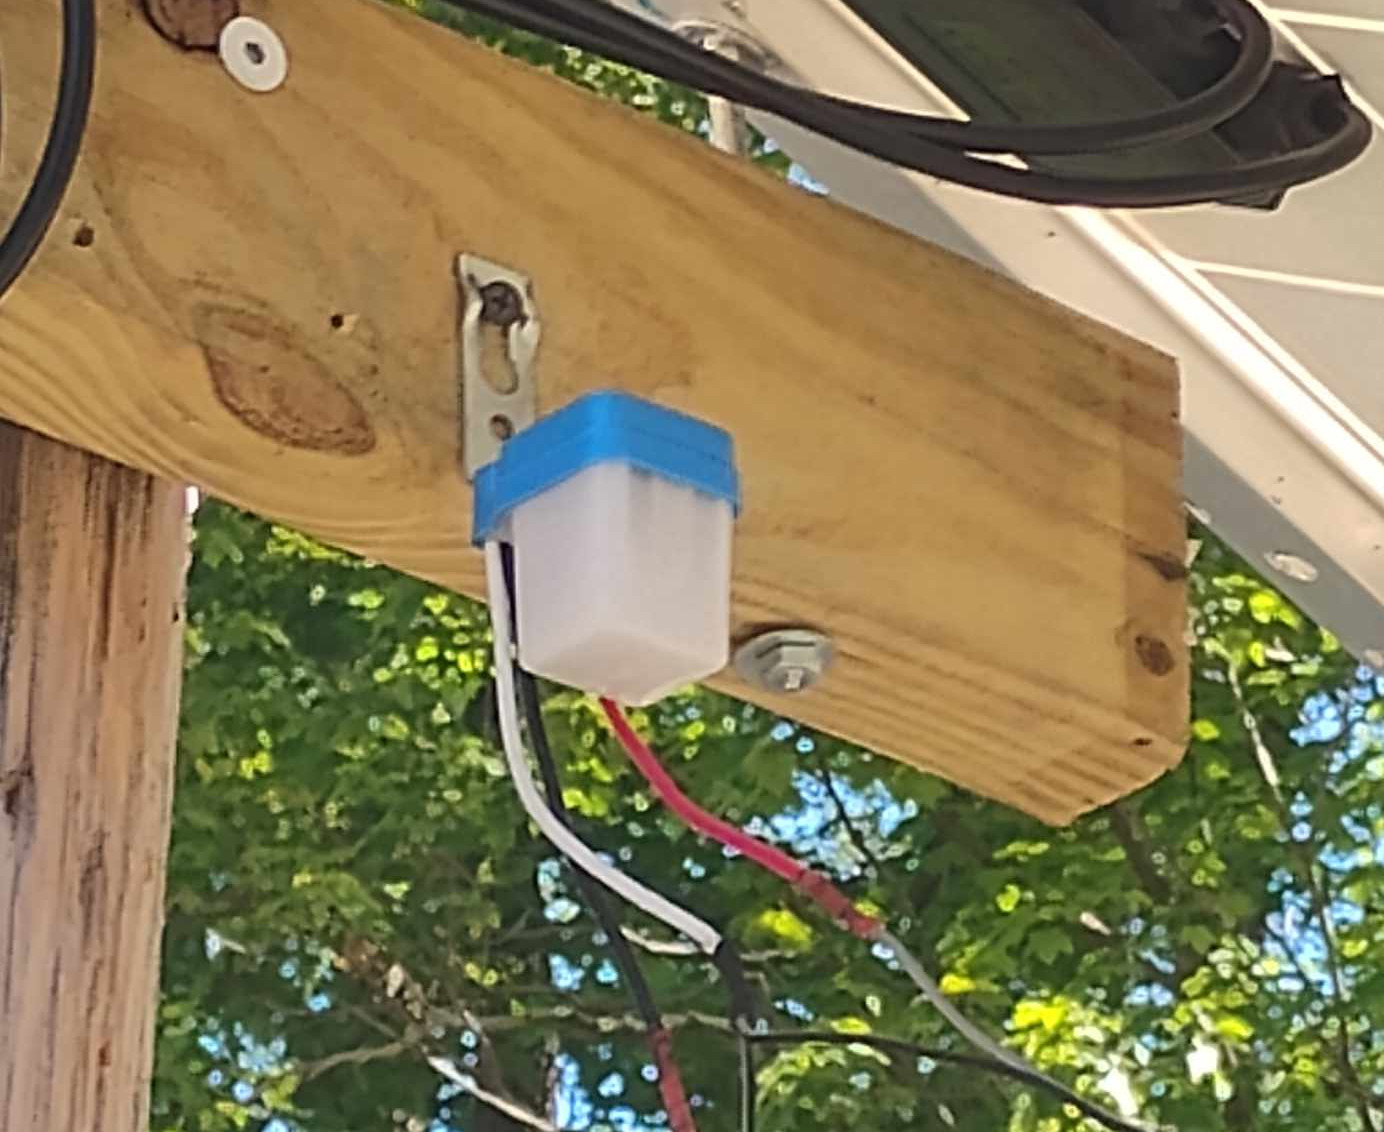
The sensor has to be mounted in a spot where there's no light, at the time you want the lights to turn on. In my case I mounted it 2 ft to the left of my night lights. This makes it so my sensor doesn't activate on a false-positive. The sensor pictured in this post comes with a nice mounting bracket.
Plausible Use Cases for DUSK-to-DAWN Switch
- Night Lighting
- Security Camera @ Night
- Solar
- On Grid / Off Grid
Compatible Lighting
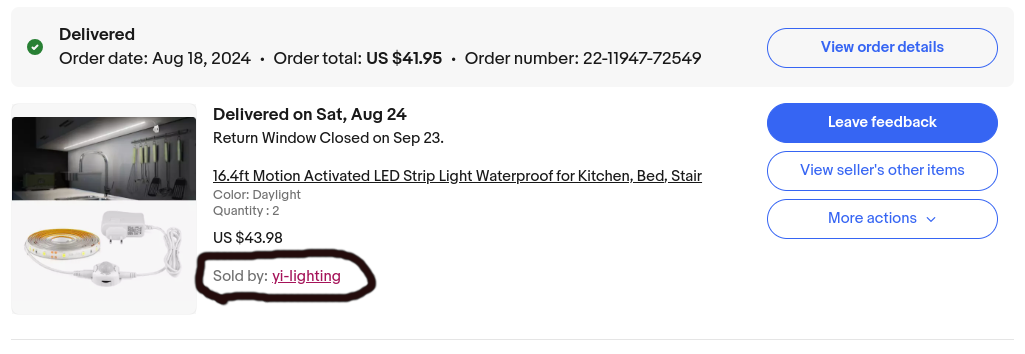
I used my photo sensor switch in conjunction with 16.4 ft LED light strip from YI-lighting. I was able to interface the lights with the sensor switch by utilizing DC power jacks. The switch is compatible really with any kind of lighting weather you want to simply splice the wires together or make it plug and play via custom interface cables and DC jack.
Interfacing With Photo-Cell Switch
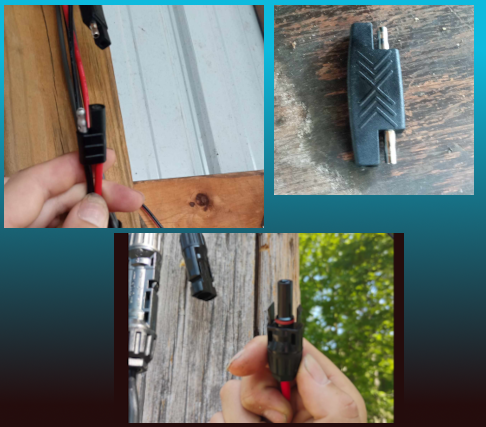
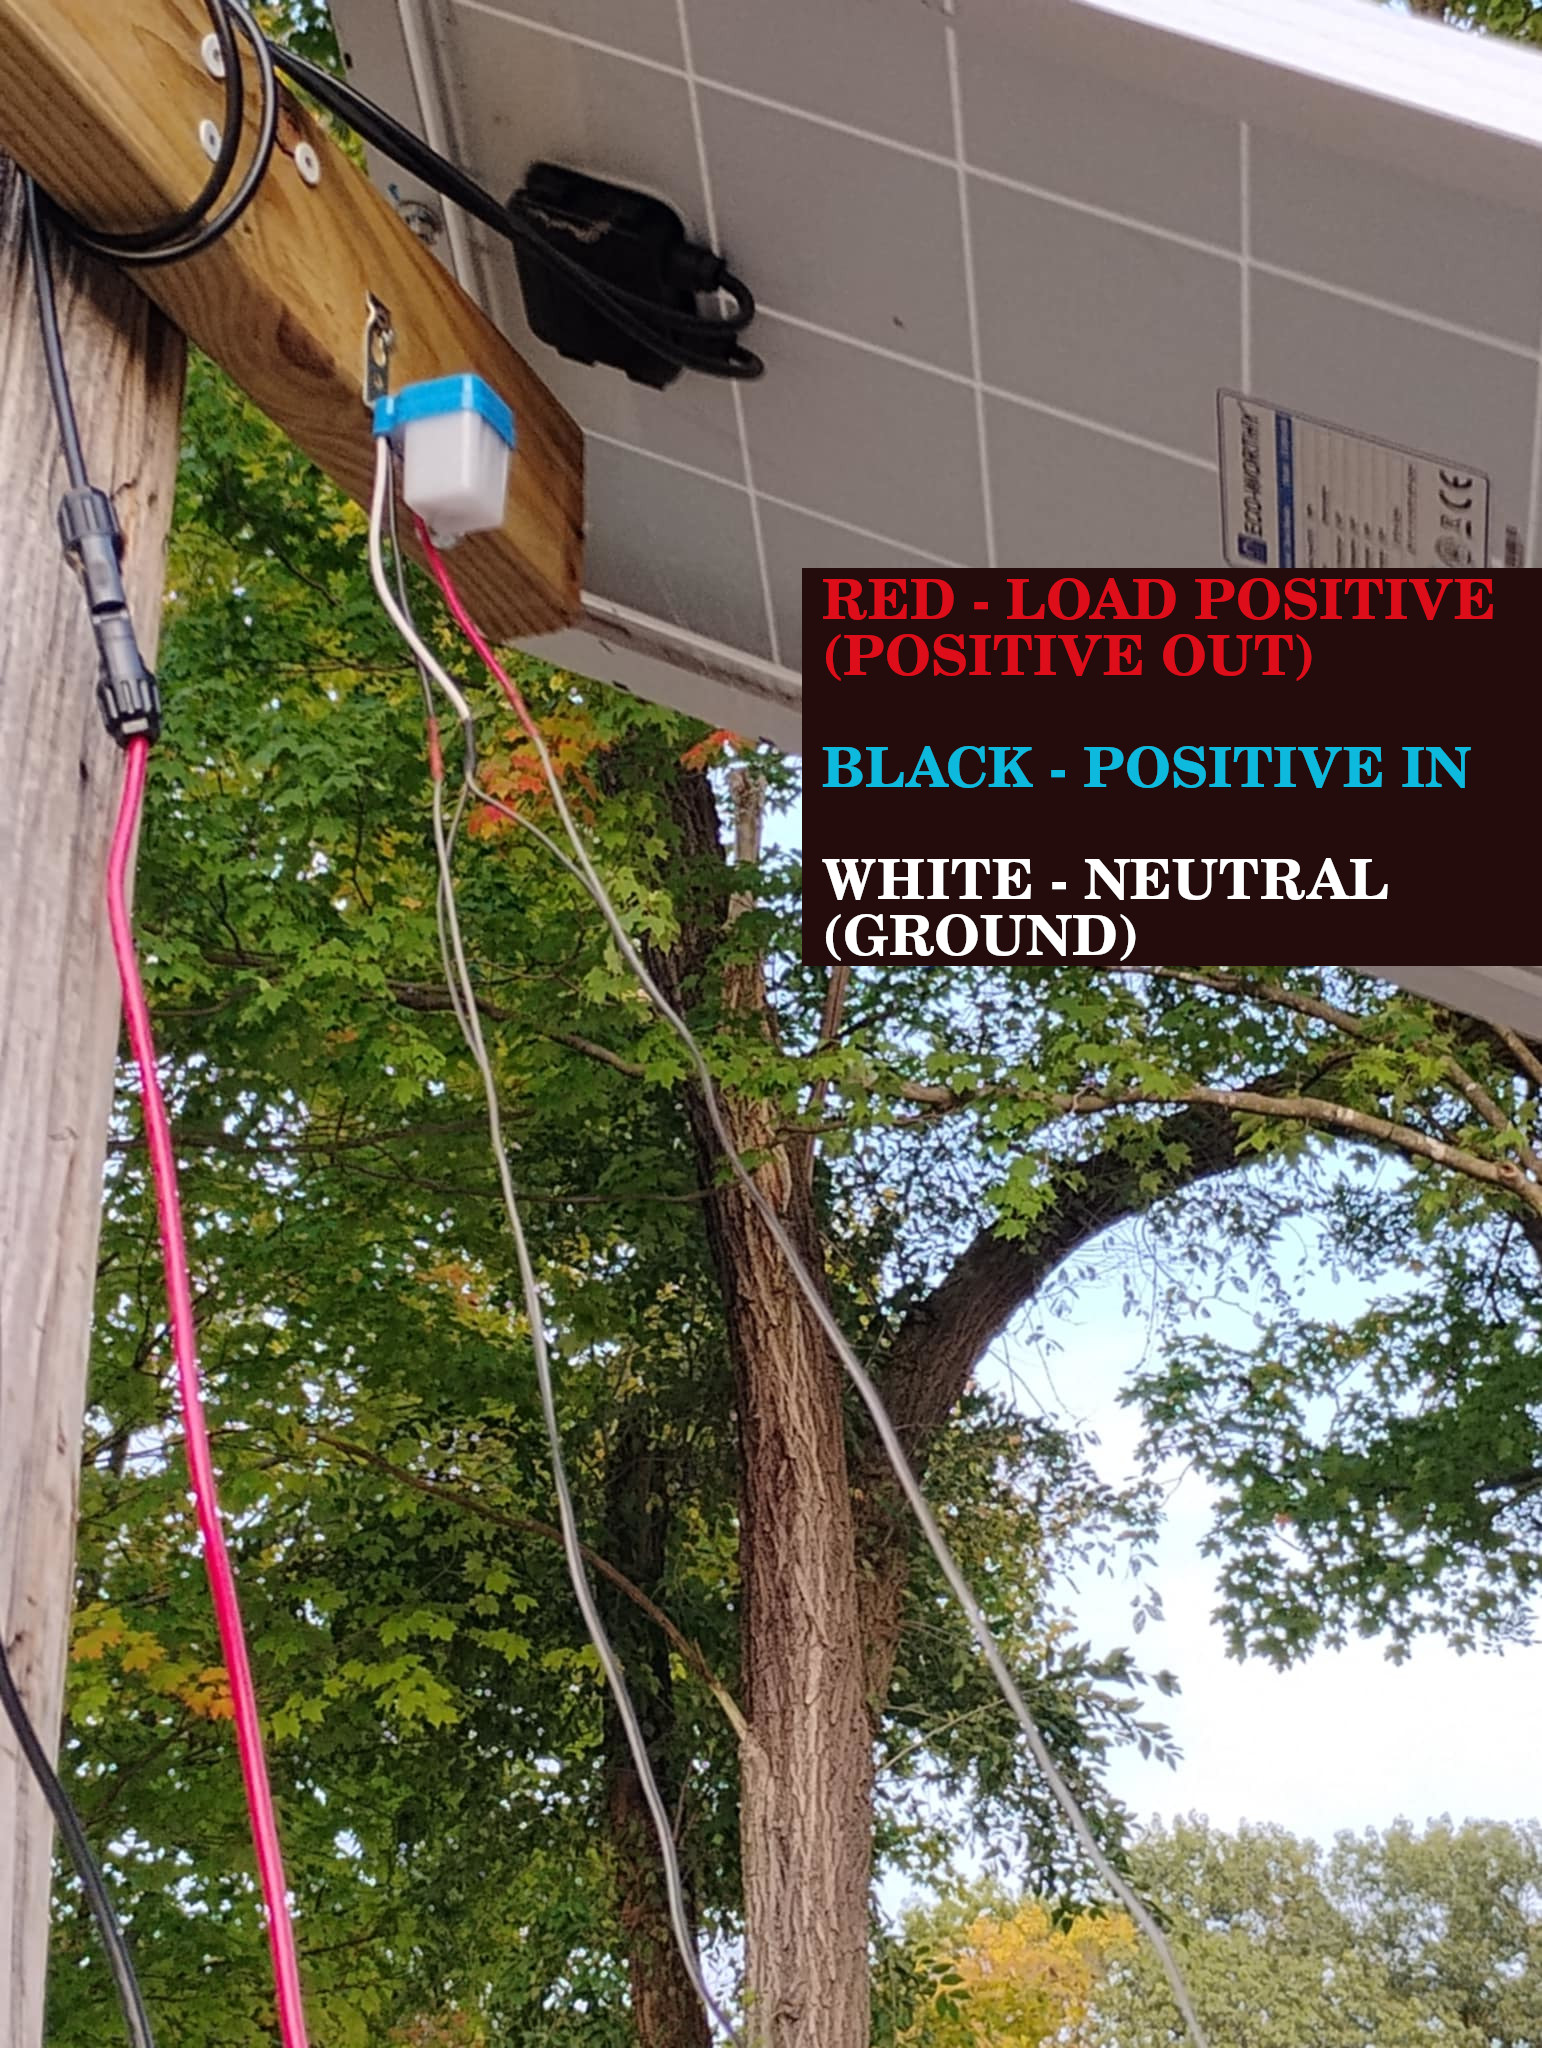
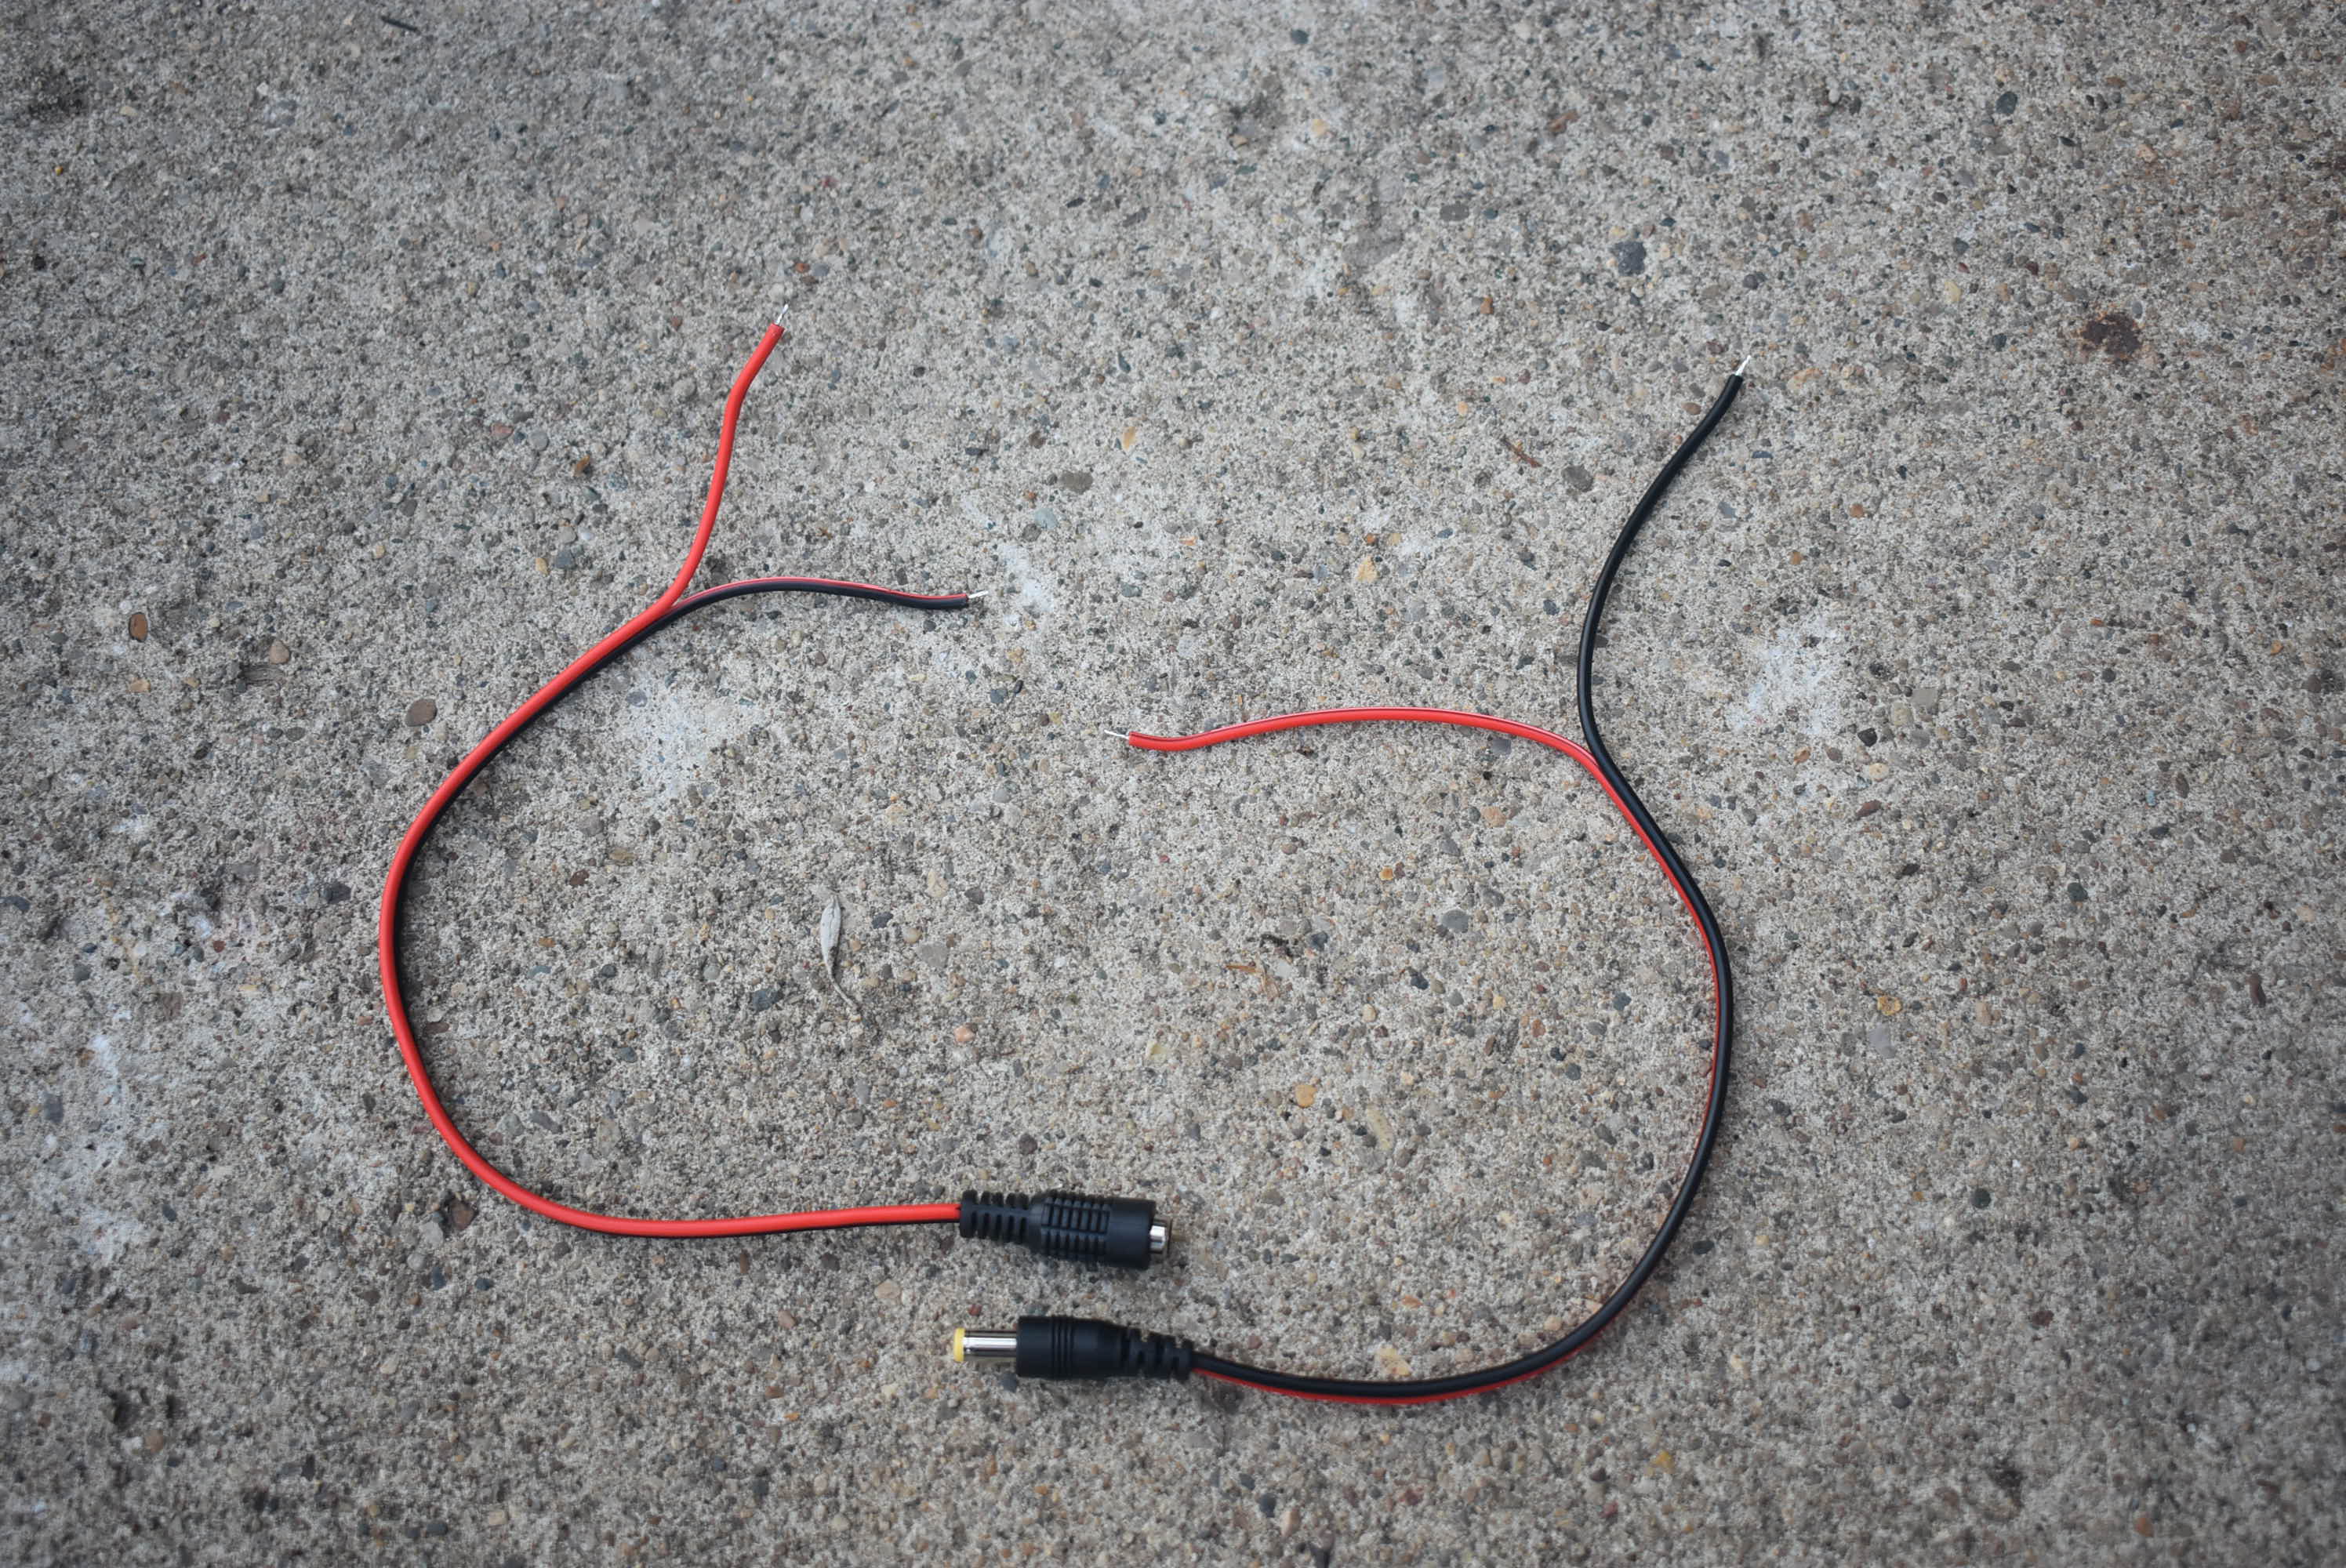
The photo cell dusk to dawn switches talked about in this post have 3 wires and can be interfaced with quite easily utilizing DC jack pigtails and color coated wire. I soldered a MALE DC jack onto the "input" of the switch and a female DC jack onto the "output" of the switch. The white wire is "neutral" or ground. So in a DC circuit the black wire from both the input and the output are wired together here. Then, the positive input goes into the black wire while the positive output comes out of the red wire.
Related SOLAR Posts
-
Pages
Home Page
About BP
Submit Review
Now on The GRR
Listen Now: BetterPart's own Internet Radio station is Hillsdale's Good Rock Radio The GRR!
-
 Better Parts
 -