-
How to Build DC JACK Interface Cables for Applications on DIY Solar System
Published: Thursday, June 6th 2024 10:26:31 AM - EDT
Updated: Wednesday, May 28th 2025 02:05:15 PM - EDT
Written by: jbick
Category: SOLAR
Interfacing with your solar system is paramount to take advantage of that free electricity. It is nice to have tangible connectors to make your small to medium sized solar system use-able and plug and play without converting to AC. This post outlines building your own cables, that could be long run wire or just pig-tail to pig-tail DC adapters and or spliter.
Buy Featured Items
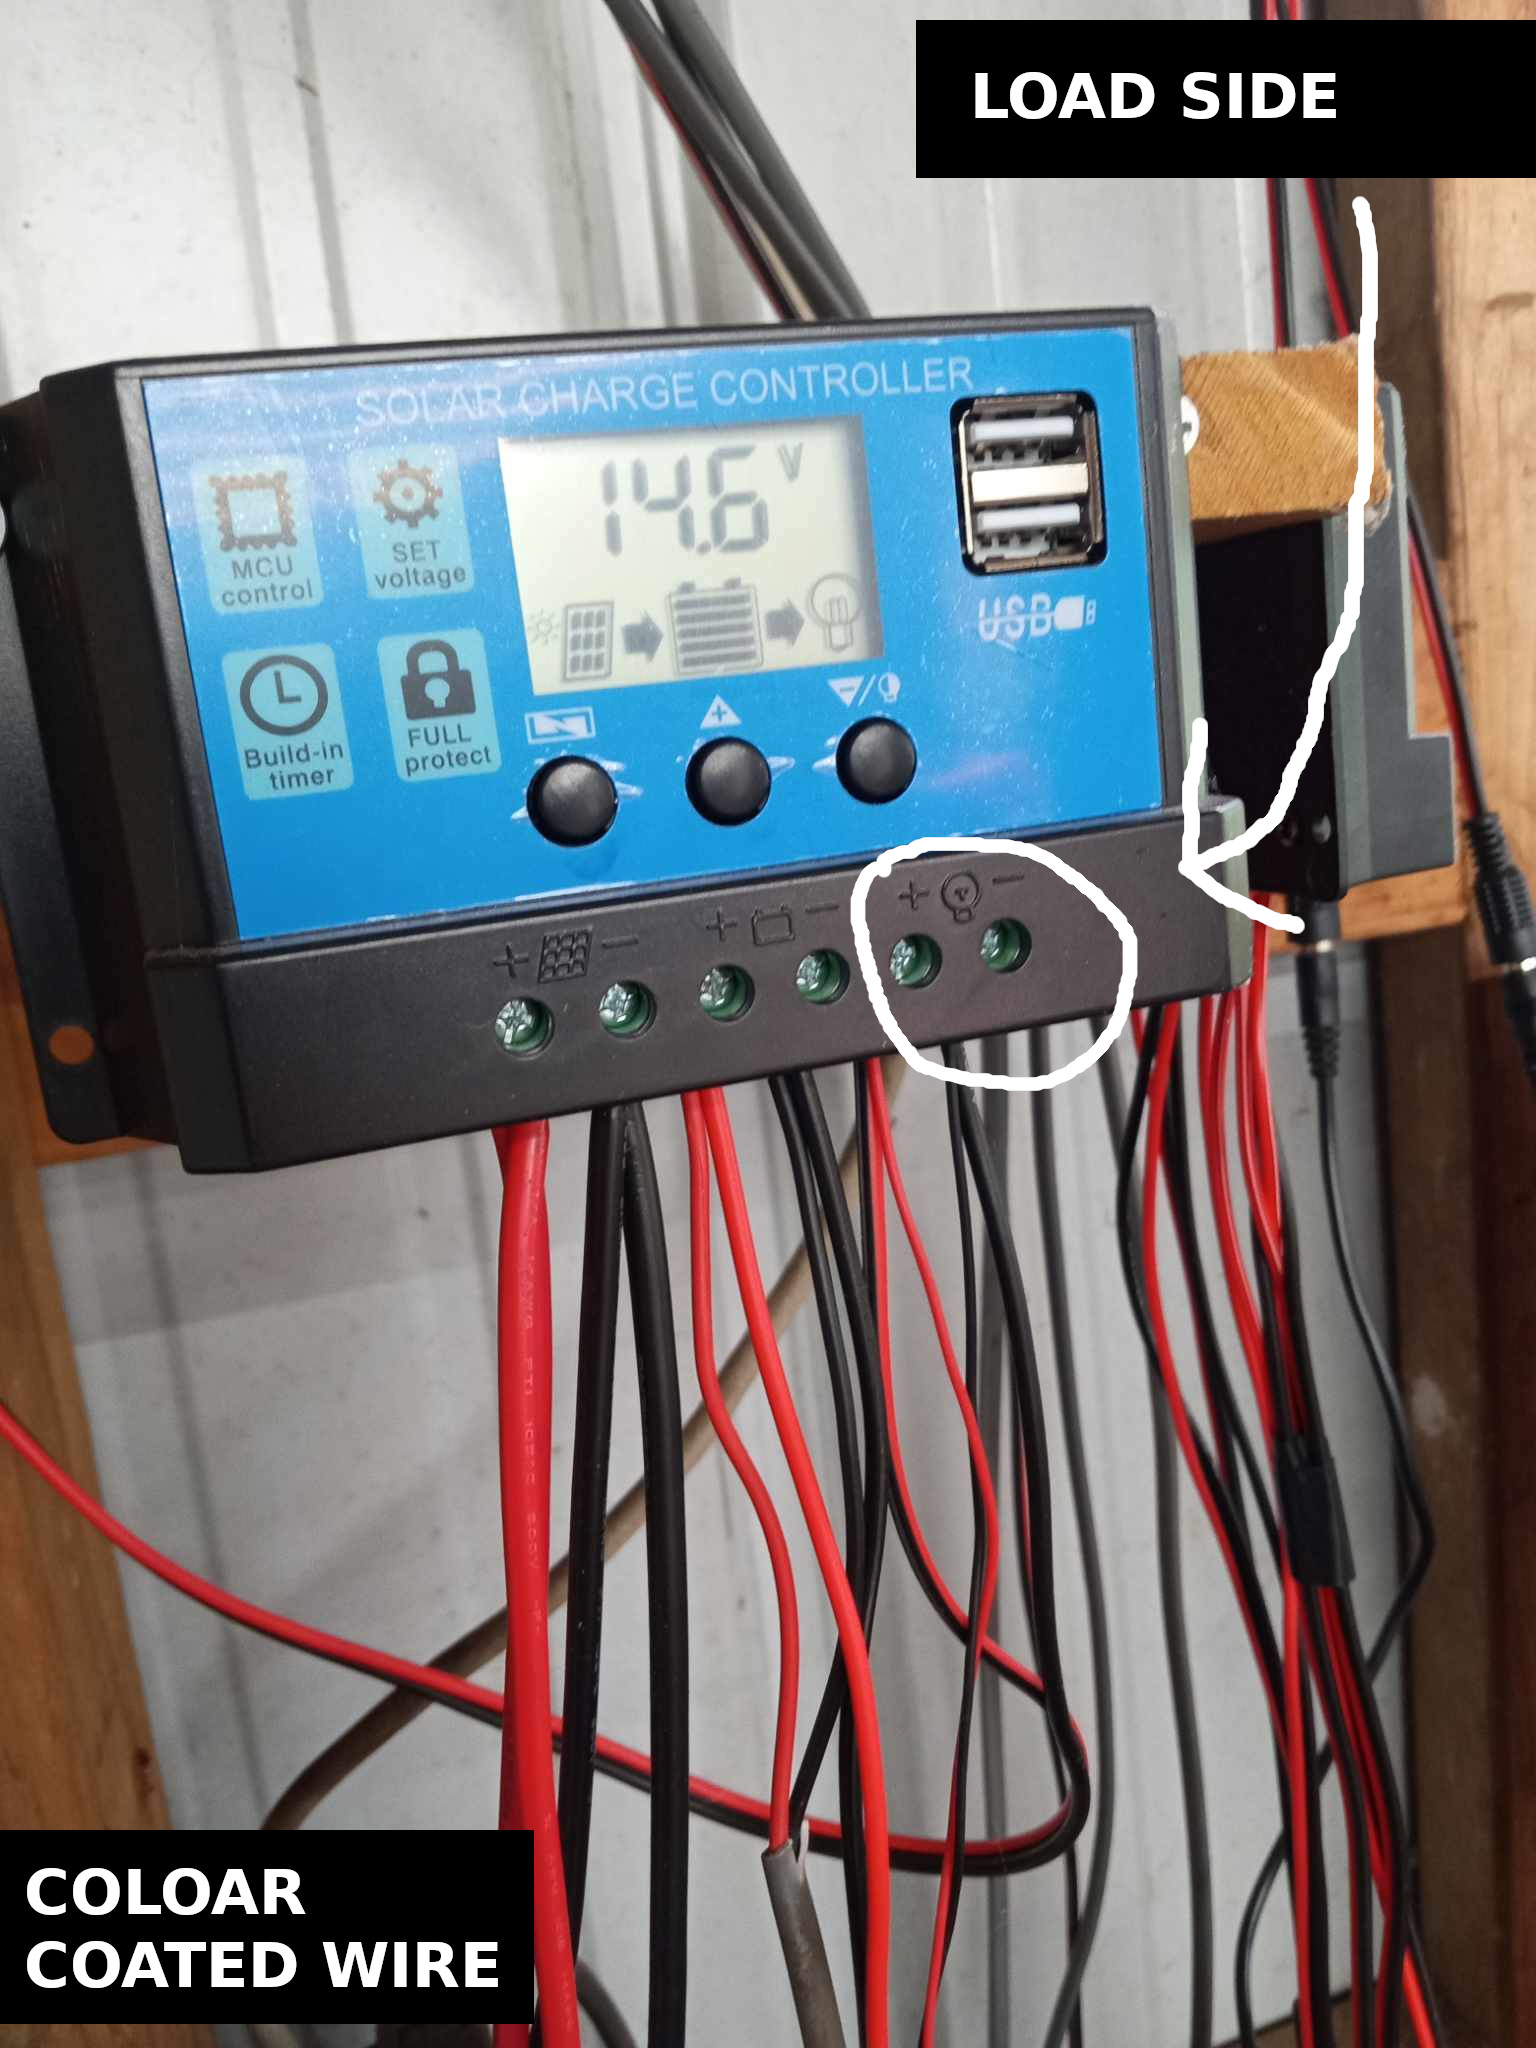
This post will help you interface with the load side of your DIY solar system. This is how I interface with my solar system that does not have a DC to AC inverter. I refer to interfacing as plugging applications directly into the overall load of a solar system. Basically I use my DC items directly off the load side of the charge controller. eBay has nice options to interface with DC items such as wireless access point, modems, outdoor lighting, and security cameras directly.
DC Jack Pig-Tail
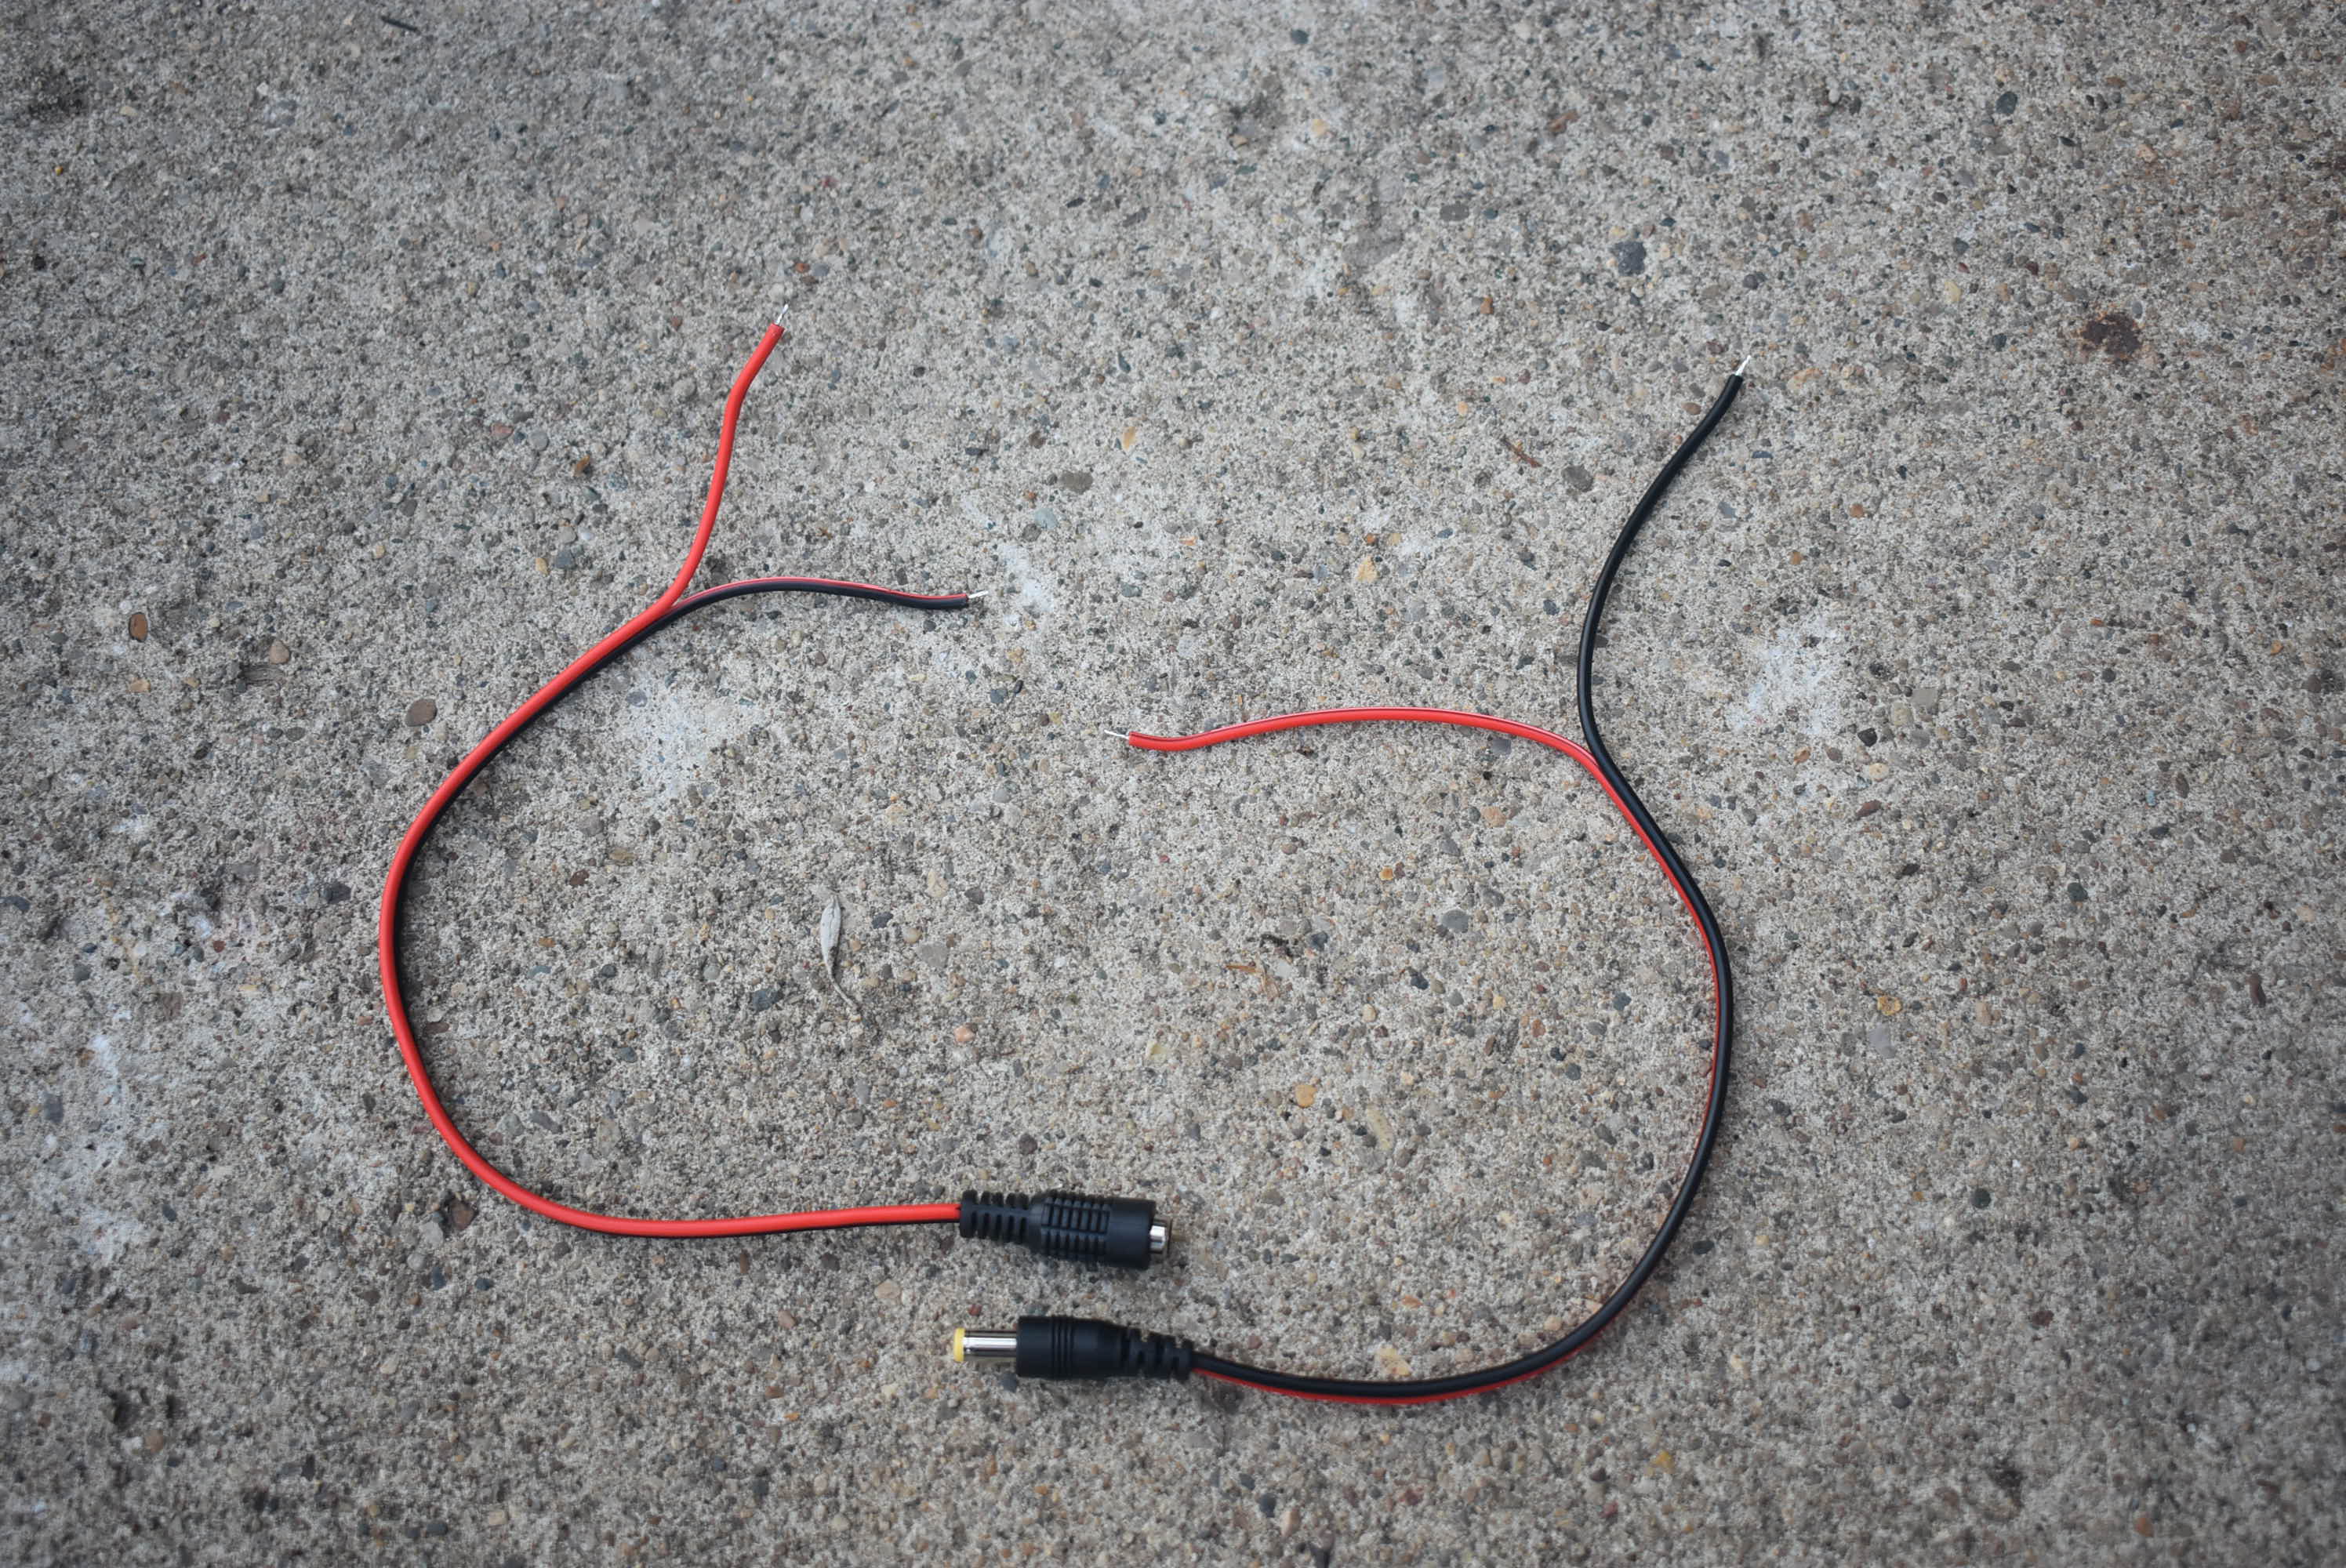
eBay has 12 inch pig-tail kits of DC jacks with red and black color coated wires on the end. The 12 inch length allows plenty of room to solder wire onto the adapter, multiple times if need-be. The kits are standard DC jack size commonly found in electronics and includes 10 male DC jacks and 10 female DC jacks. Other sizes for smaller DC jacks are also available if need be but I prefer to keep things standard so I can easily use common electronics without the need to find special connectors or cut any wires.
100 Ft 18 AWG color coated wire
There are multiple sellers with large lengths of color coated 18 AWG wire. This makes it easy to build DC cables however far your application is from your solar system. My access point is 35 feet away from the charge controllers. 100 ft of this cable will typically run under $30.00 USD. This wire is easy to strip and solder.
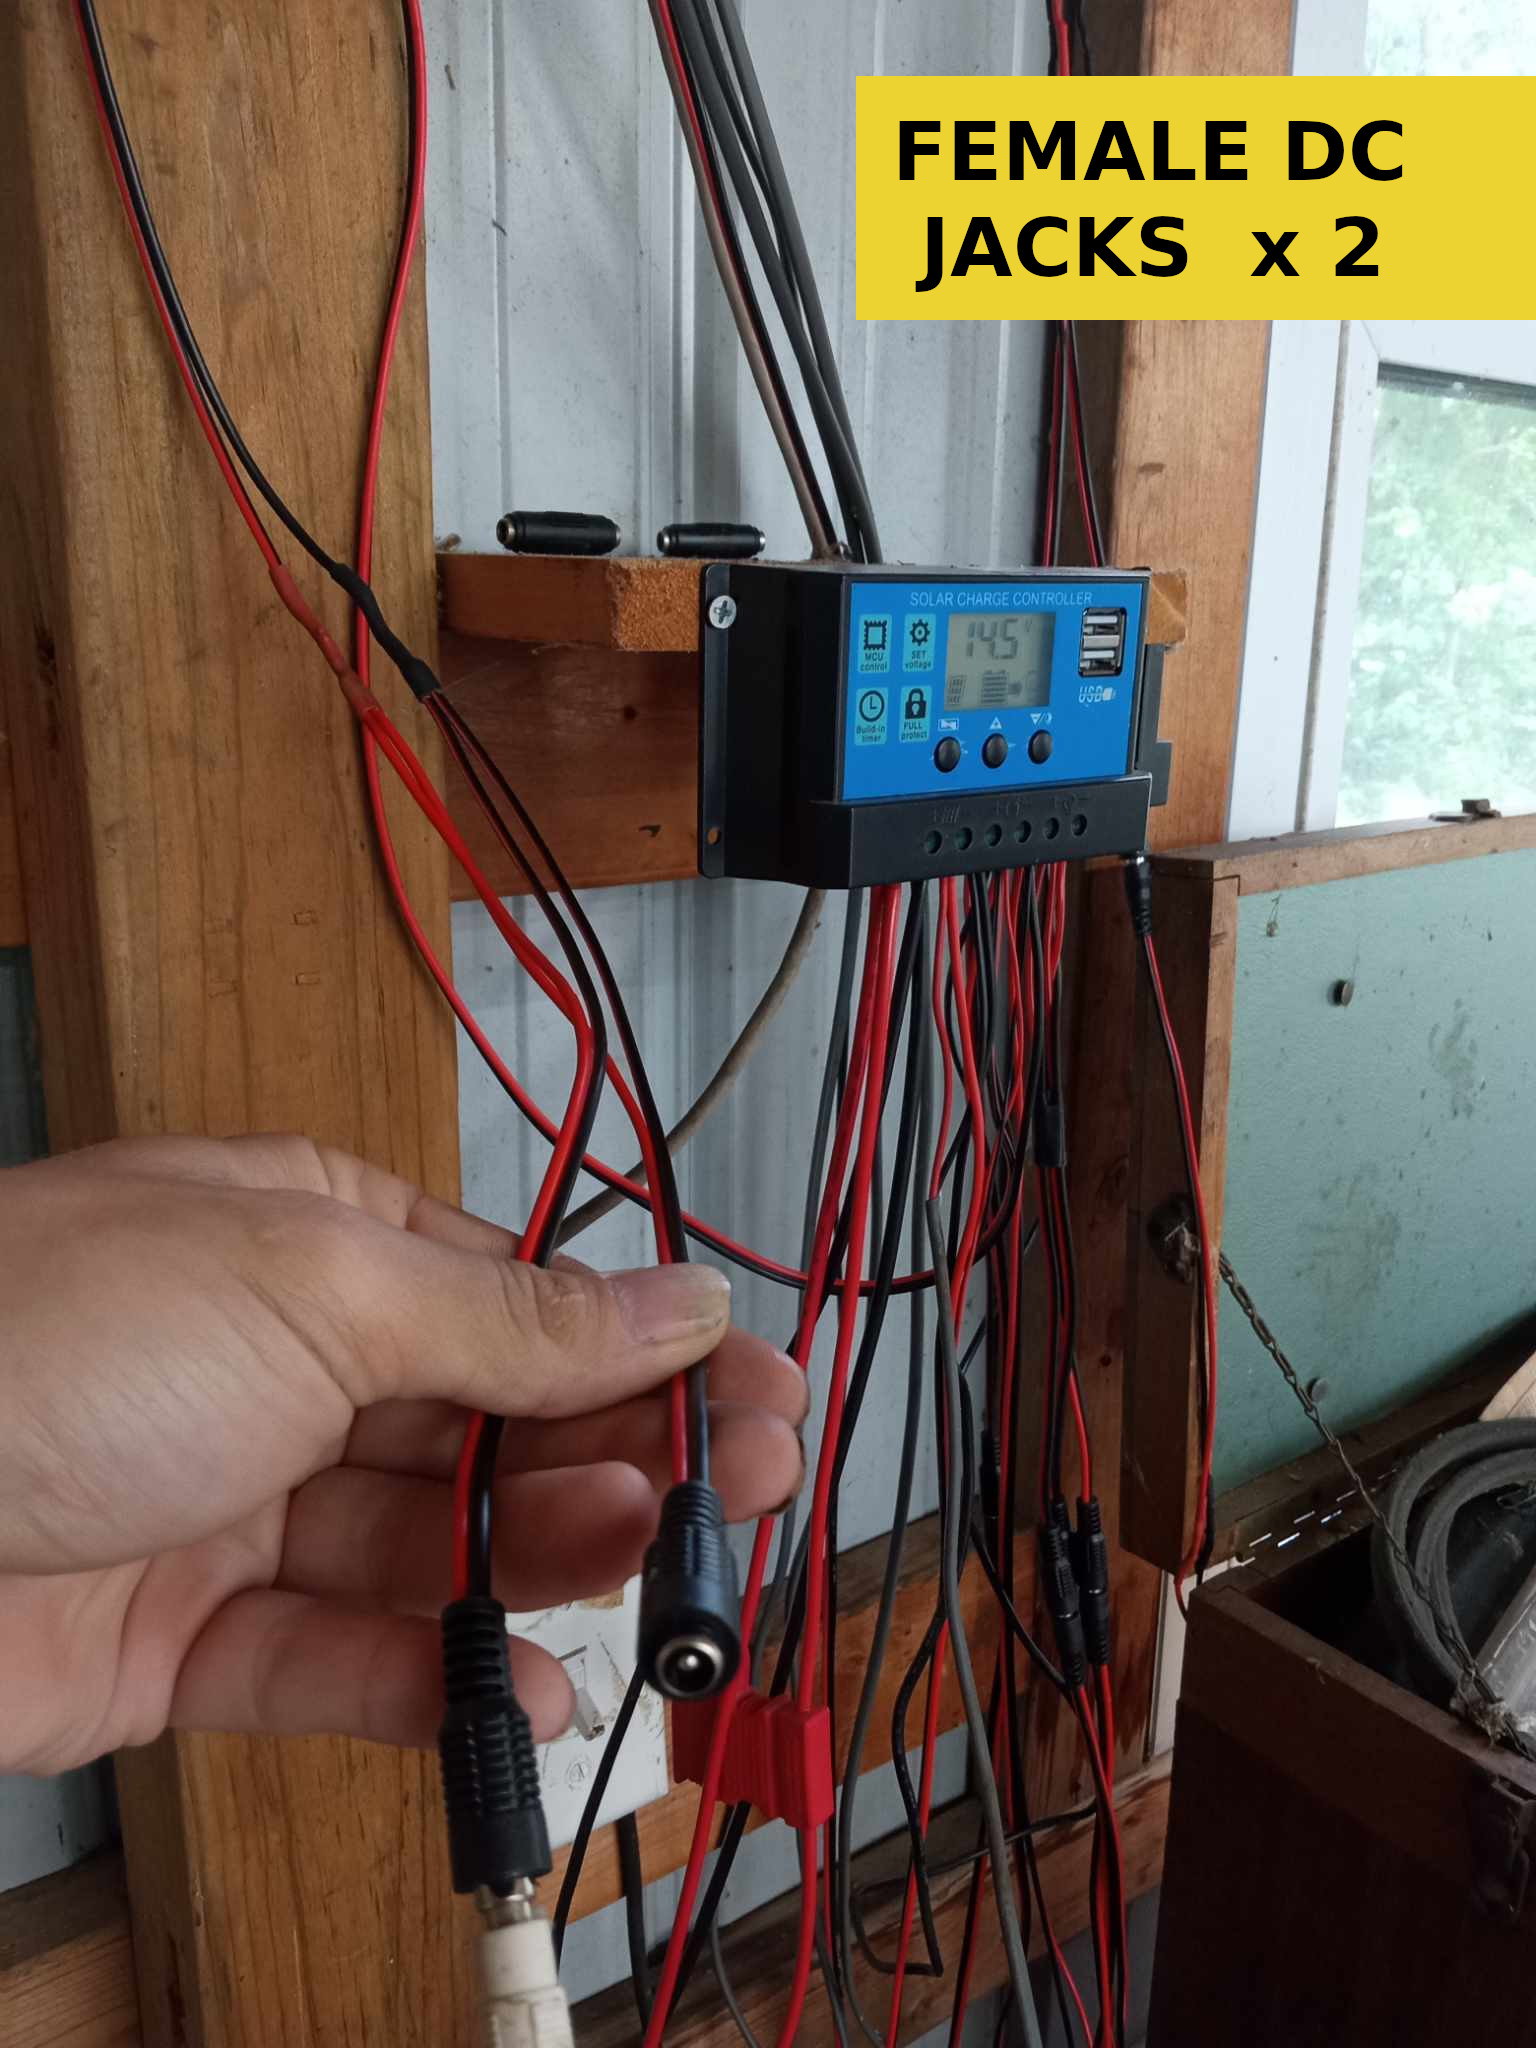
Standard cables such as those with a male on one end and a female on the other end can be created or a cable with two males or two females for whatever application is needed. Additionally multiple DC jacks can be soldered together such as in my application coming right off the charge controller I have 3 female DC jacks soldered together to give me "3 plugs".
Heat Shrink Cable Sleeve
These are commonly sold in kits for multiple size wires and multiple time use. This stuff is super beneficial in protecting and isolating your cabling. I use these over my soldered splices for combing the 18 AWG wire with a DC jack or simply splicing two wires together. These are better than just leaving the splice joints bare or using black tape.
Soldering the Wires Together
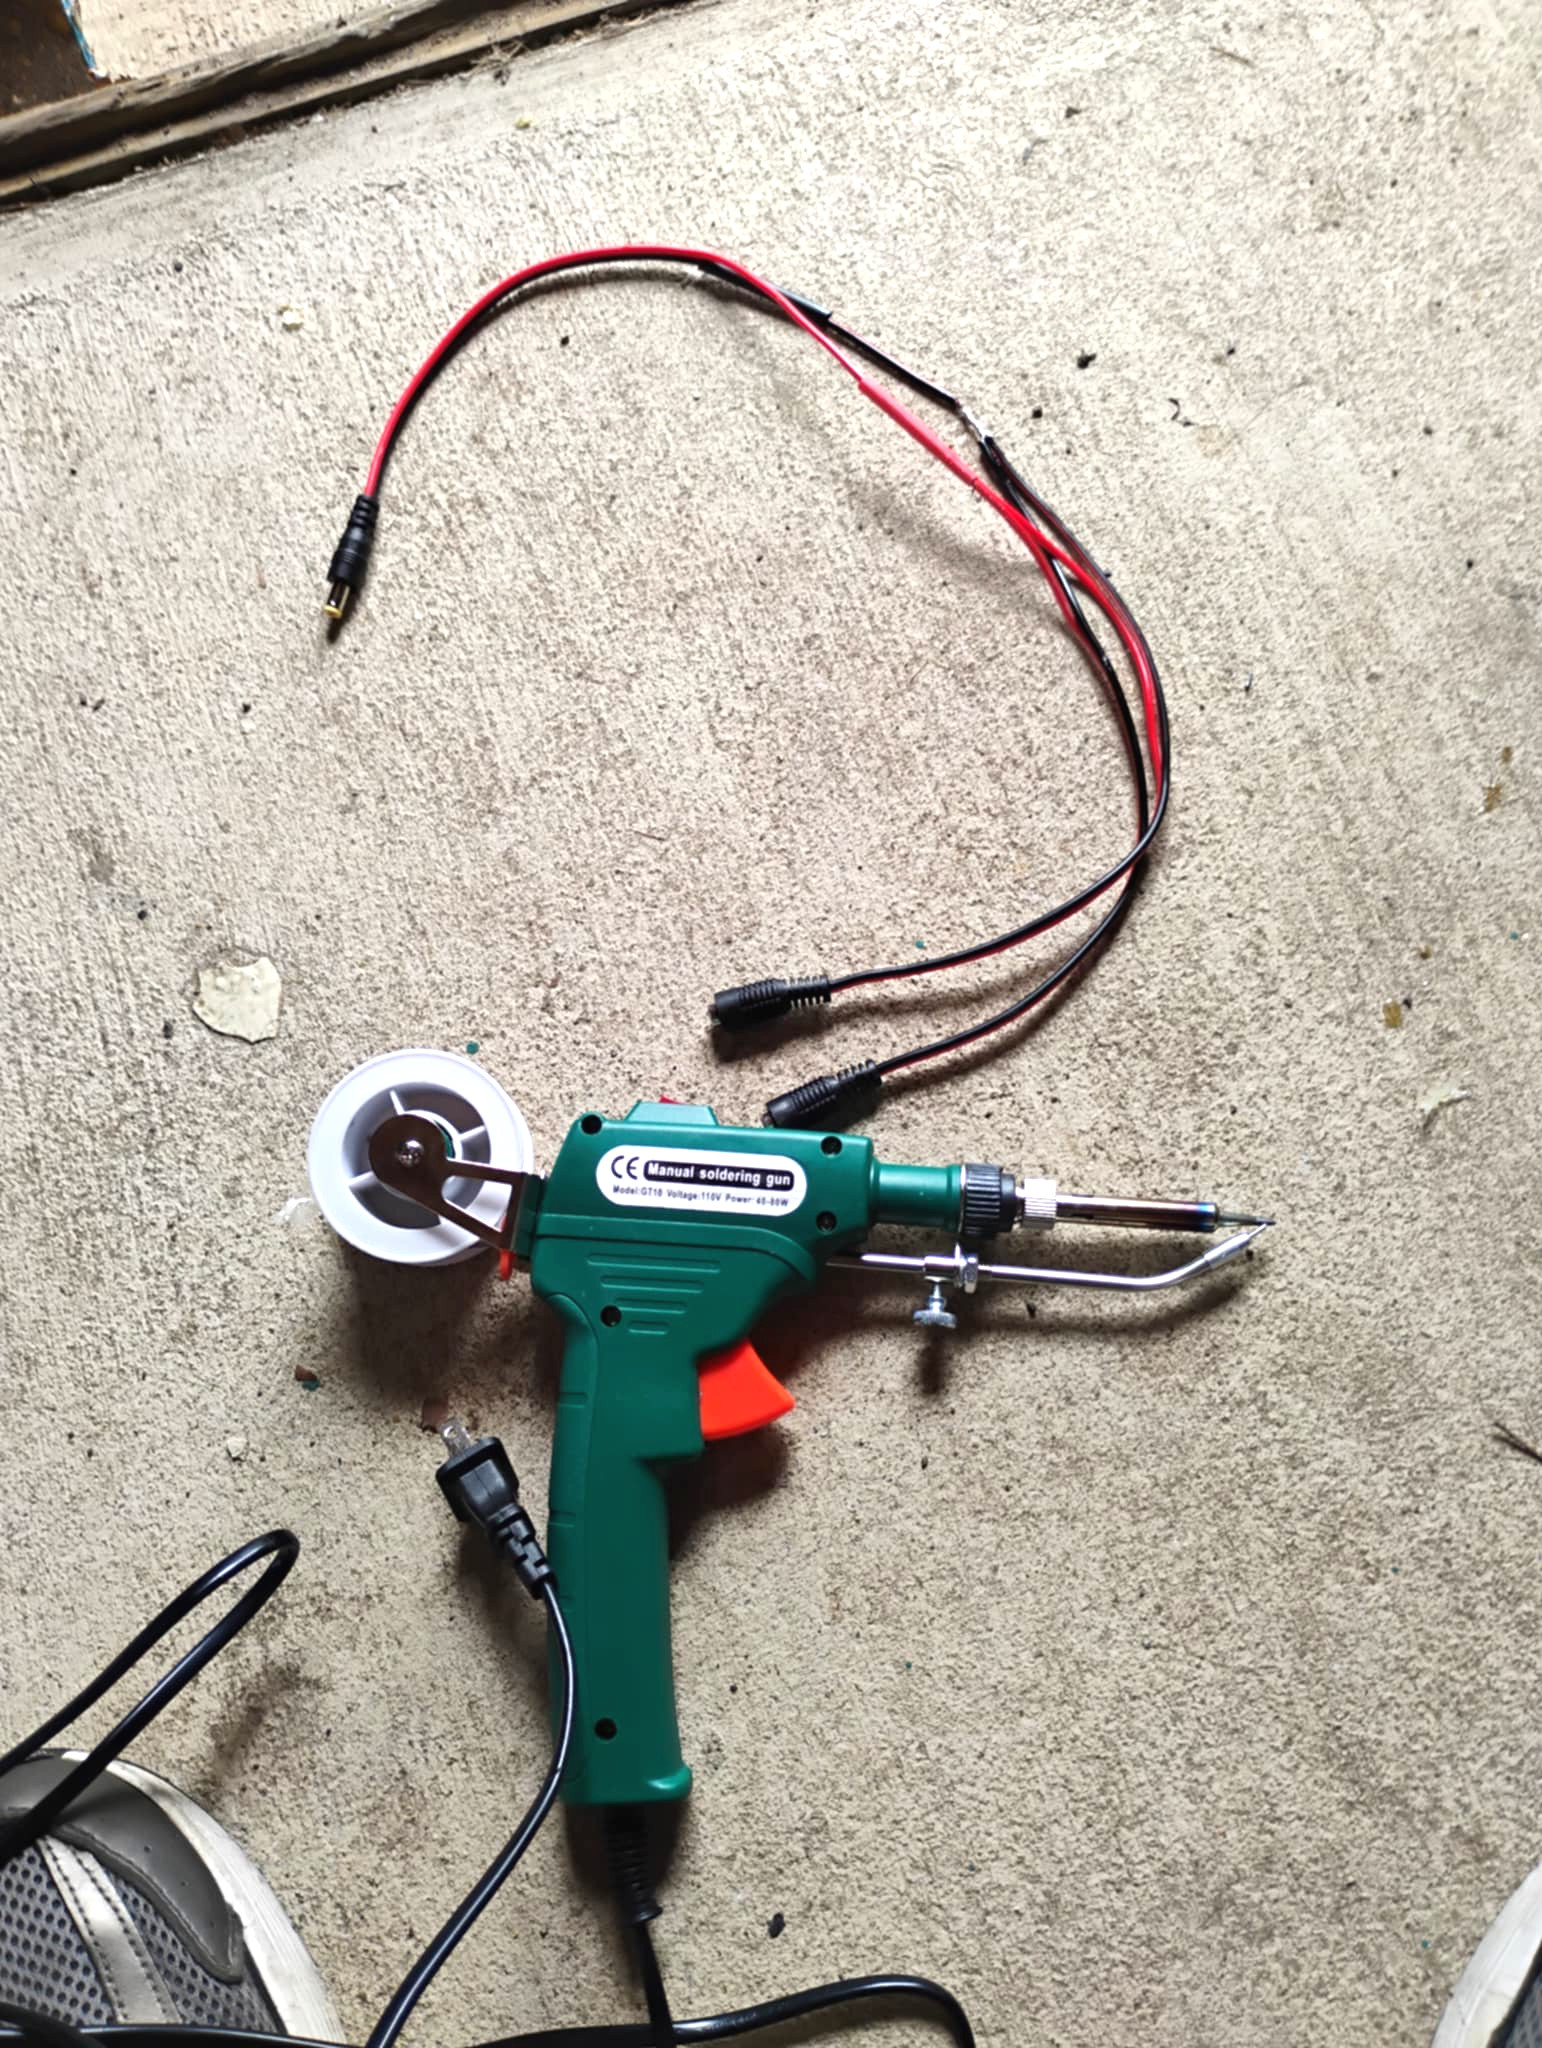
I find it easier to use the self dispensing soldering guns sold on eBay. As of updating this post, I have utilized two different soldering gun tools from eBay: a black gun and a blue gun.
The soldering gun pictured included a can of flux which helped suck the solder onto the wire. Essentially strip the wire back enough to splice multiple wires together, slide heat shrink tube over, twist them together, apply flux and solder. After solder job is complete make sure heat shrink tube is heated in place.
DC JACK Applications
With the DC jack pig tail kit plus color coated wire, you can easily build extension cables, splitters, and adapters.
- DC JACK extension cables.
- DC JACK Splitter.
- DC JACK adapters.
Build Your Own Cable For
These items combined makes well for building your own cables. These can be custom lengths of your choice. Having these supplies on hand makes it nice and easy to interface with your DIY solar system and it helped me by browsing eBay for these items. There are reliable, US-based sellers in this space.
A DC jack pig-tail, custom length of wire, heat shrink sleeves, plus self dispensing soldering gun has helped me fully interface with my solar system. A DC pig tail jack can be directly plugged into the load side of a charge controller, or you can solder on additional wire. In my case I soldered multiple female DC jacks onto a wire then clamped the wire down to the load side of my MPPT charge controller. Additionally, wire strippers or a cigarette lighter makes striping the wire easy.
- Security Camera
- Wireless Access Point
- Outdoor/Indoor Lighting
- Intercom Systems
- Fiber Optic Media Converters
- Police Scanners
- Networking Switches & Routers
Build Your own Interface Cable: Links
Here are links to eBay sellers that can help you build your own DC jack interface cable. These are the same sellers and products I used to build a fully functional interface cable with the load side of my solar system WITHOUT an inverter. These work for all DC applications.
Related SOLAR Posts

