-
Expanding 1GBPS Network Connectivity to Solar Shack Garage Facility Via Fiber Optic Expansion
Published: Thursday, November 21st 2024 10:10:04 AM - EST
Updated: Monday, January 13th 2025 12:43:35 PM - EST
Written by: jbick
Category: ELECTRONICS
After getting fiber optic to the home in 2023, FTTx, I showcase how I ran fiber optic networking 300 foot away into an outdoor garage facility and the benefits that offers. This process works for enabling fiber optic network connectivity for any outdoor garage, shed, factory, or facility.
Buy Featured Items
Expanding my home local area network into the garage facility has been a net positive, as of writing this post the garage has been fiber optic enabled for 3 months. Although WiFi from the house is available in the garage, it is very spotty. Now full network connectivity and full scale WiFi is available while I am working on cars, adjusting the solar system, or just hanging out in the outdoors.
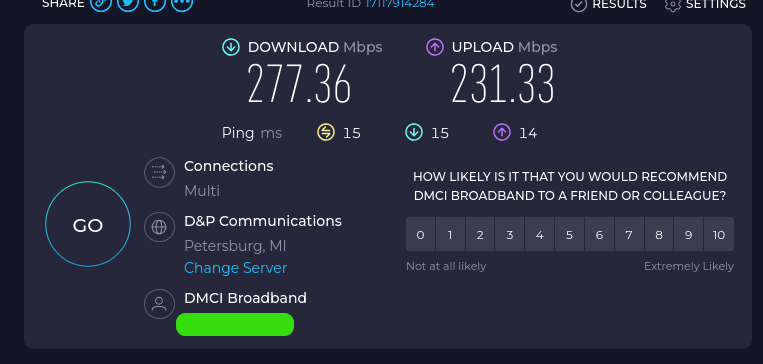
After receiving fiber optic internet to the home in September of 2023, having the bandwidth available, I am now able to operate in-house servers and actually expand my internet into additional rooms and outdoor facilities. DMCI Broad Band out of Reading, Michigan installed FTTX over the last 2 years. DMCI has slightly high prices but you get what you pay for with them. In my case, I have 250 mbps download and 250 mbps upload.
The fiber optic expansion is actually quite simple and consists of a 300 ft fiber optic patch cable with SC-UPC connector on both ends, two single mode simplex TP-LINK media converters with SC connectors and a dual band AC1200 wireless access point for the garage. The TP-LINK AC1200 is an awesome wireless access point that leaves most of the thinking to the router. As of this post I have two TP-LINK AC1200's.
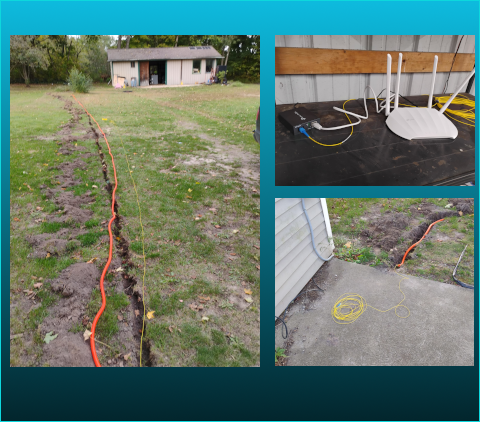
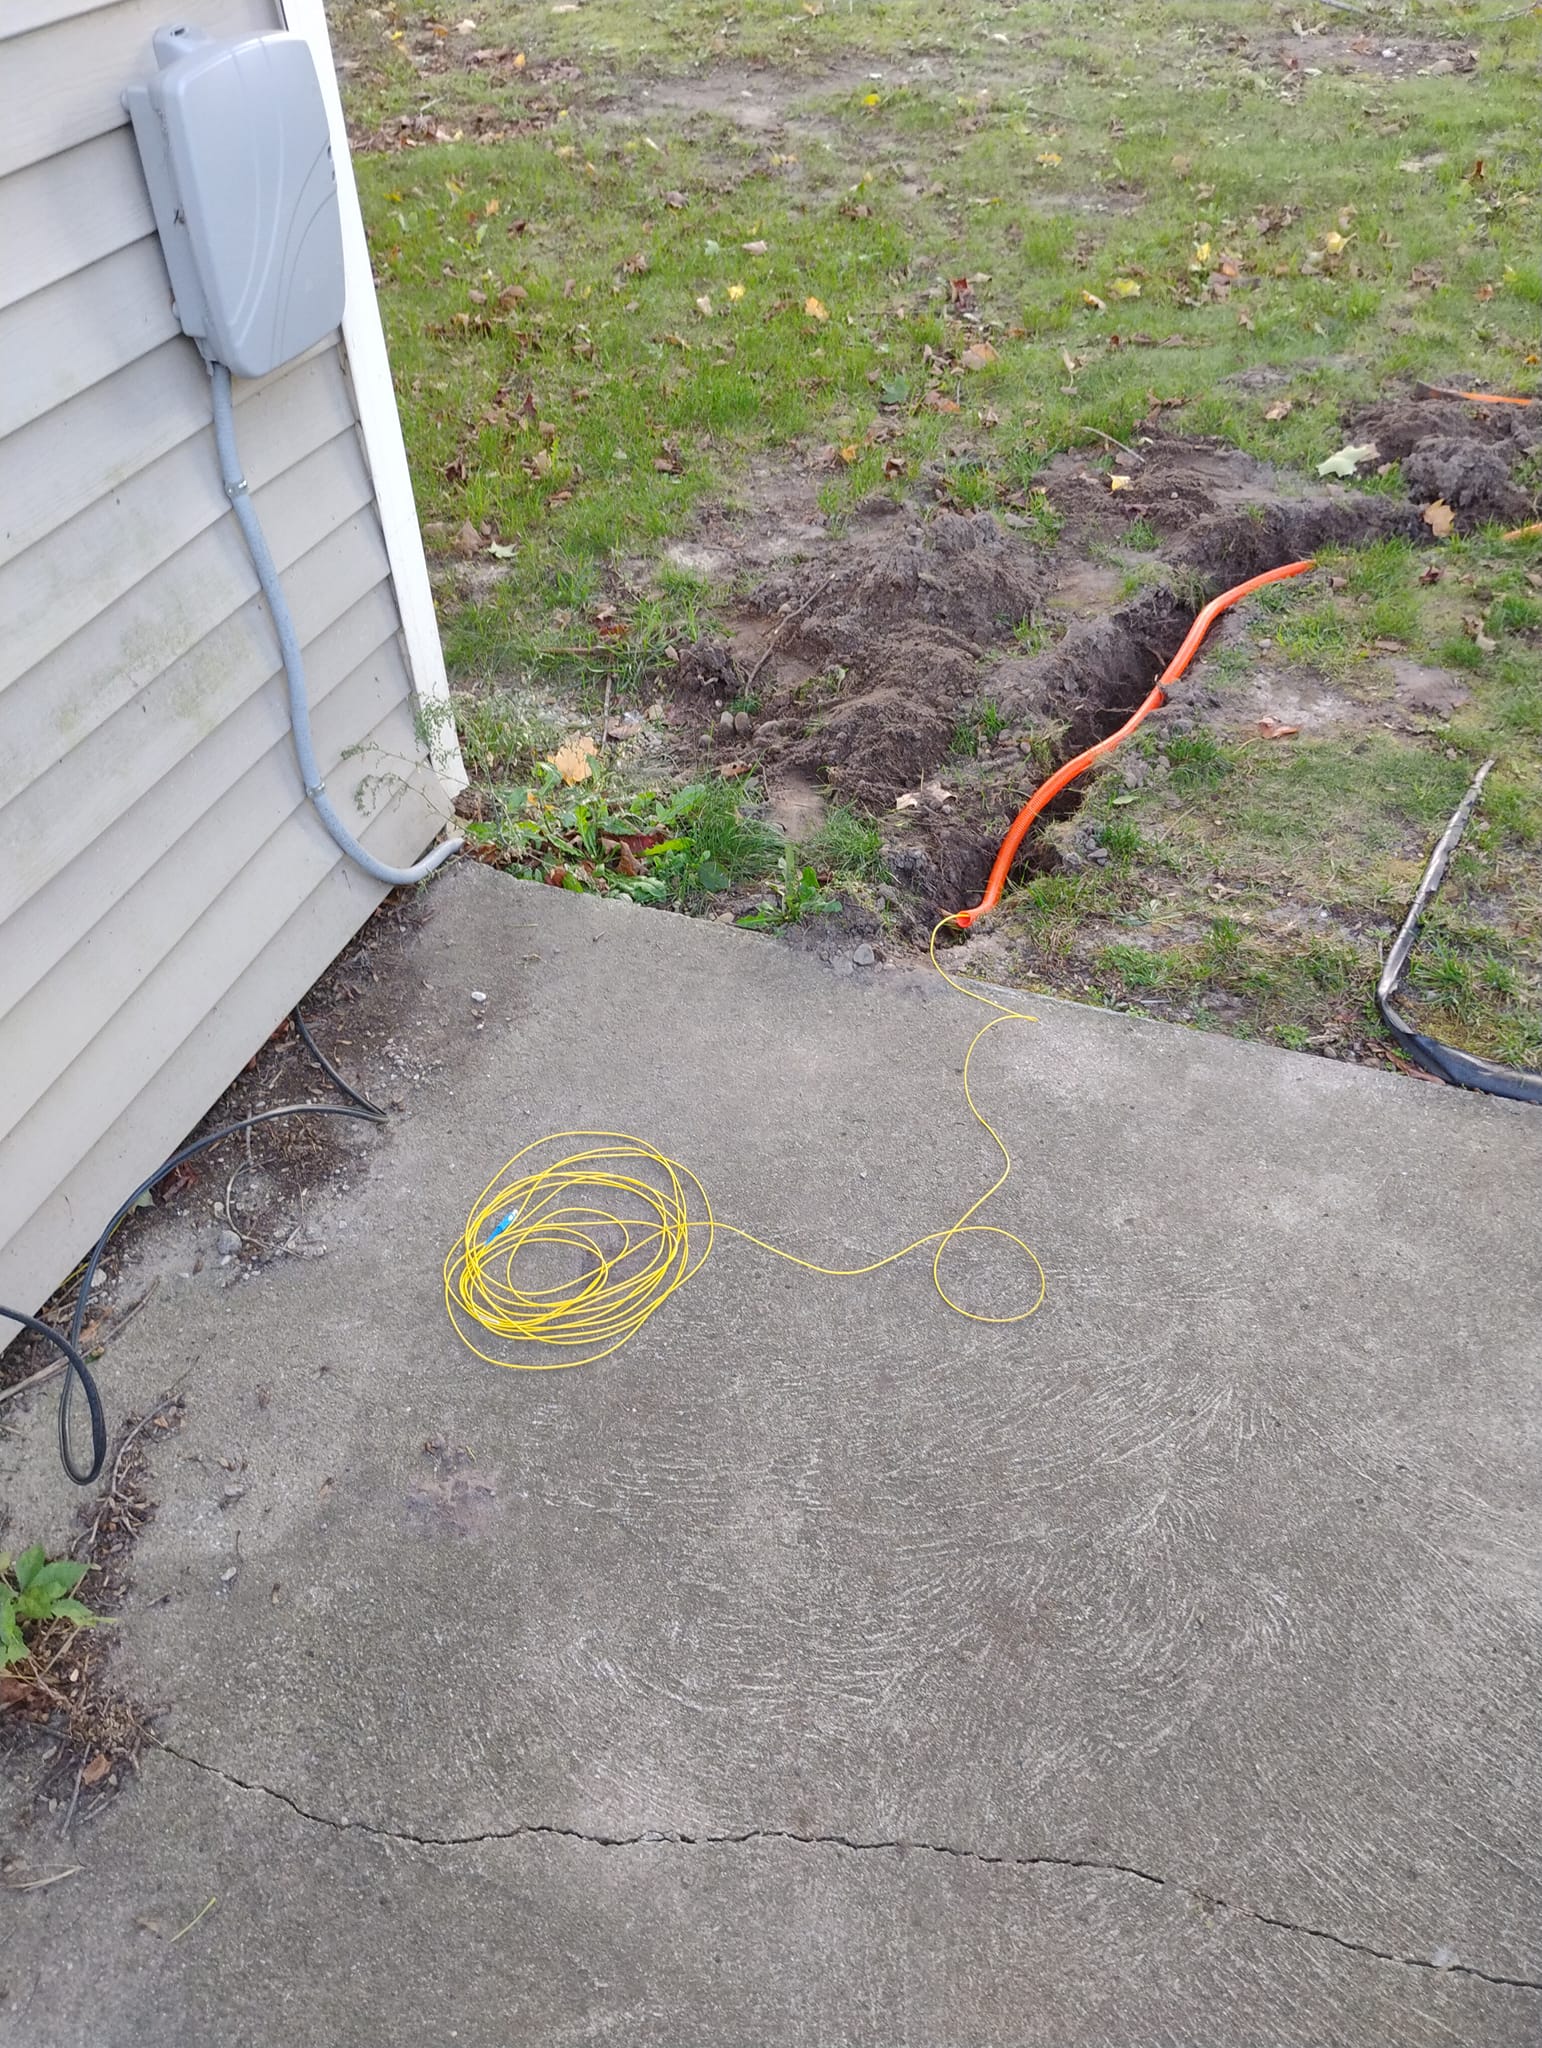
Getting the cable to the garage I had to make sure I ordered enough cable, dug a trench, and ensure there's a hole for entry big enough to get an SC connector through. In my case, I already have a 1" PVC pipe going through the house for my other coaxial cables. All I had to do is dig the trench and drill a hole in the sheet metal on the garage facility.
Reasons for Going Fiber
There are actually a host of reasons for going fiber out to the garage facility considering there's already a cat 5 cable in the ground.
- Speed. As long as the cable is in the ground, up to 10 GBPS can be attained depending on the media converters at the end of the run. In my case, 1 GBPS is way more than sufficient.
- Doesn't conduct electricity. That means lighting won't be attracted to the cable. The lighting could hit the ground 3 inches from the cable and it won't affect the devices within the network such as switches, access points, routers, media converters or servers.
- Doesn't cost to much more than just using a regular cat 5e/6 cable. The total cost for my 300 ft run including networking electronics, cable, conduit, and blue vipor is under $300.00 USD.
Digging the Trench
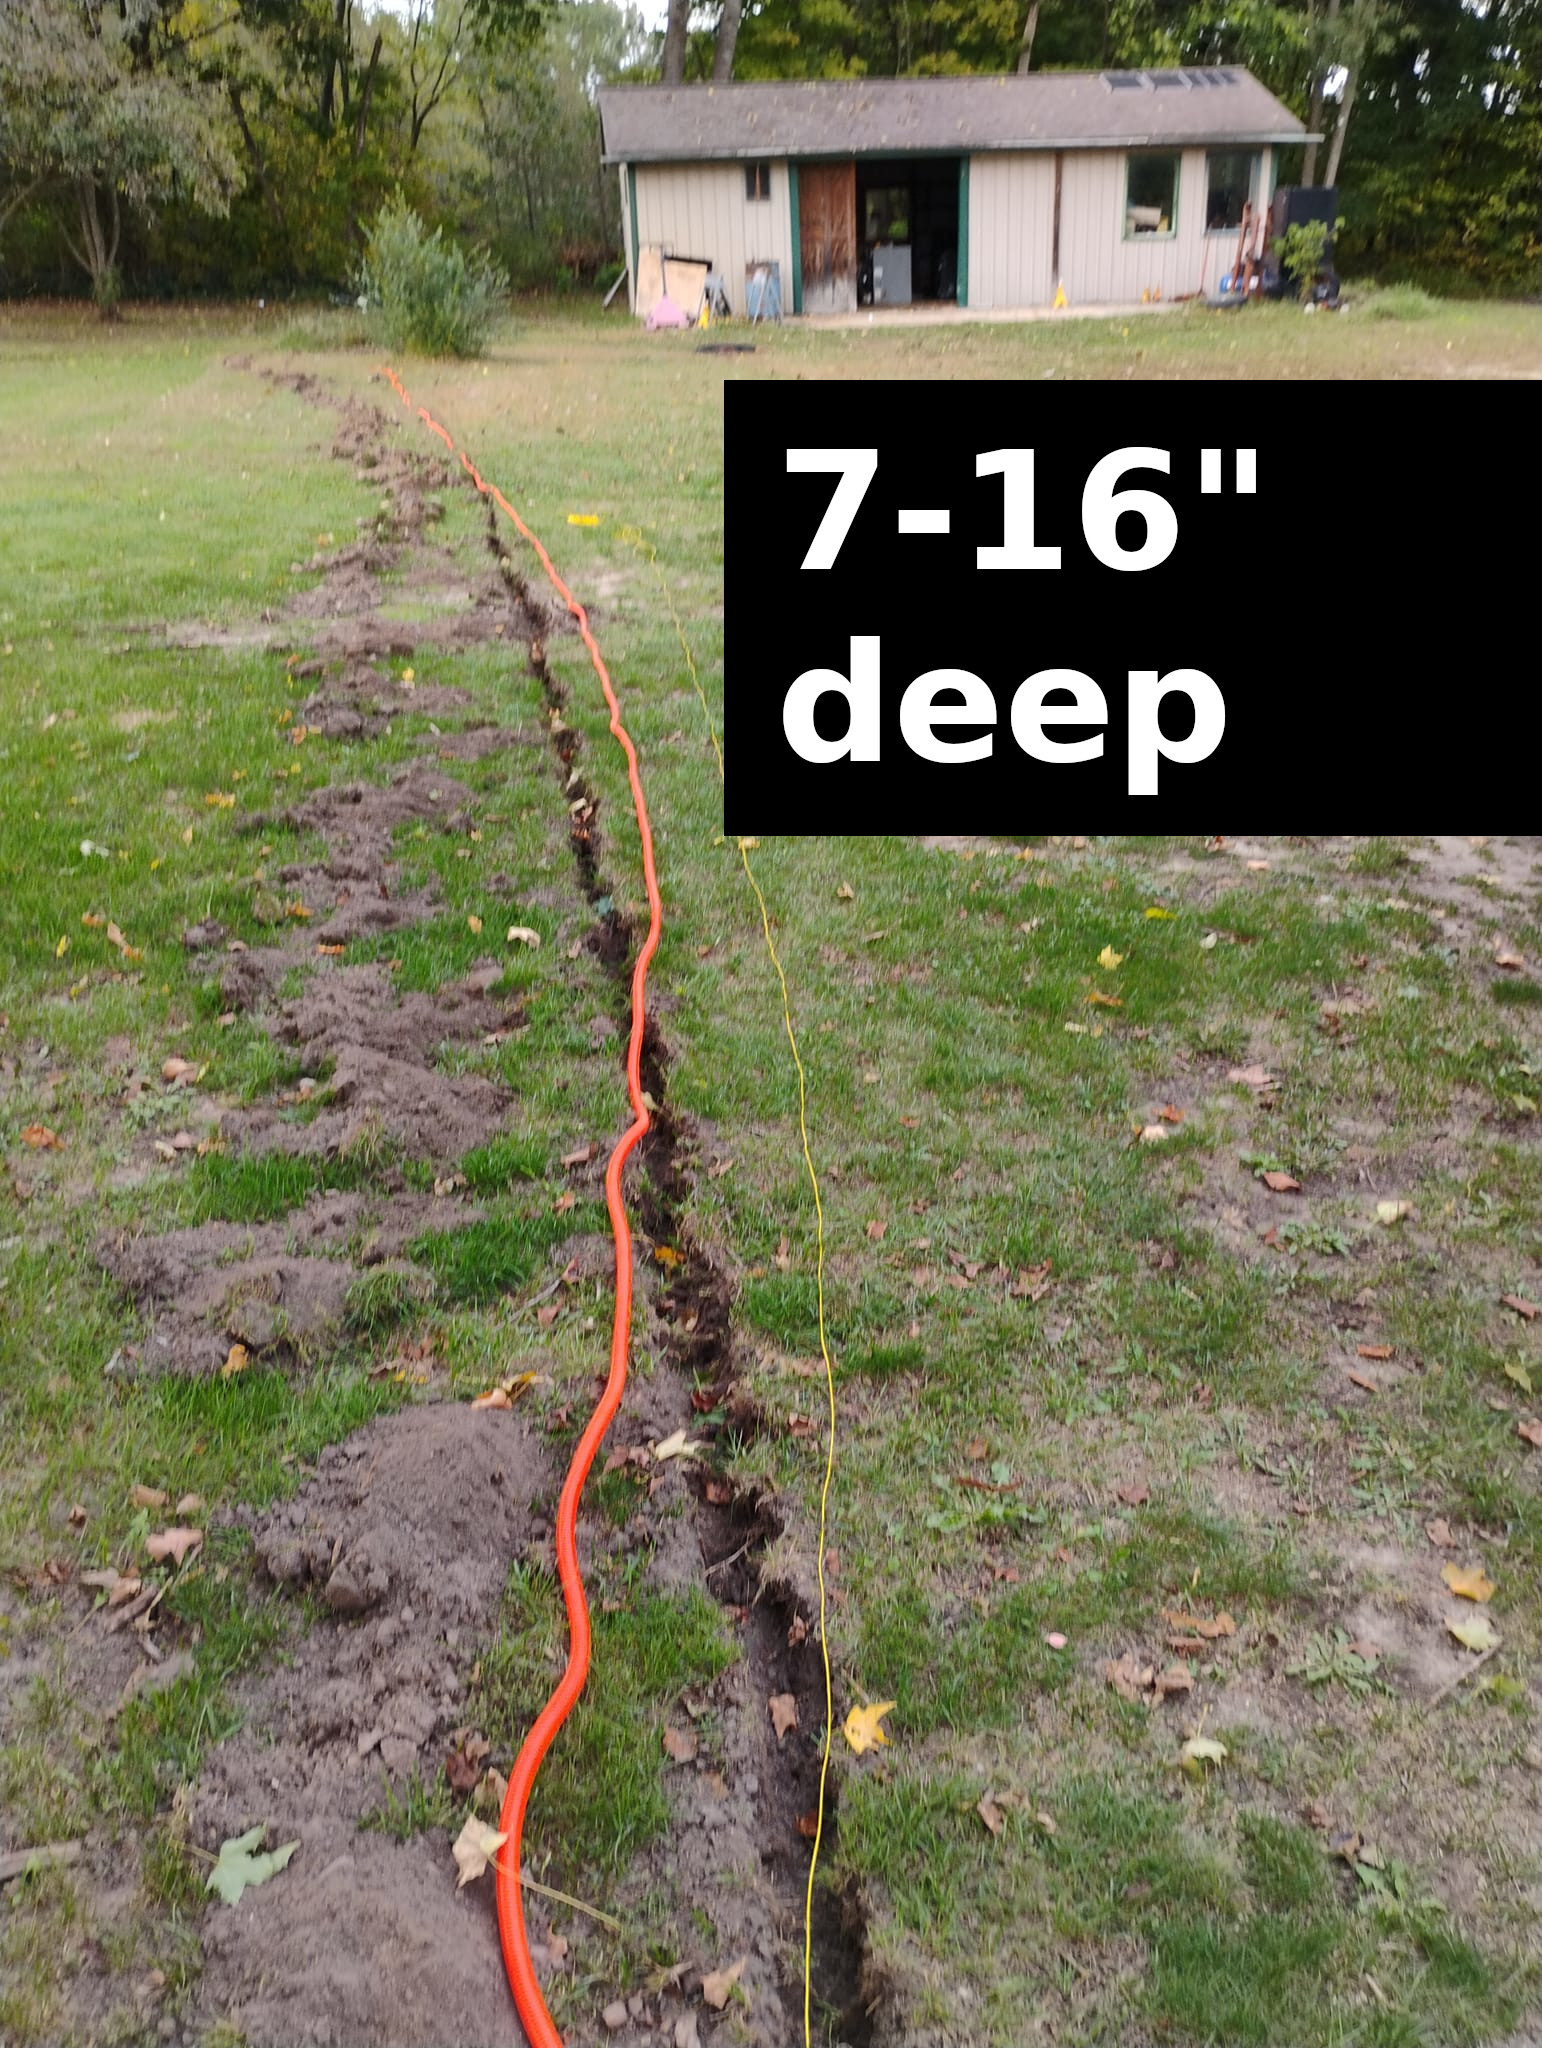
Unfortunately, equipment such as a gas powered trencher or a skid steer was not in the budget for this project. Typically it is a good idea to get the cable "below the frost line". In my case, for south central michigan the frost line would be at 45 inches below surface! Ended up having to settle for 16" below surface or the max depth of my hand tool. Three months in it has worked great but the cable is in heavy duty conduit.
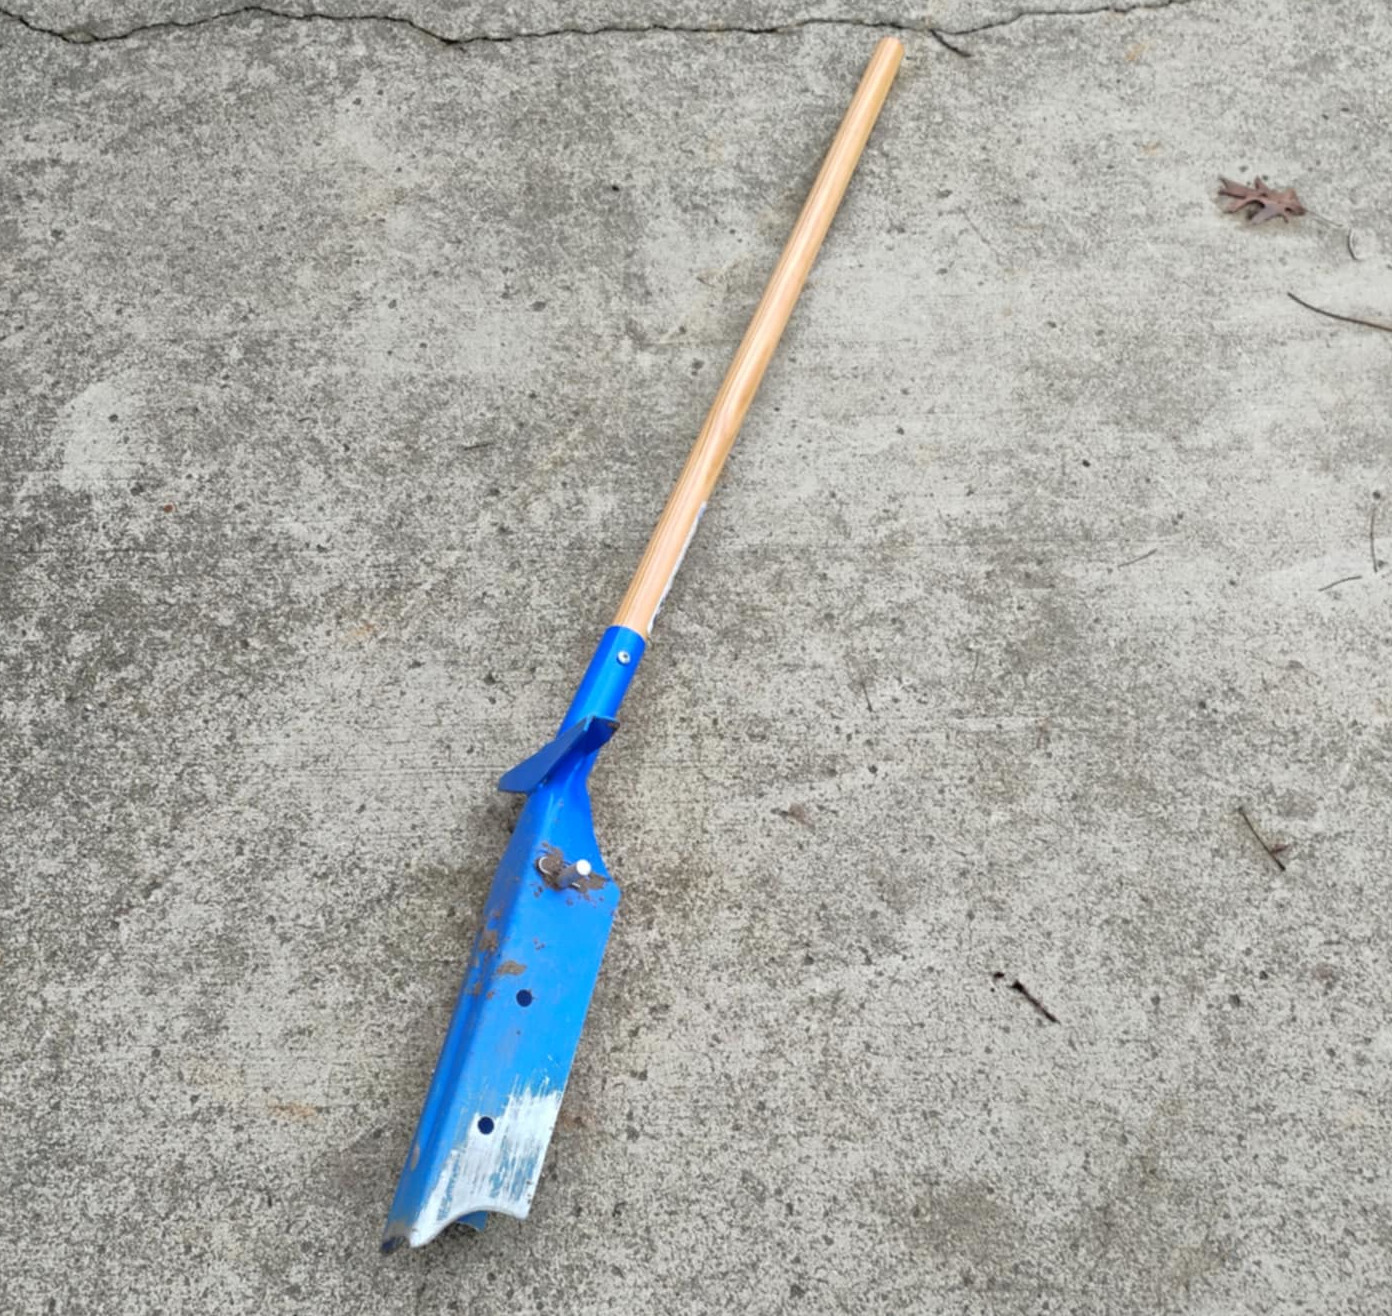
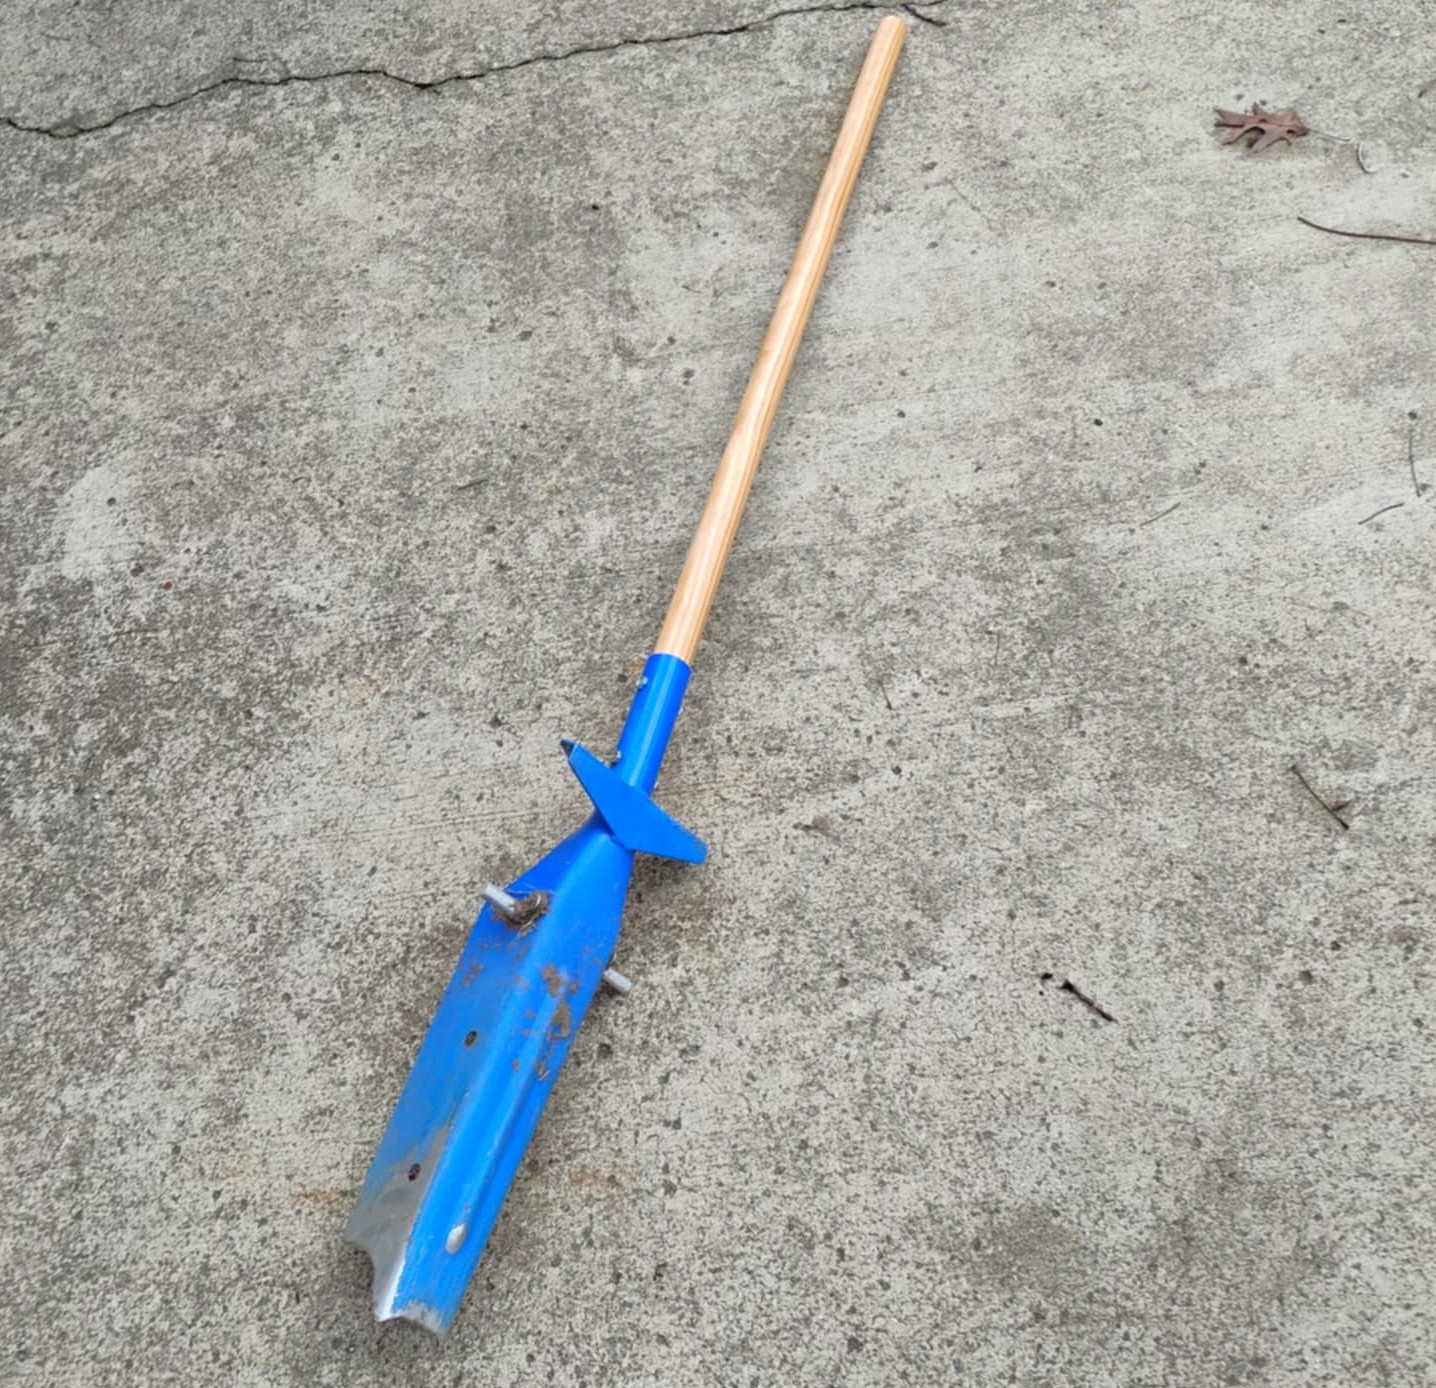
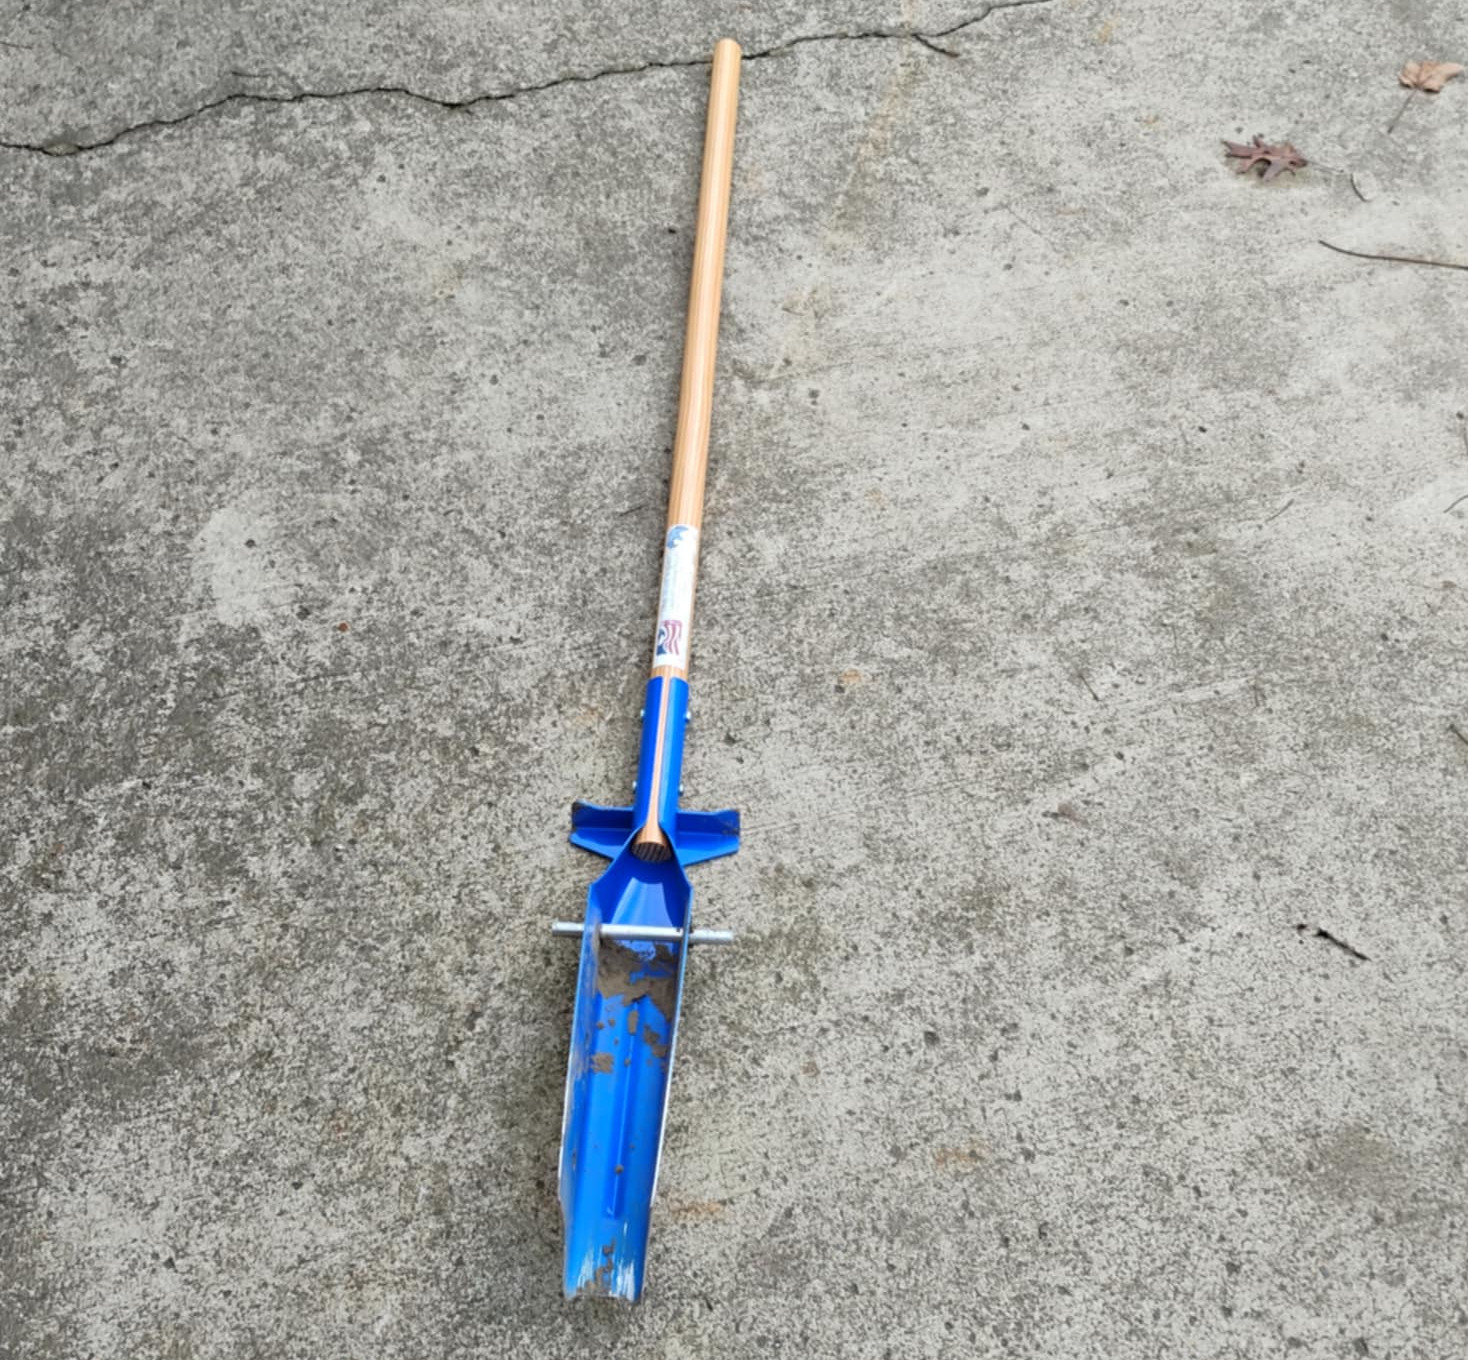
Viper Trench Shovel
Digging the tench by hand was a multi-day project that turned into a 2 week long project. I ended up using the blue viper, a hand tool from Lehmans, which is a handy made in USA tool to make trenching easier. Although a lot easier some spots were just plain hard. Some spots shoveled like slicing cake and others where a massive pain.
The viper trencher makes life a lot easier if you don't have the money or know-how for trenching machines. You simply align it in the direction you want to trench and step on the pegs. The whole shovel then sinks into the ground, as if slicing cake. It works impressively well in areas with no sticks or gravel however in areas with a lot of sticks it still works but you may have to shovel multiple times and it may not be as deep as 16".
The viper goes up to 16" and has an aluminum pin where you can set the depth. It has holes at 6" 12" and 16" depths so when you step on the pegs you know how deep you are.
The Cable
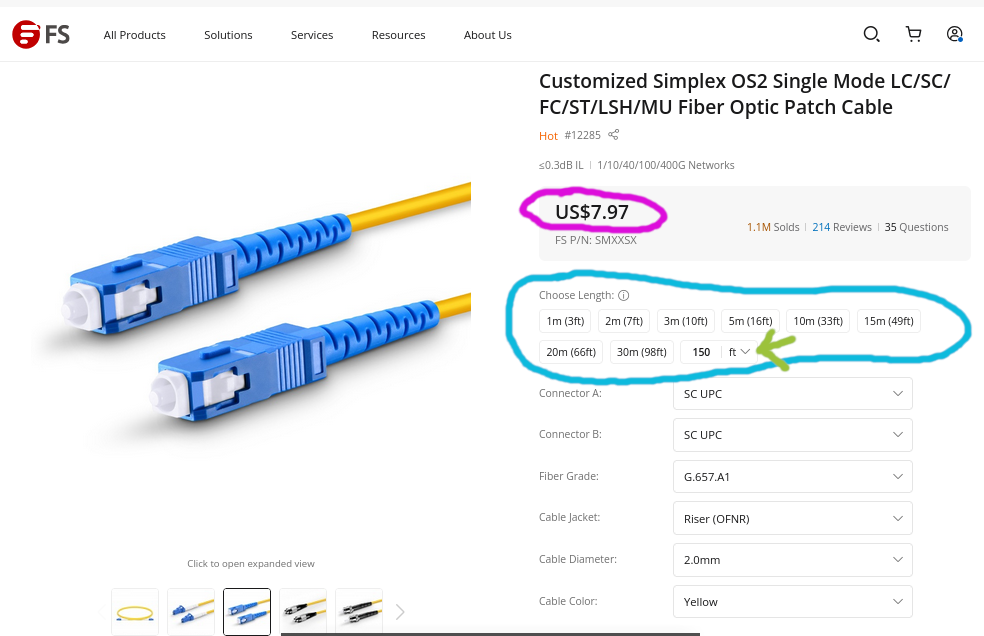
I needed around 90 meters or 300 foot of cable to complete my run. I chose FS.com because you can order customized cables straight off their website. For the price, you cannot go wrong with their cables. You can customize the color, length of your cable, the quality, and connectors on the end.
CLICK to ENLARGE
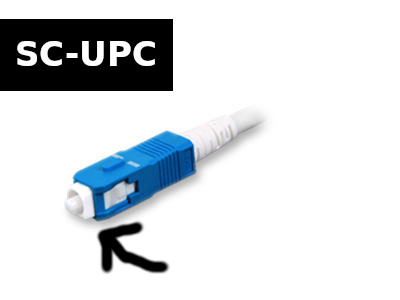
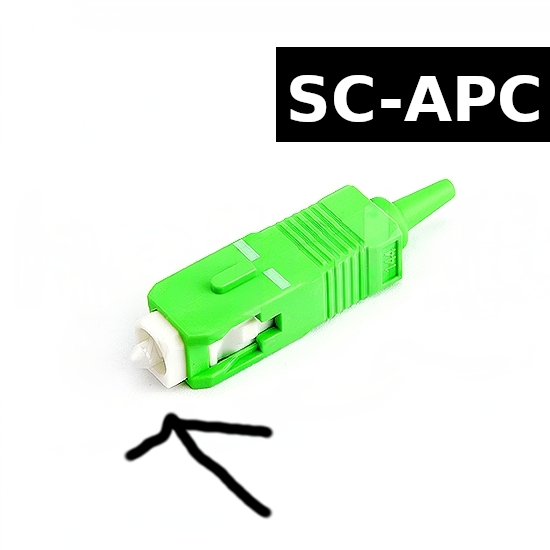
NOTE: A way to diliminate SC-UPC as opposed to SC-APC is the color of the connector. Typically an SC-UPC connector will be BLUE while an SC-APC will be green. Pictured below is an SC-UPC connector. There is a difference in the angle of the tab. Typically just plain "SC" is also known as SC-UPC.
- Length: 90 Meters / 300 ft
- Connectors: SC-UPC to SC-UPC
- Fiber Optic Mode: Single Mode Simplex
- Color: Yellow
FS.com Lead Time & Shipping
Having a custom cable "made" does take a little longer than simply ordering a pre-made cable as they have to actually schedule your production. In FS.com the factory is located in China so therefore it's shipping from China. In my case, the shipping was great. They use FedEx international which means after they ship the cable you will receive it within 1-3 business days. They charge $40.00 to ship to the USA.. I usually had my cables within about 30 days after ordering.
- Shipping Carrier: FedEx International
- Shipping Cost: $40.00 USD
- Typical Time to Receive: ~30 Days
Conduit for Cable
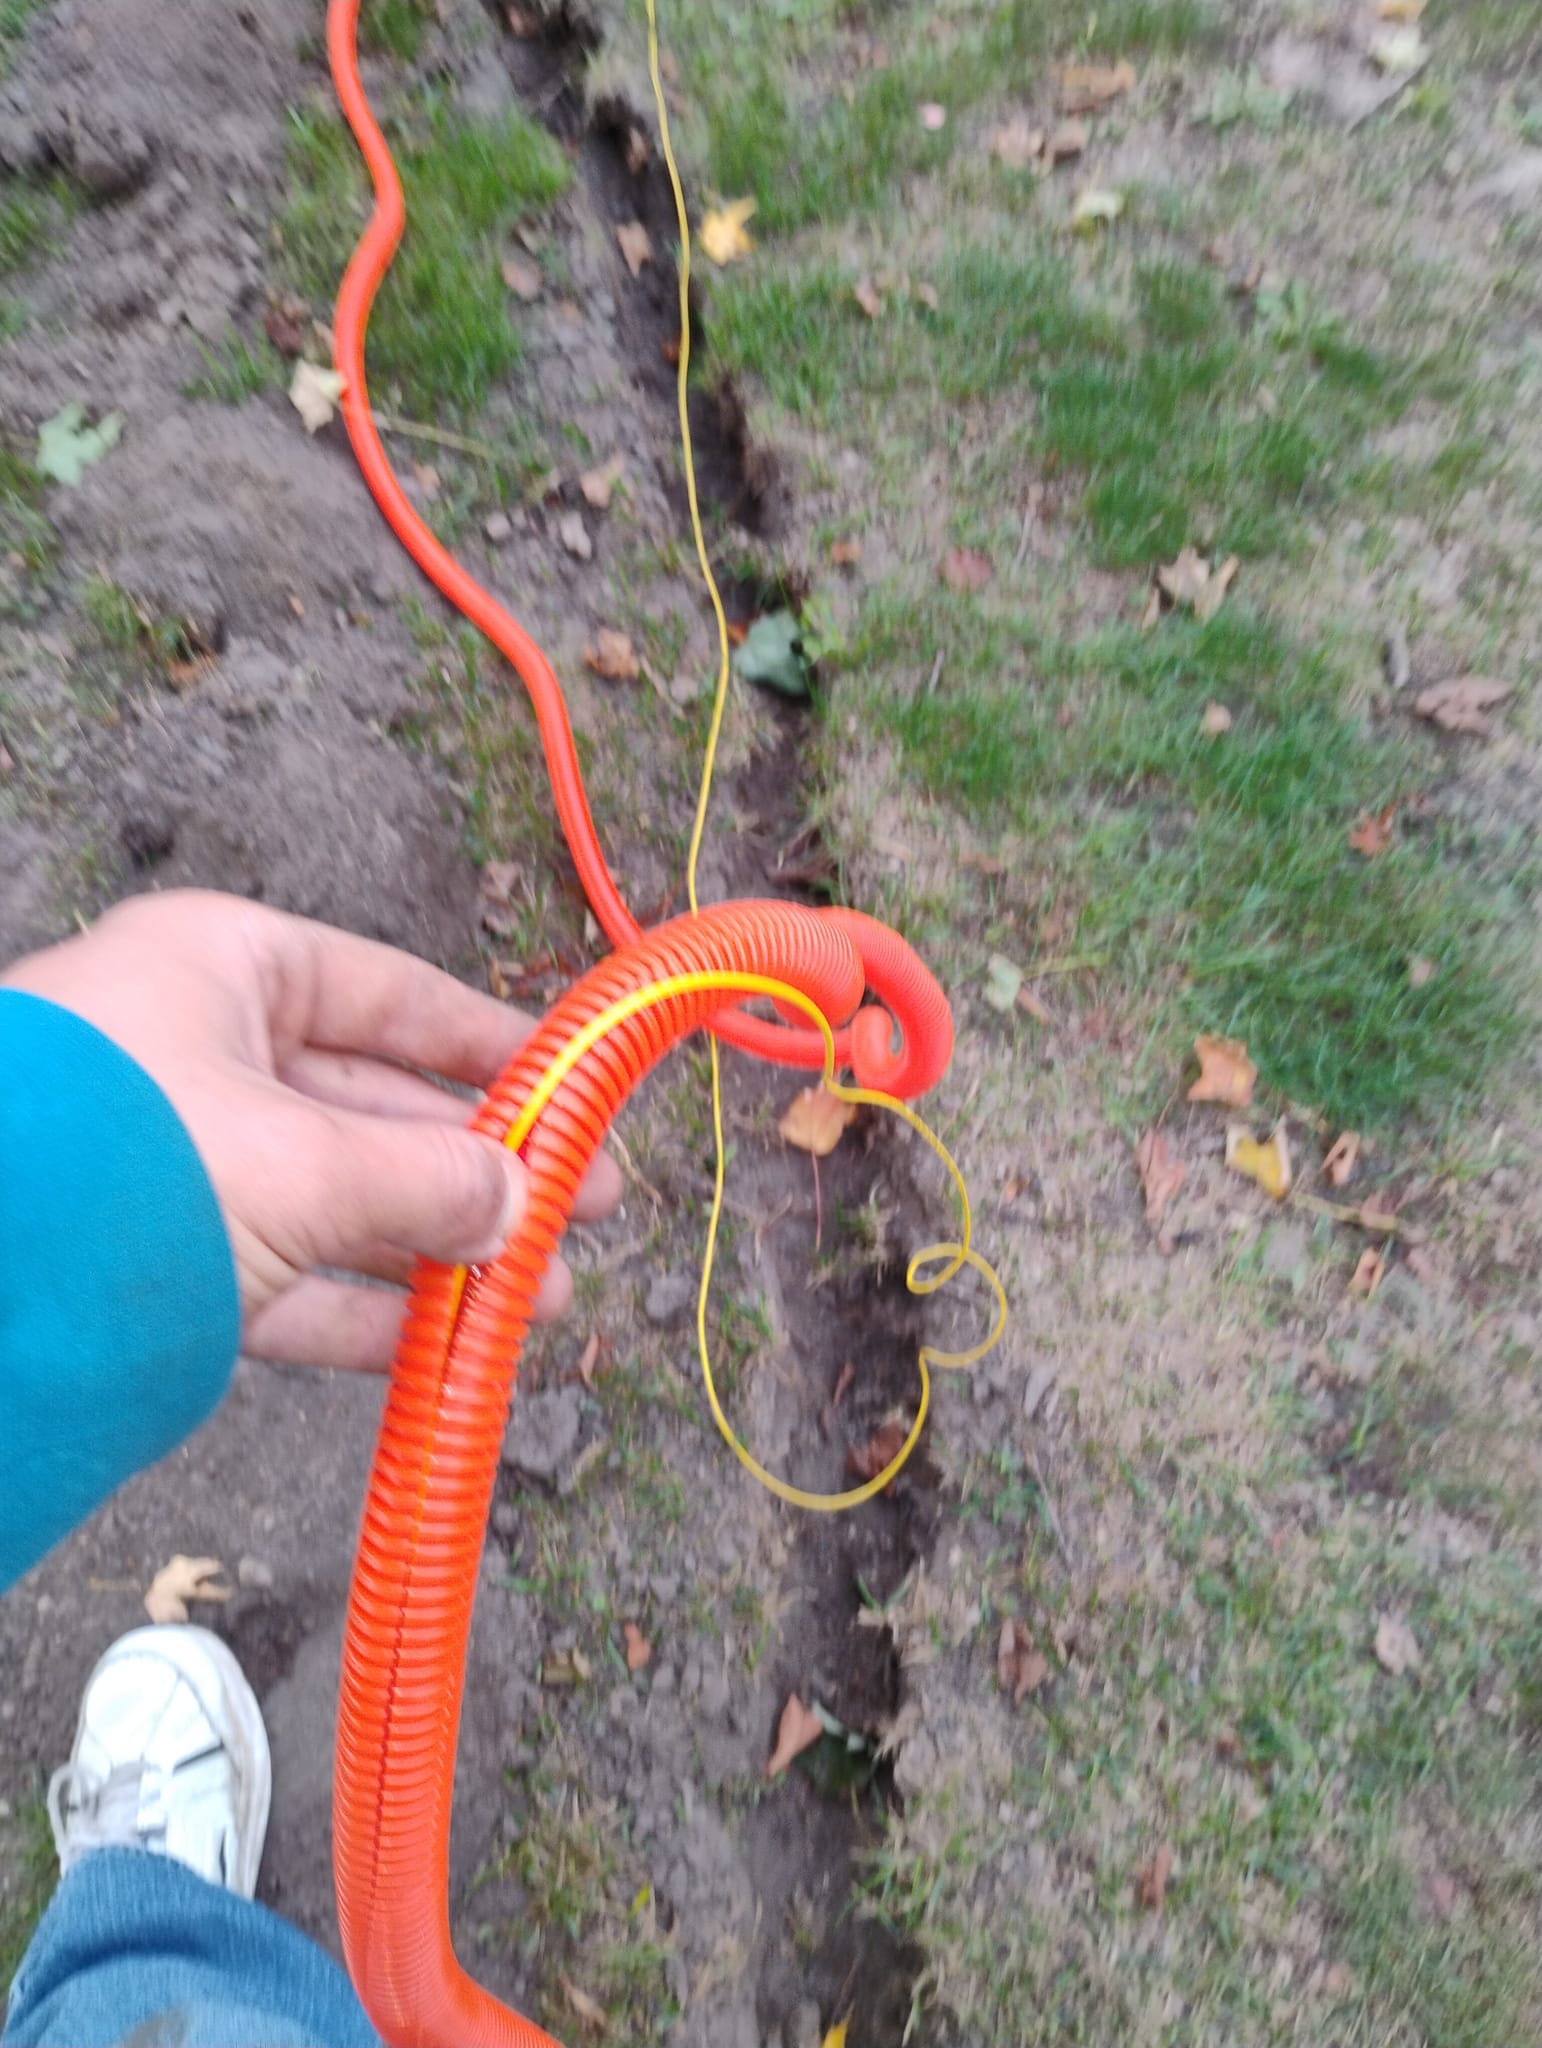
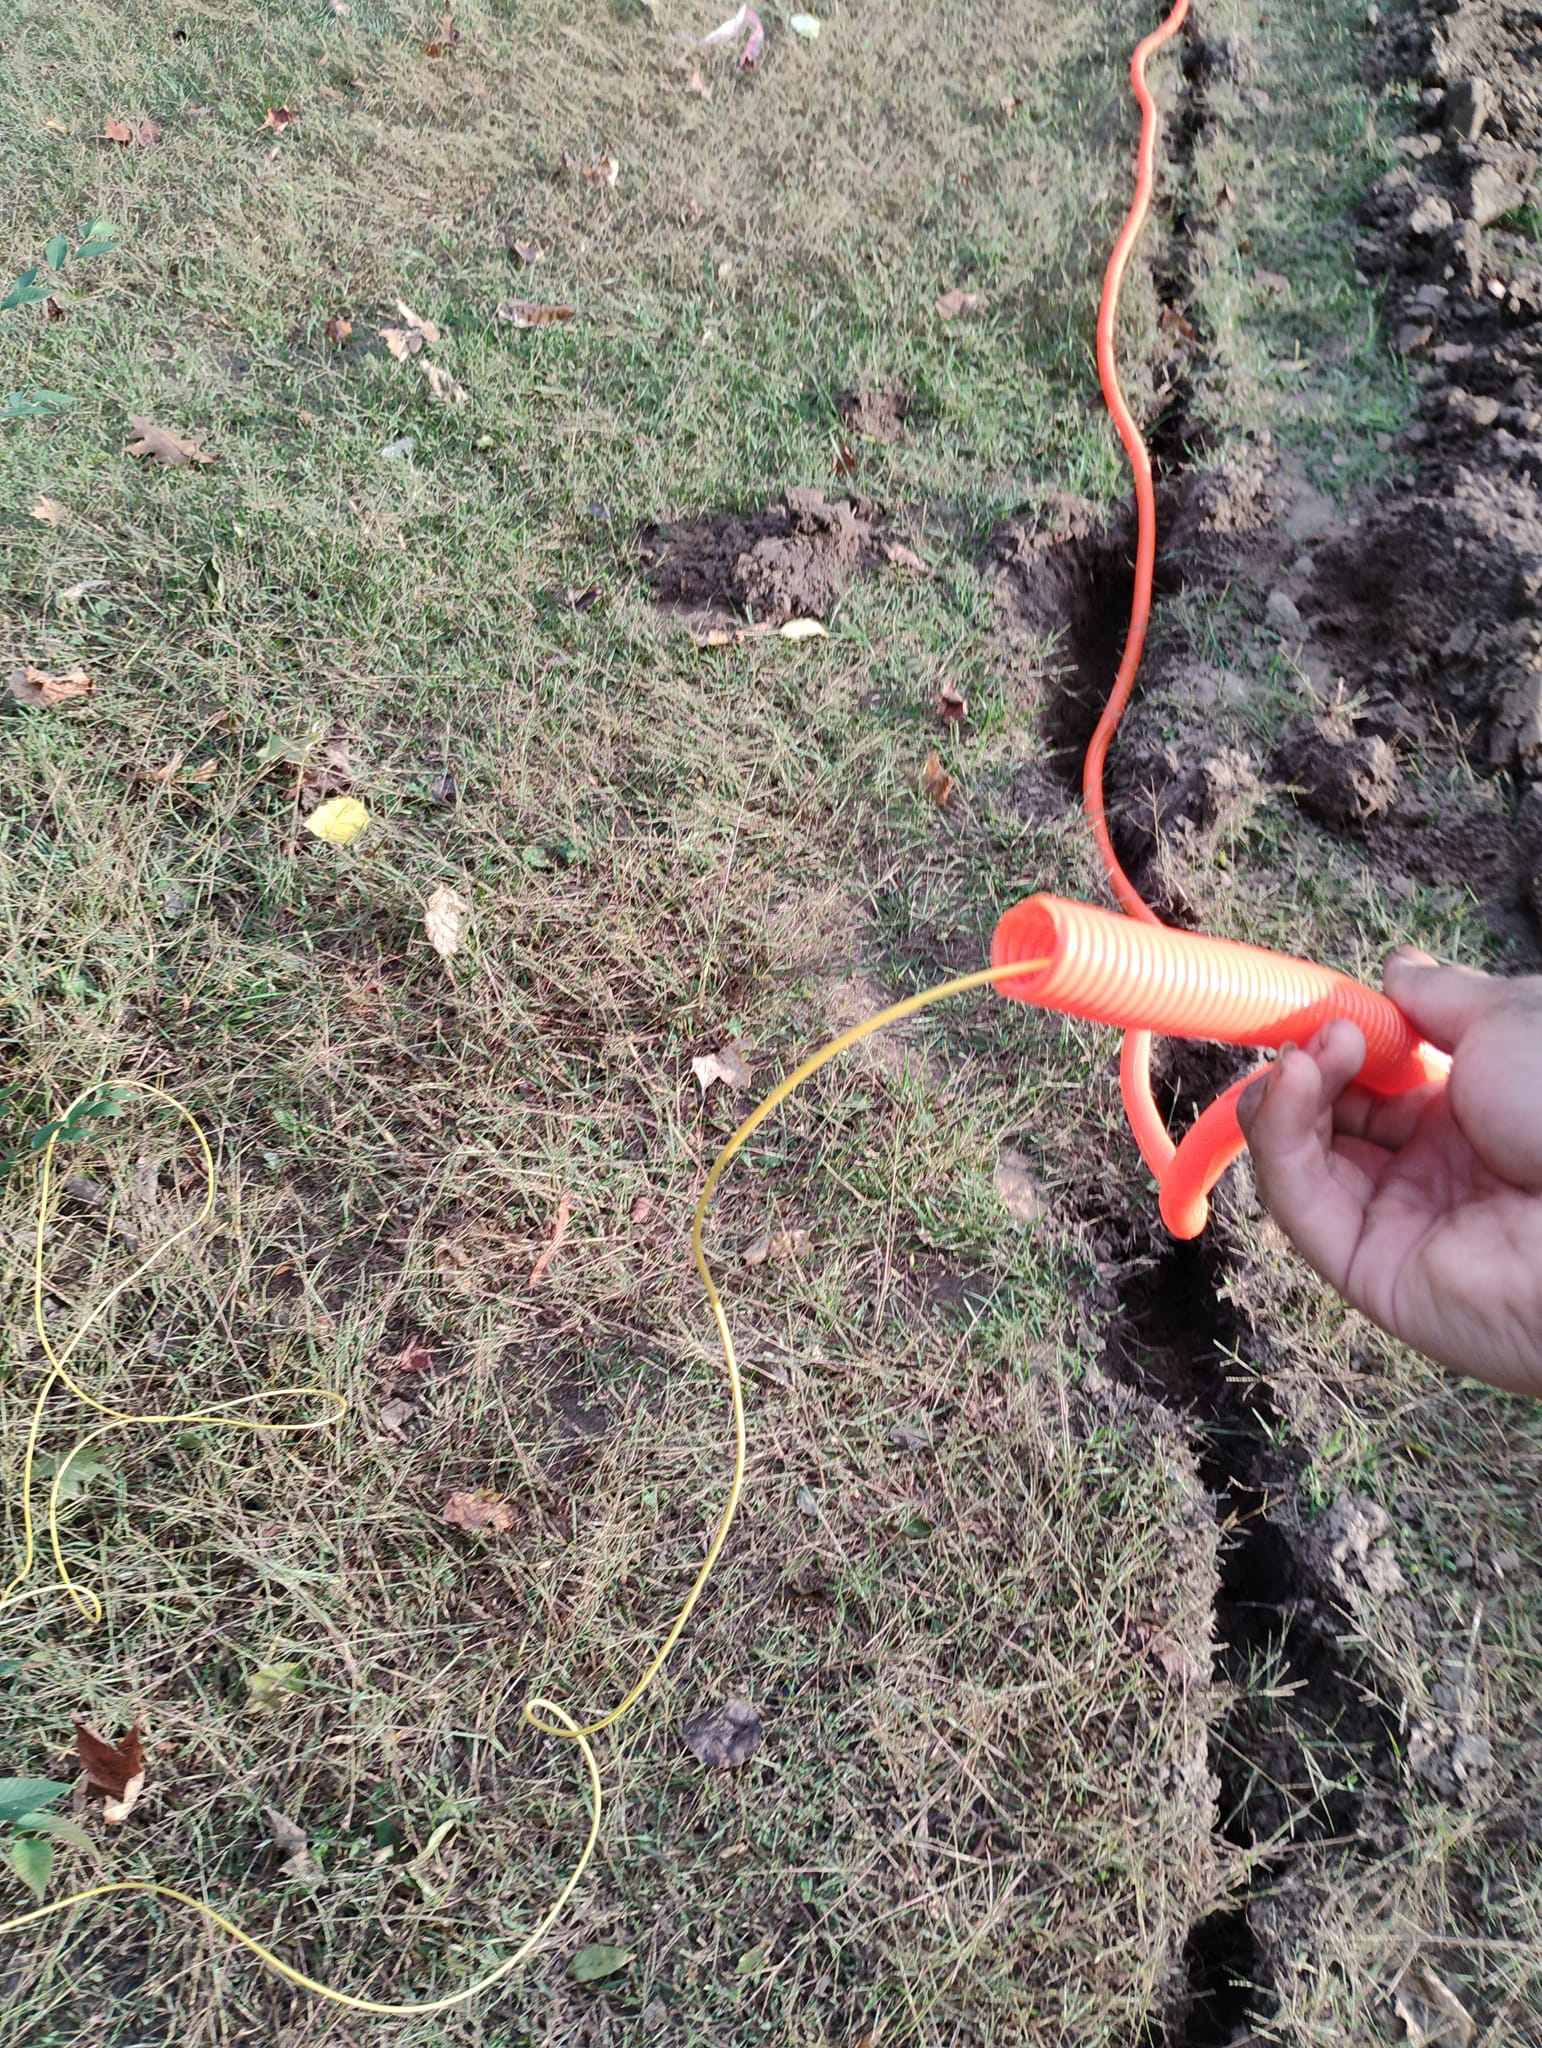
When it comes to cabling you have cable made for indoors and cable made for outdoors, or direct burial cabling. In my case, I decided to just use regular indoor fiber optic patch cable as opposed to paying for direct burial. This means however that the cable has to have a conduit. I purchased orange 3/4" corrugated conduit from Amazon that has a slit down the middle. The slit in the middle makes it so cable insertion is easy.
Since the cable is slit I decided to wrap the conduit in plastic saran wrap. Although probably not necessary, once the conduit is packed in under ground the conduit will be held together.
Media Converters
It is imperative to select the correct media converter combination for your needs. In my case, I wanted a full 1000 Mbps or a gigabit to all aspects of my network. You can pick a media converter with an SFP module or just a media converter with the fiber optic ends built in. For the garage, I picked TP-LINK's 12 mile built in SC port single mode simplex media converters.
For my other networking needs I picked TP-LINK's media converters with SFP modules. I think the converters with modules are better because you can pick and choose what kind of modules you want and you can more feasibly run a media converter straight into a switch.
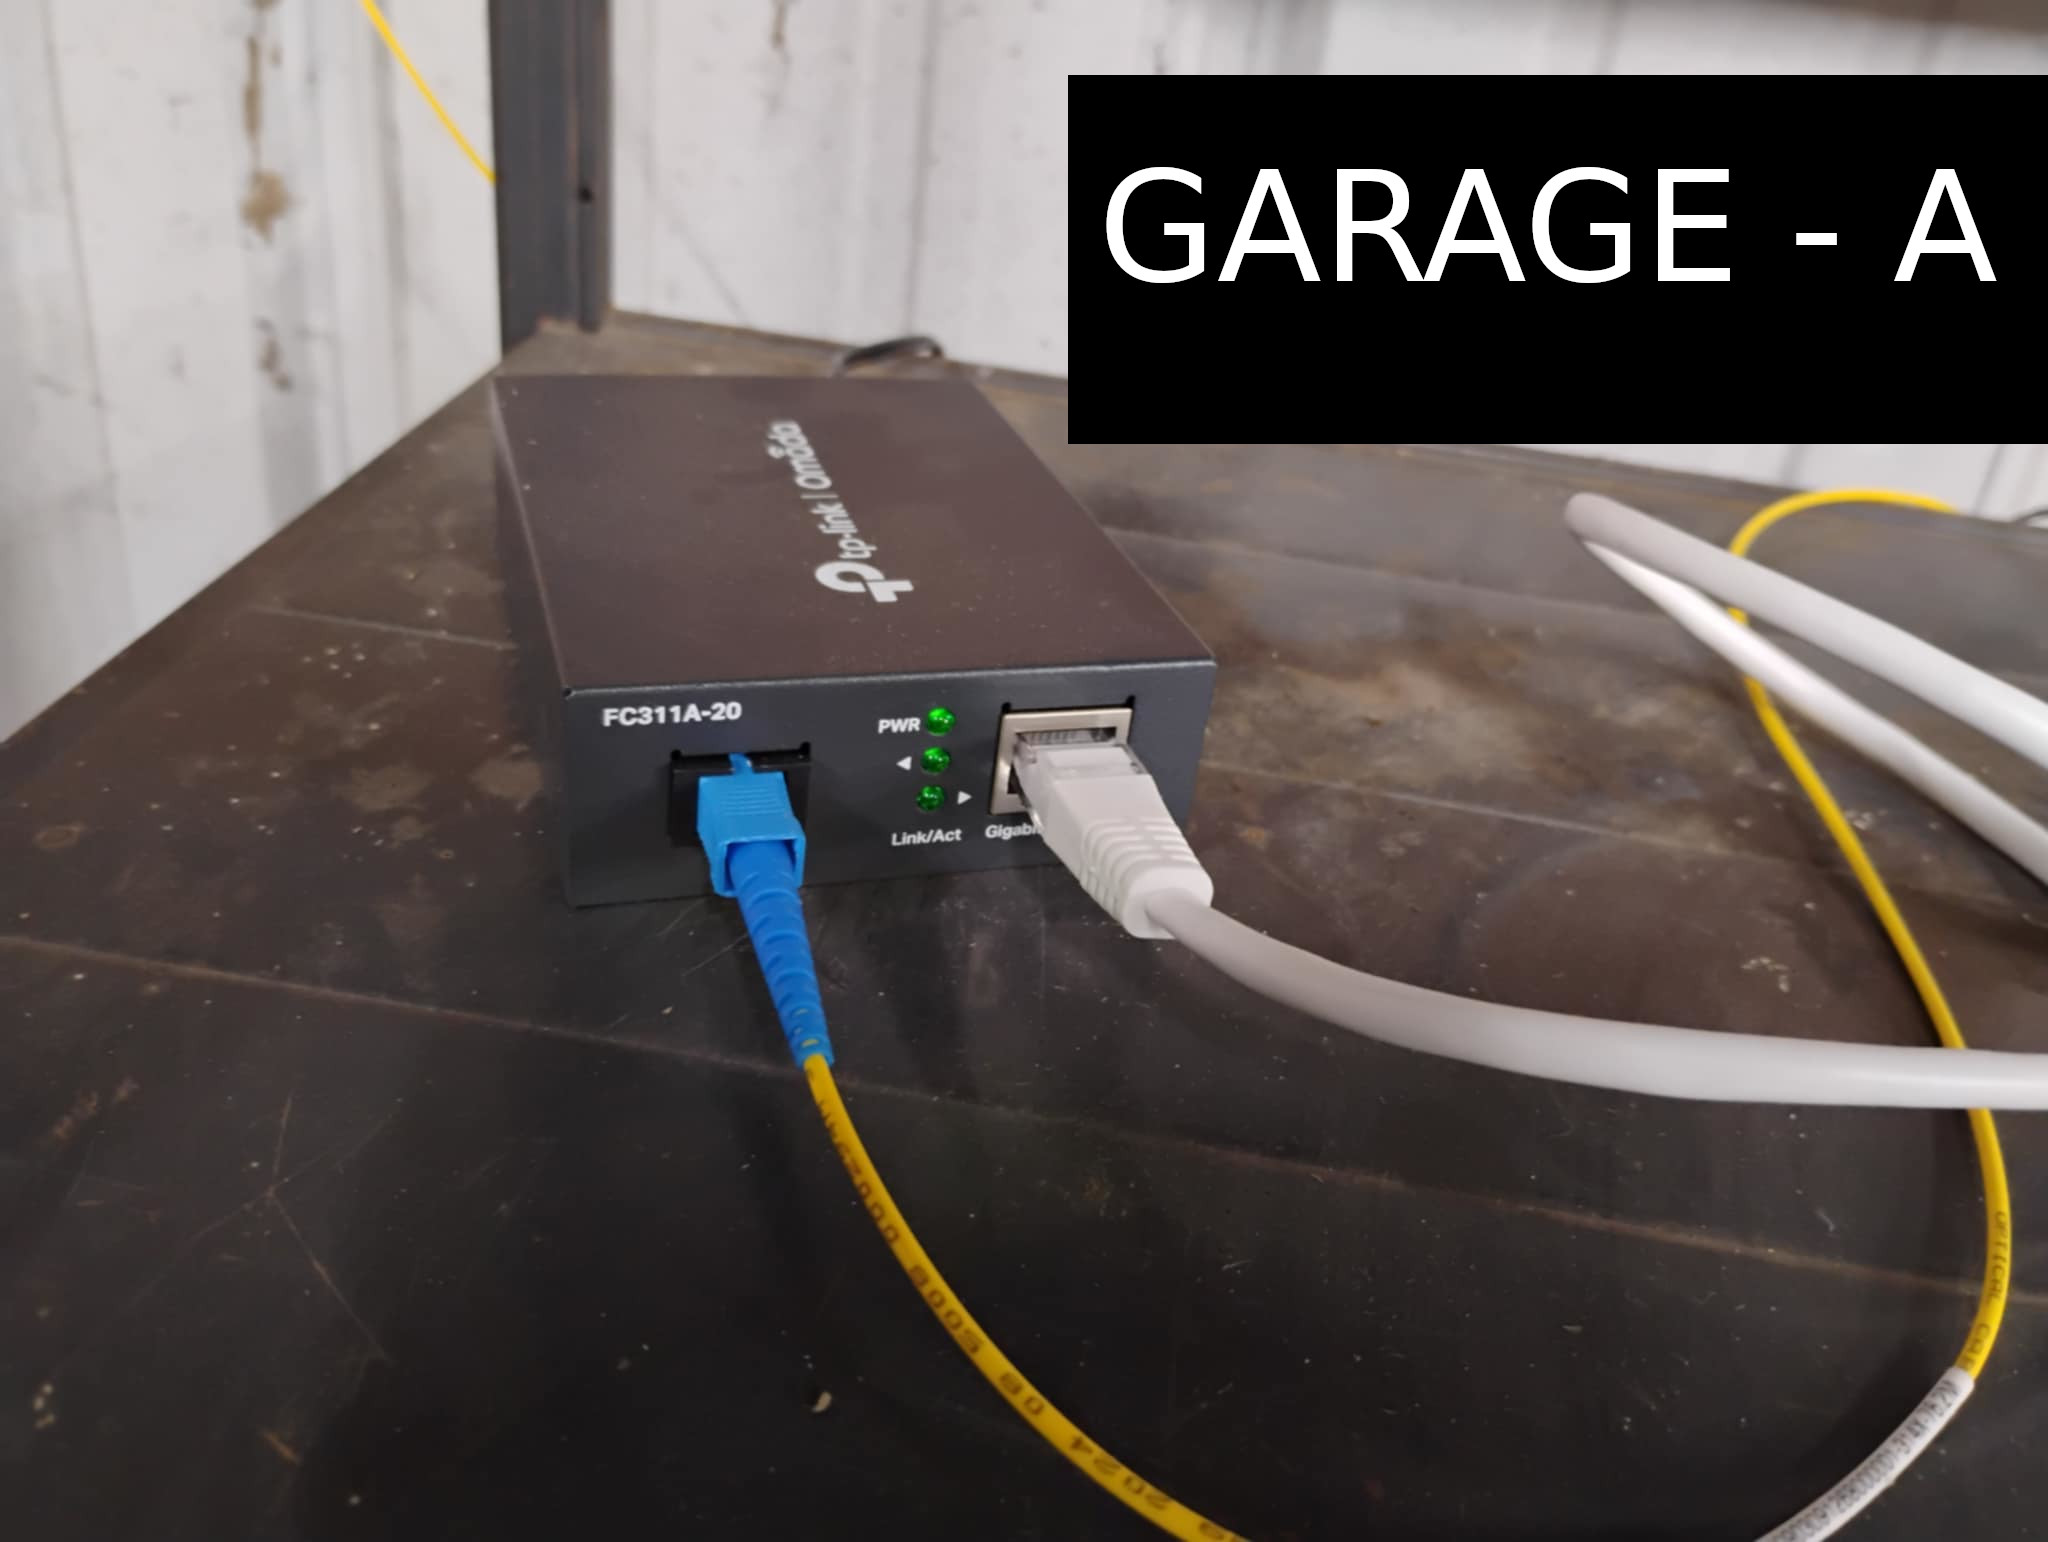
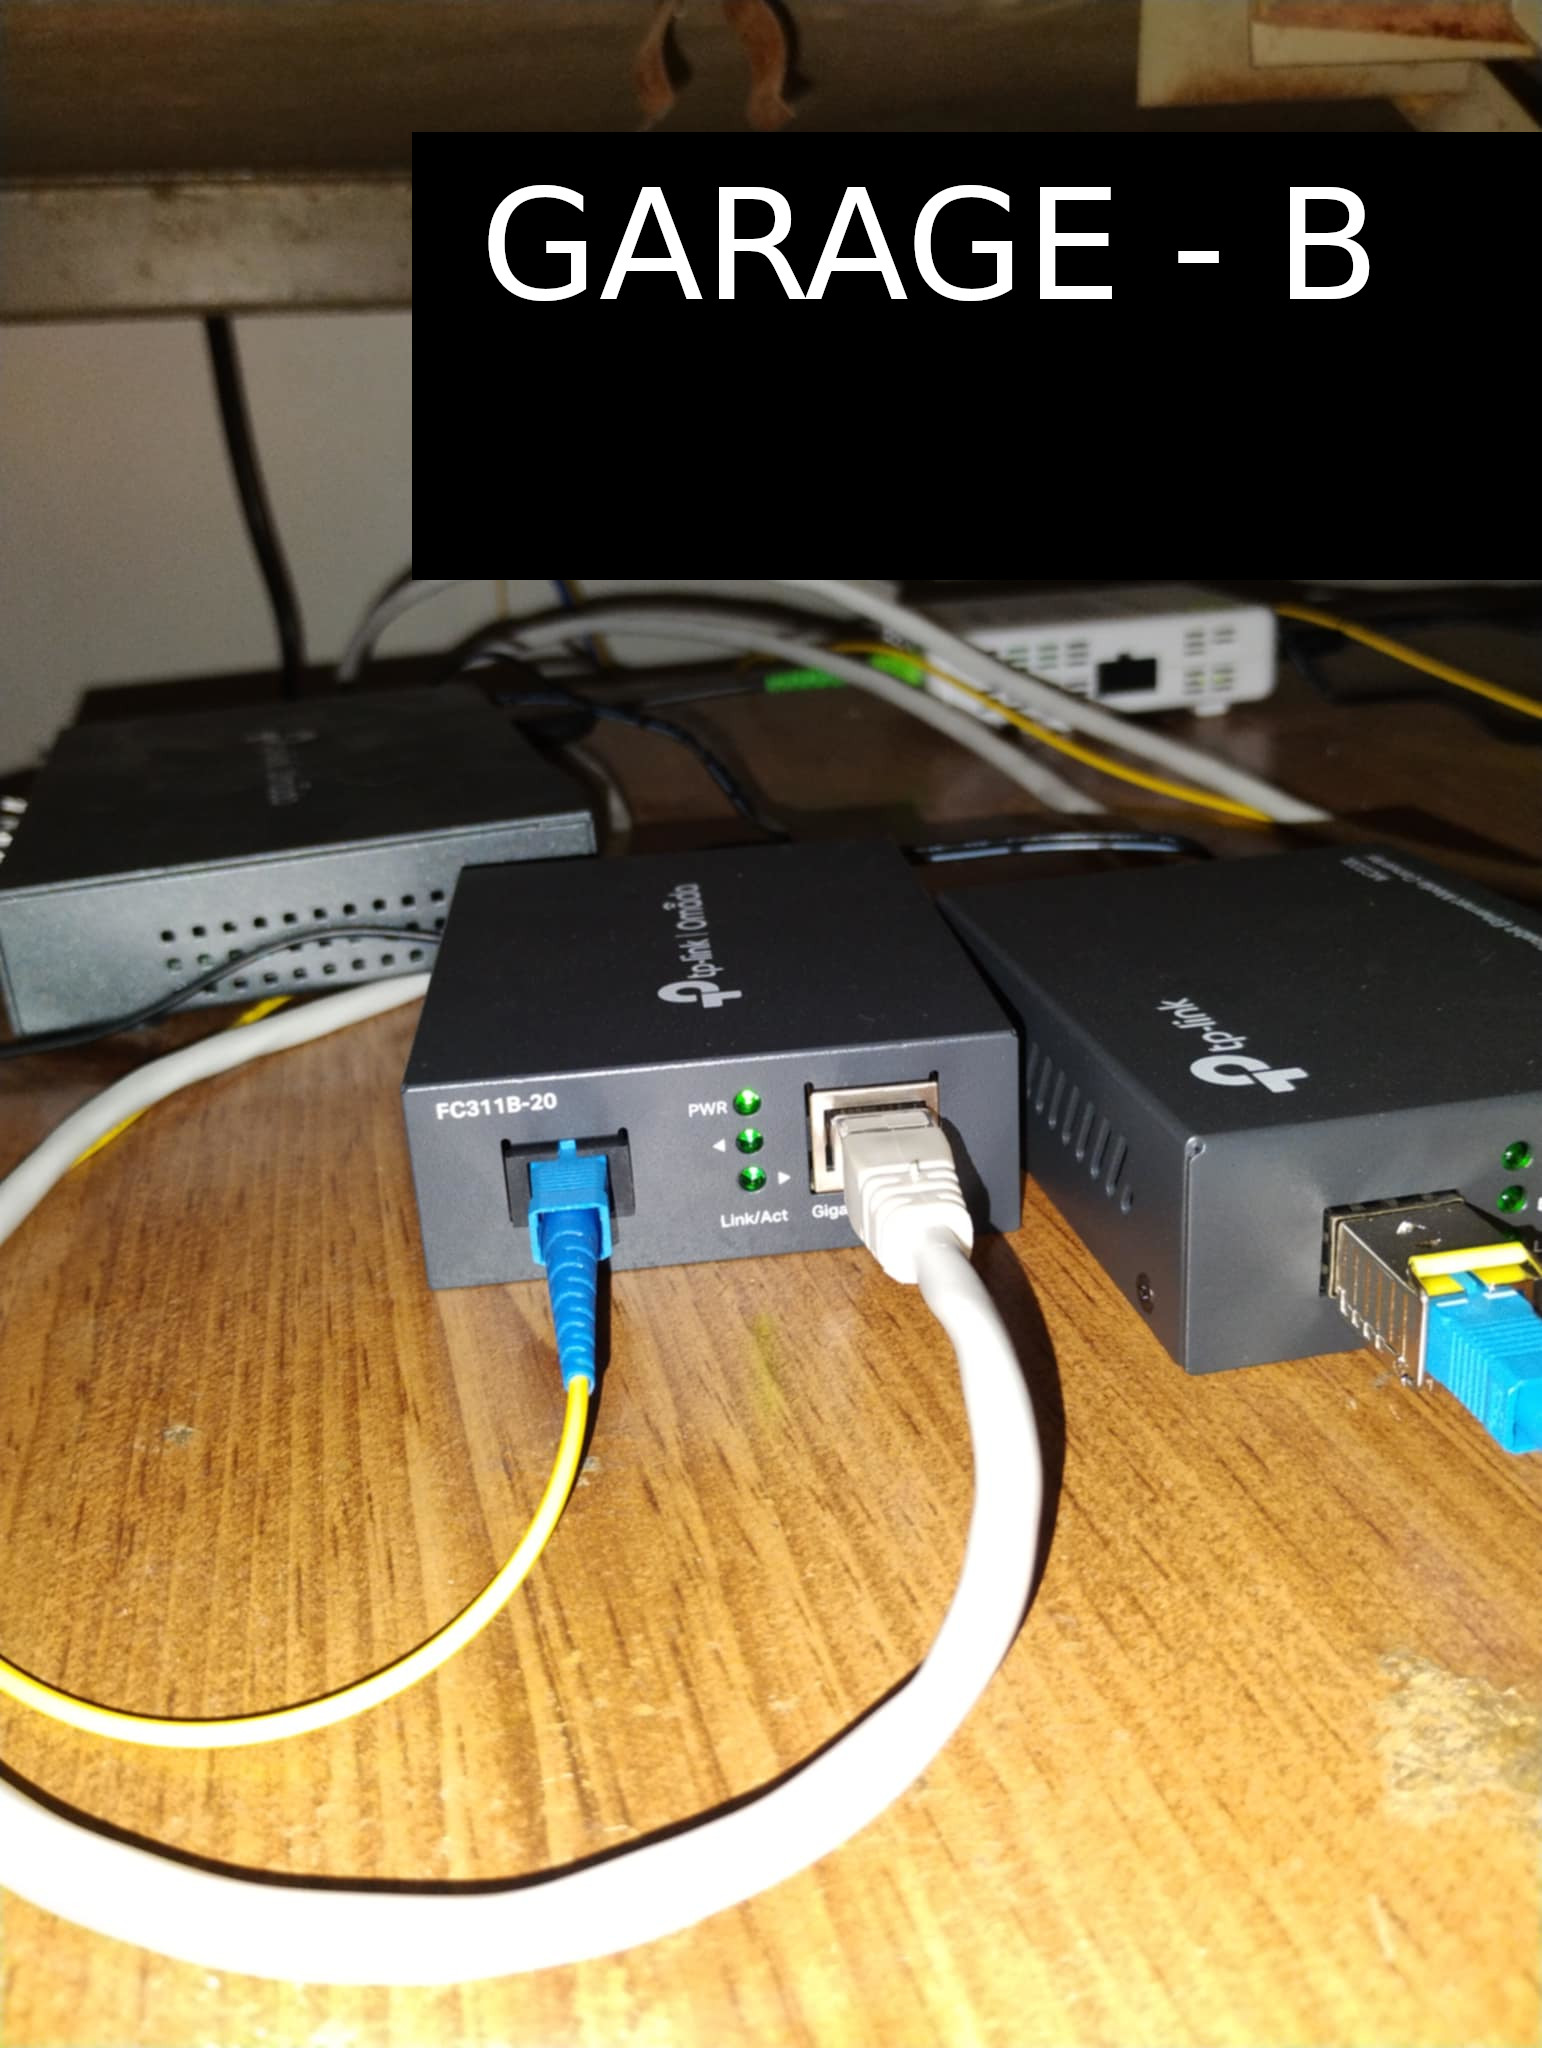
Click to Enlarge images. Notice the model number variations so that these two (2) media converters will talk to each other.
When selecting 2 media converters for an installation, it is essential to make sure you're selecting the same distance, bandwidths, fiber optic modes, and opposite fiber optic frequencies. Media converters should be implemented in pairs.
Garage Media Converters
- Brand: TP-LINK
- Model 1:FC311A-20
- Bandwidth: 1000 Mbps
- Distance: 12 Miles
- Fiber Optic Port: SC / SC-UPC
- Model 2:FC311B-20
- Bandwidth: 1000 Mbps
- Distance: 12 Miles
- Fiber Optic Port: SC / SC-UPC
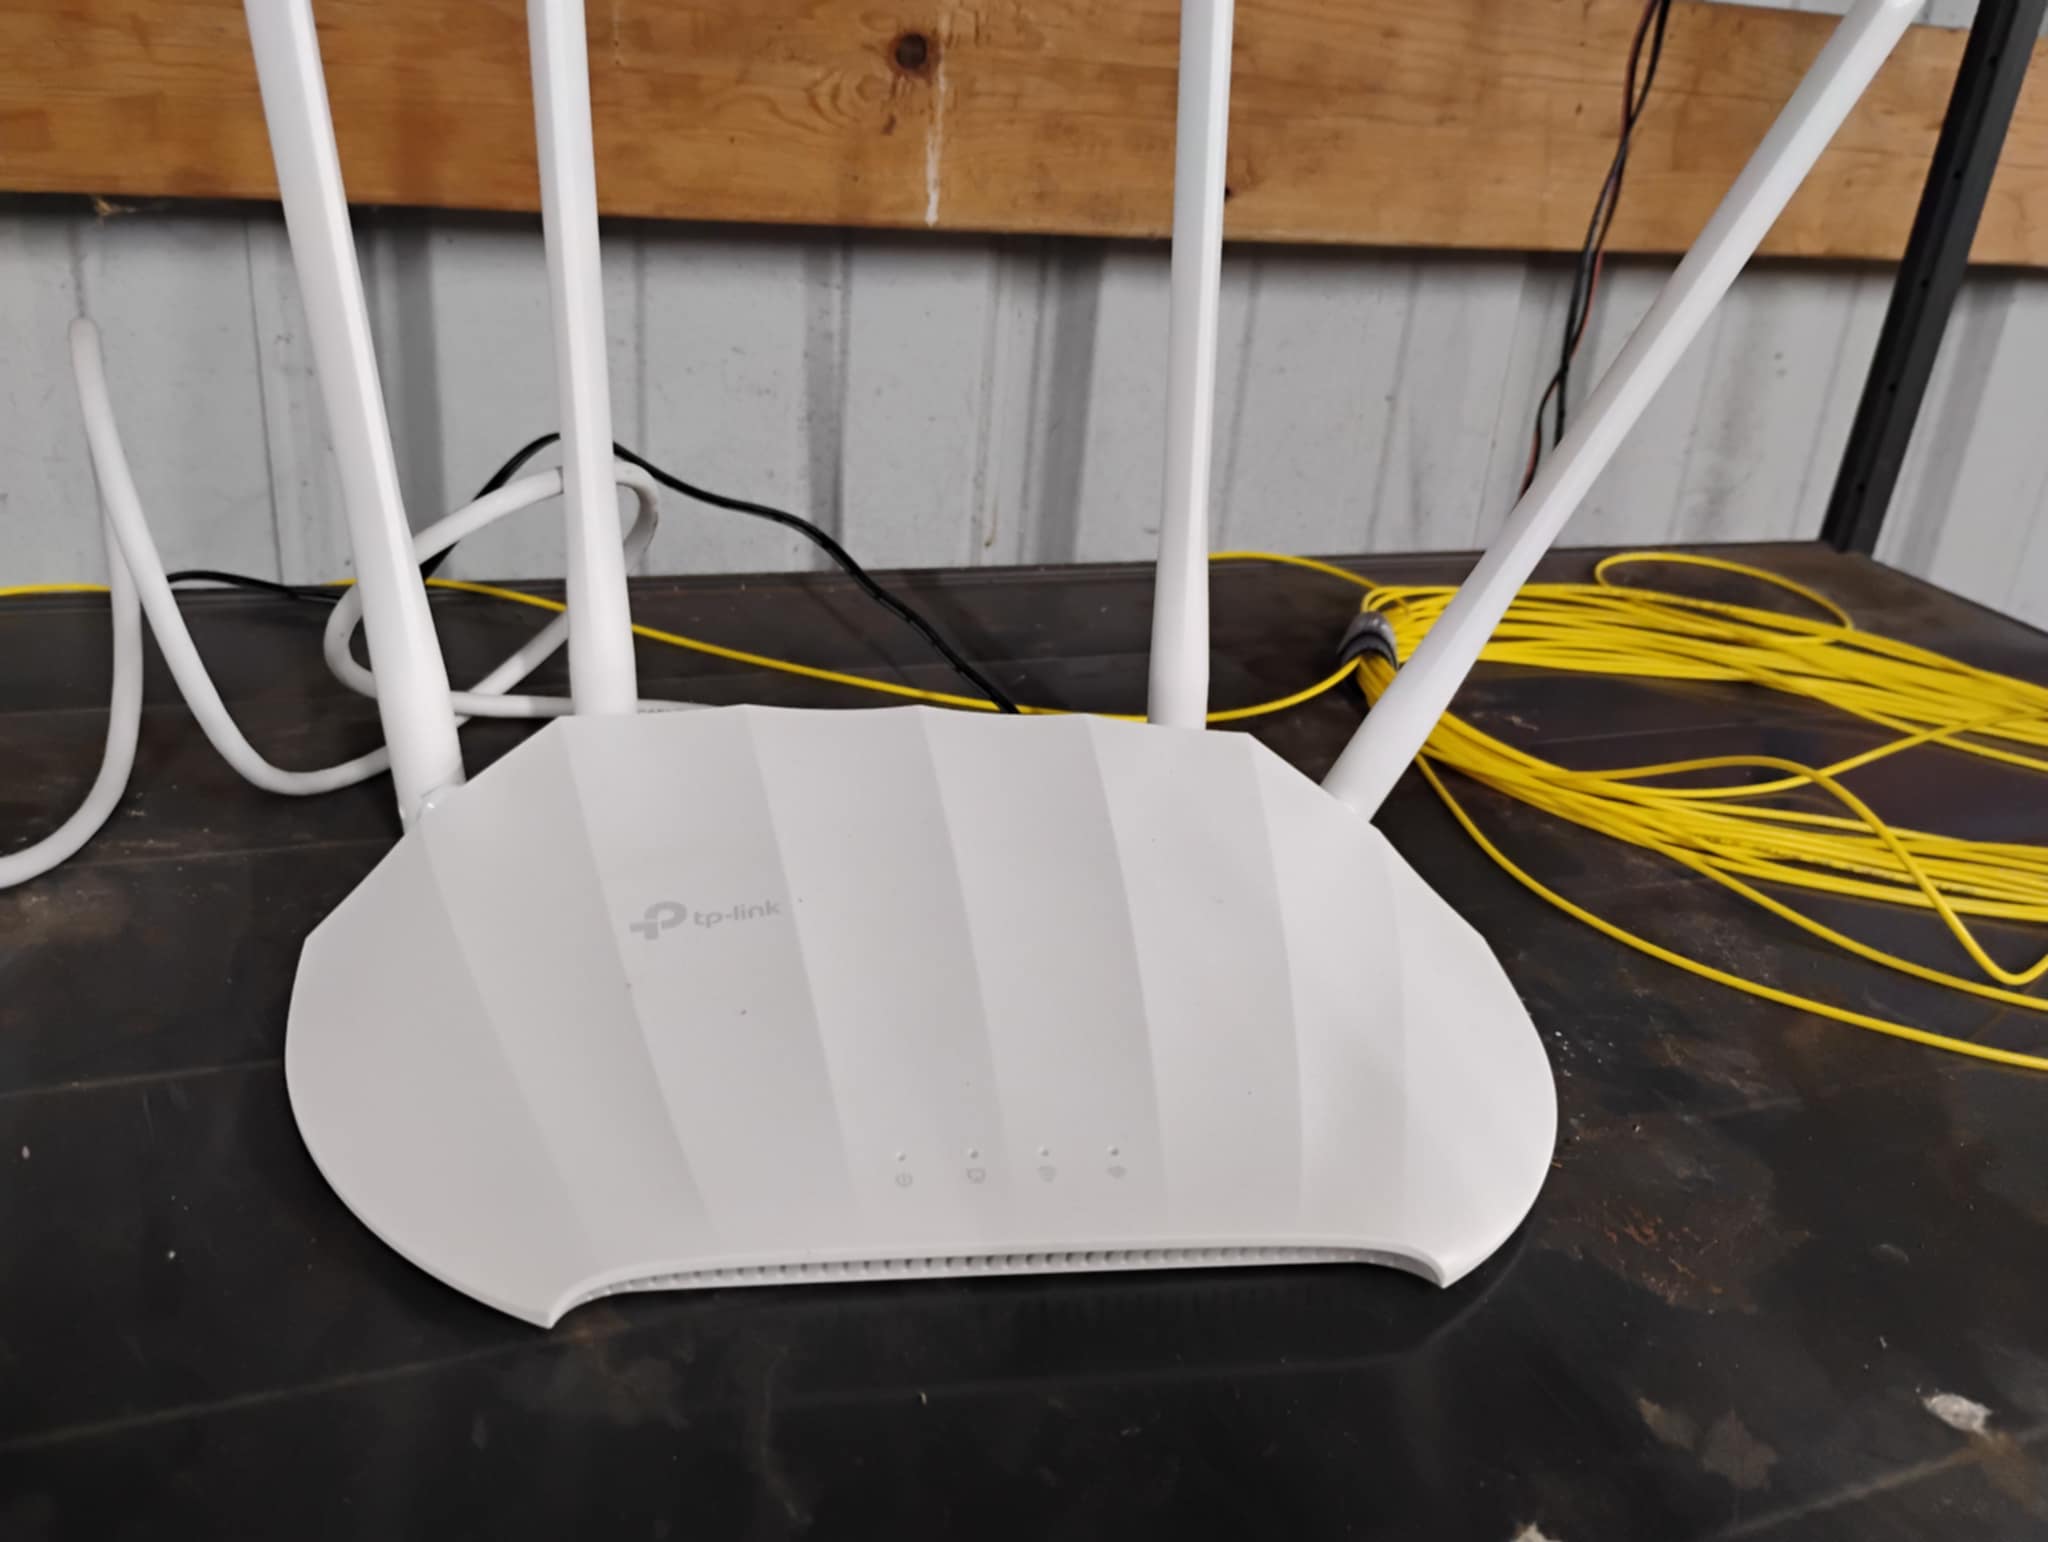
TP-LINK AC1200 - WiFi Access Point
Installing fiber optic to the garage would be almost pointless without having an up-to-date 5G access point. It's very nice to have full scale WiFi connection while trying to DIY repair my vehicles in the shop. Other than operating a desktop computer in the garage, a high bandwidth network is only as good as it's weakest link. The TP-LINK AC 1200 offers high speed and pretty good reliability. It is also quite affordable.
Although I could plug in a port switch to the TP-LINK media converter and then operate multiple wired devices in the garage, I have simply plugged the AC-1200 right into the media converter. This allows the router to do the heavy lifting so to speak and the access point to focus on the wireless radio side of things.
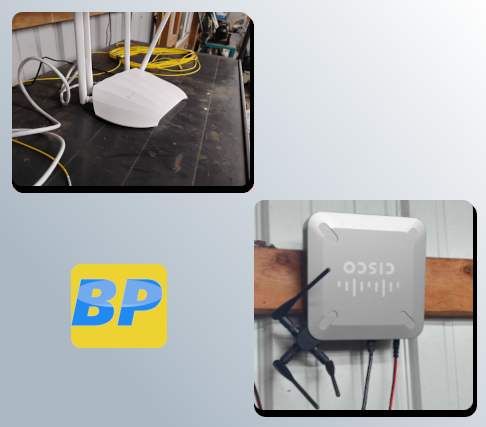
The TP-LINK access point is a major upgrade from the old Cisco WAP4410n which I powered off of solar panels. As of this post I am not running the TP-LINK off the solar system however once summer arrives and the system is producing additional electricity I will be switching it over to the solar system.
So as of writing this posting my network consists of two (2) AC1200 APs. The network works very well with the first AC1200 being in the house. The house access point runs all kinds of cellular phones and a TV that streams Samsung TV plus 24/7. The network operates very well. The first AC1200 was purchased in 2022 and continues to work good.
Fiber optic Networking Performance
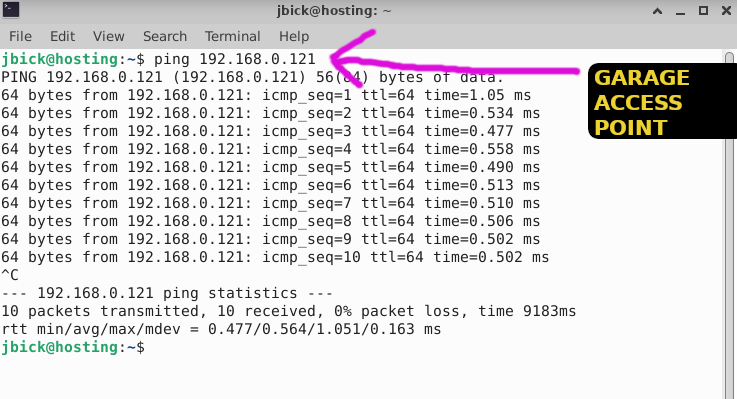
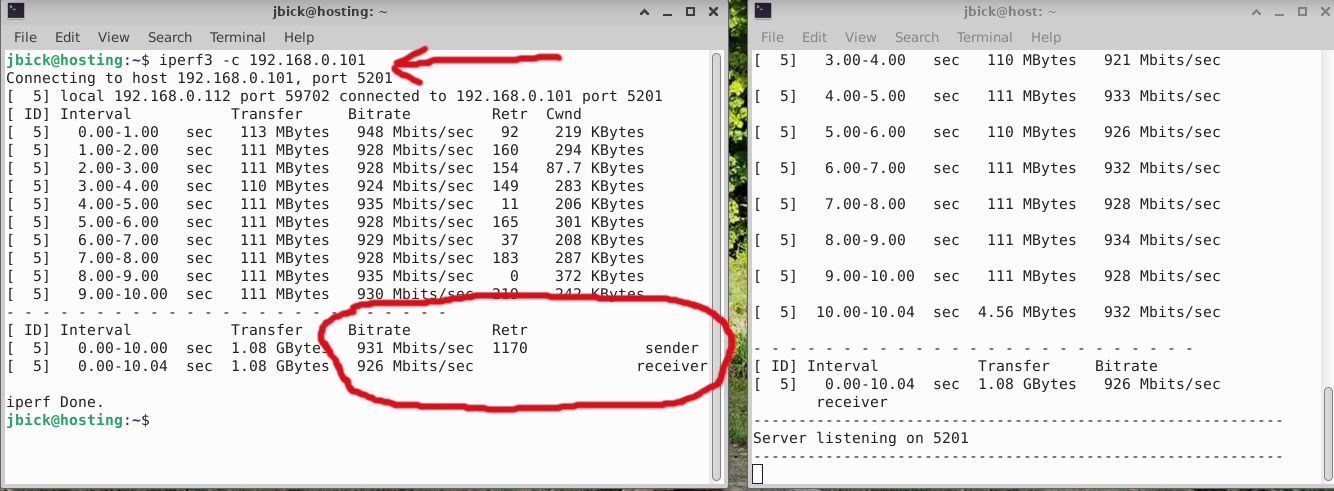
Converting to fiber optic from cat 5e has offered an impressive performance boost. The following photo is the ping latency time from inside the house out to the garage via the newly installed fiber optic run(s). You can see the total time is under 1 MS (Milli-second). That is going from my desktop computer in the house out to the wireless access point in the garage facility. So that goes through a port switch which is behind 150 ft of fiber optic patch cable, then through the router and 300 foot of cabling going out to the garage. Total distance from point "A" to point "B" is 450 foot!
CLICK to ENLARGE
Fiber Optic Networking: Links
The following links consist of betterparts.biz, ebay.com, dmcibb.net, lehmans.com and fs.com
Related ELECTRONICS Posts

