-
Correcting Street Radio Signage Powered by Solar LED Lighting
Published: Tuesday, April 29th 2025 01:16:21 AM - EDT
Updated: Sunday, August 3rd 2025 07:30:16 PM - EDT
Written by: jbick
Category: SOLAR
Discussing corrections made to solar powered street radio station sign. These ideas are meant to help you with how to mount solar panels or erect signage properly. Improvements include solar panel mounting and anchoring the sign down with 300 lbs of concrete.
Buy Featured Items
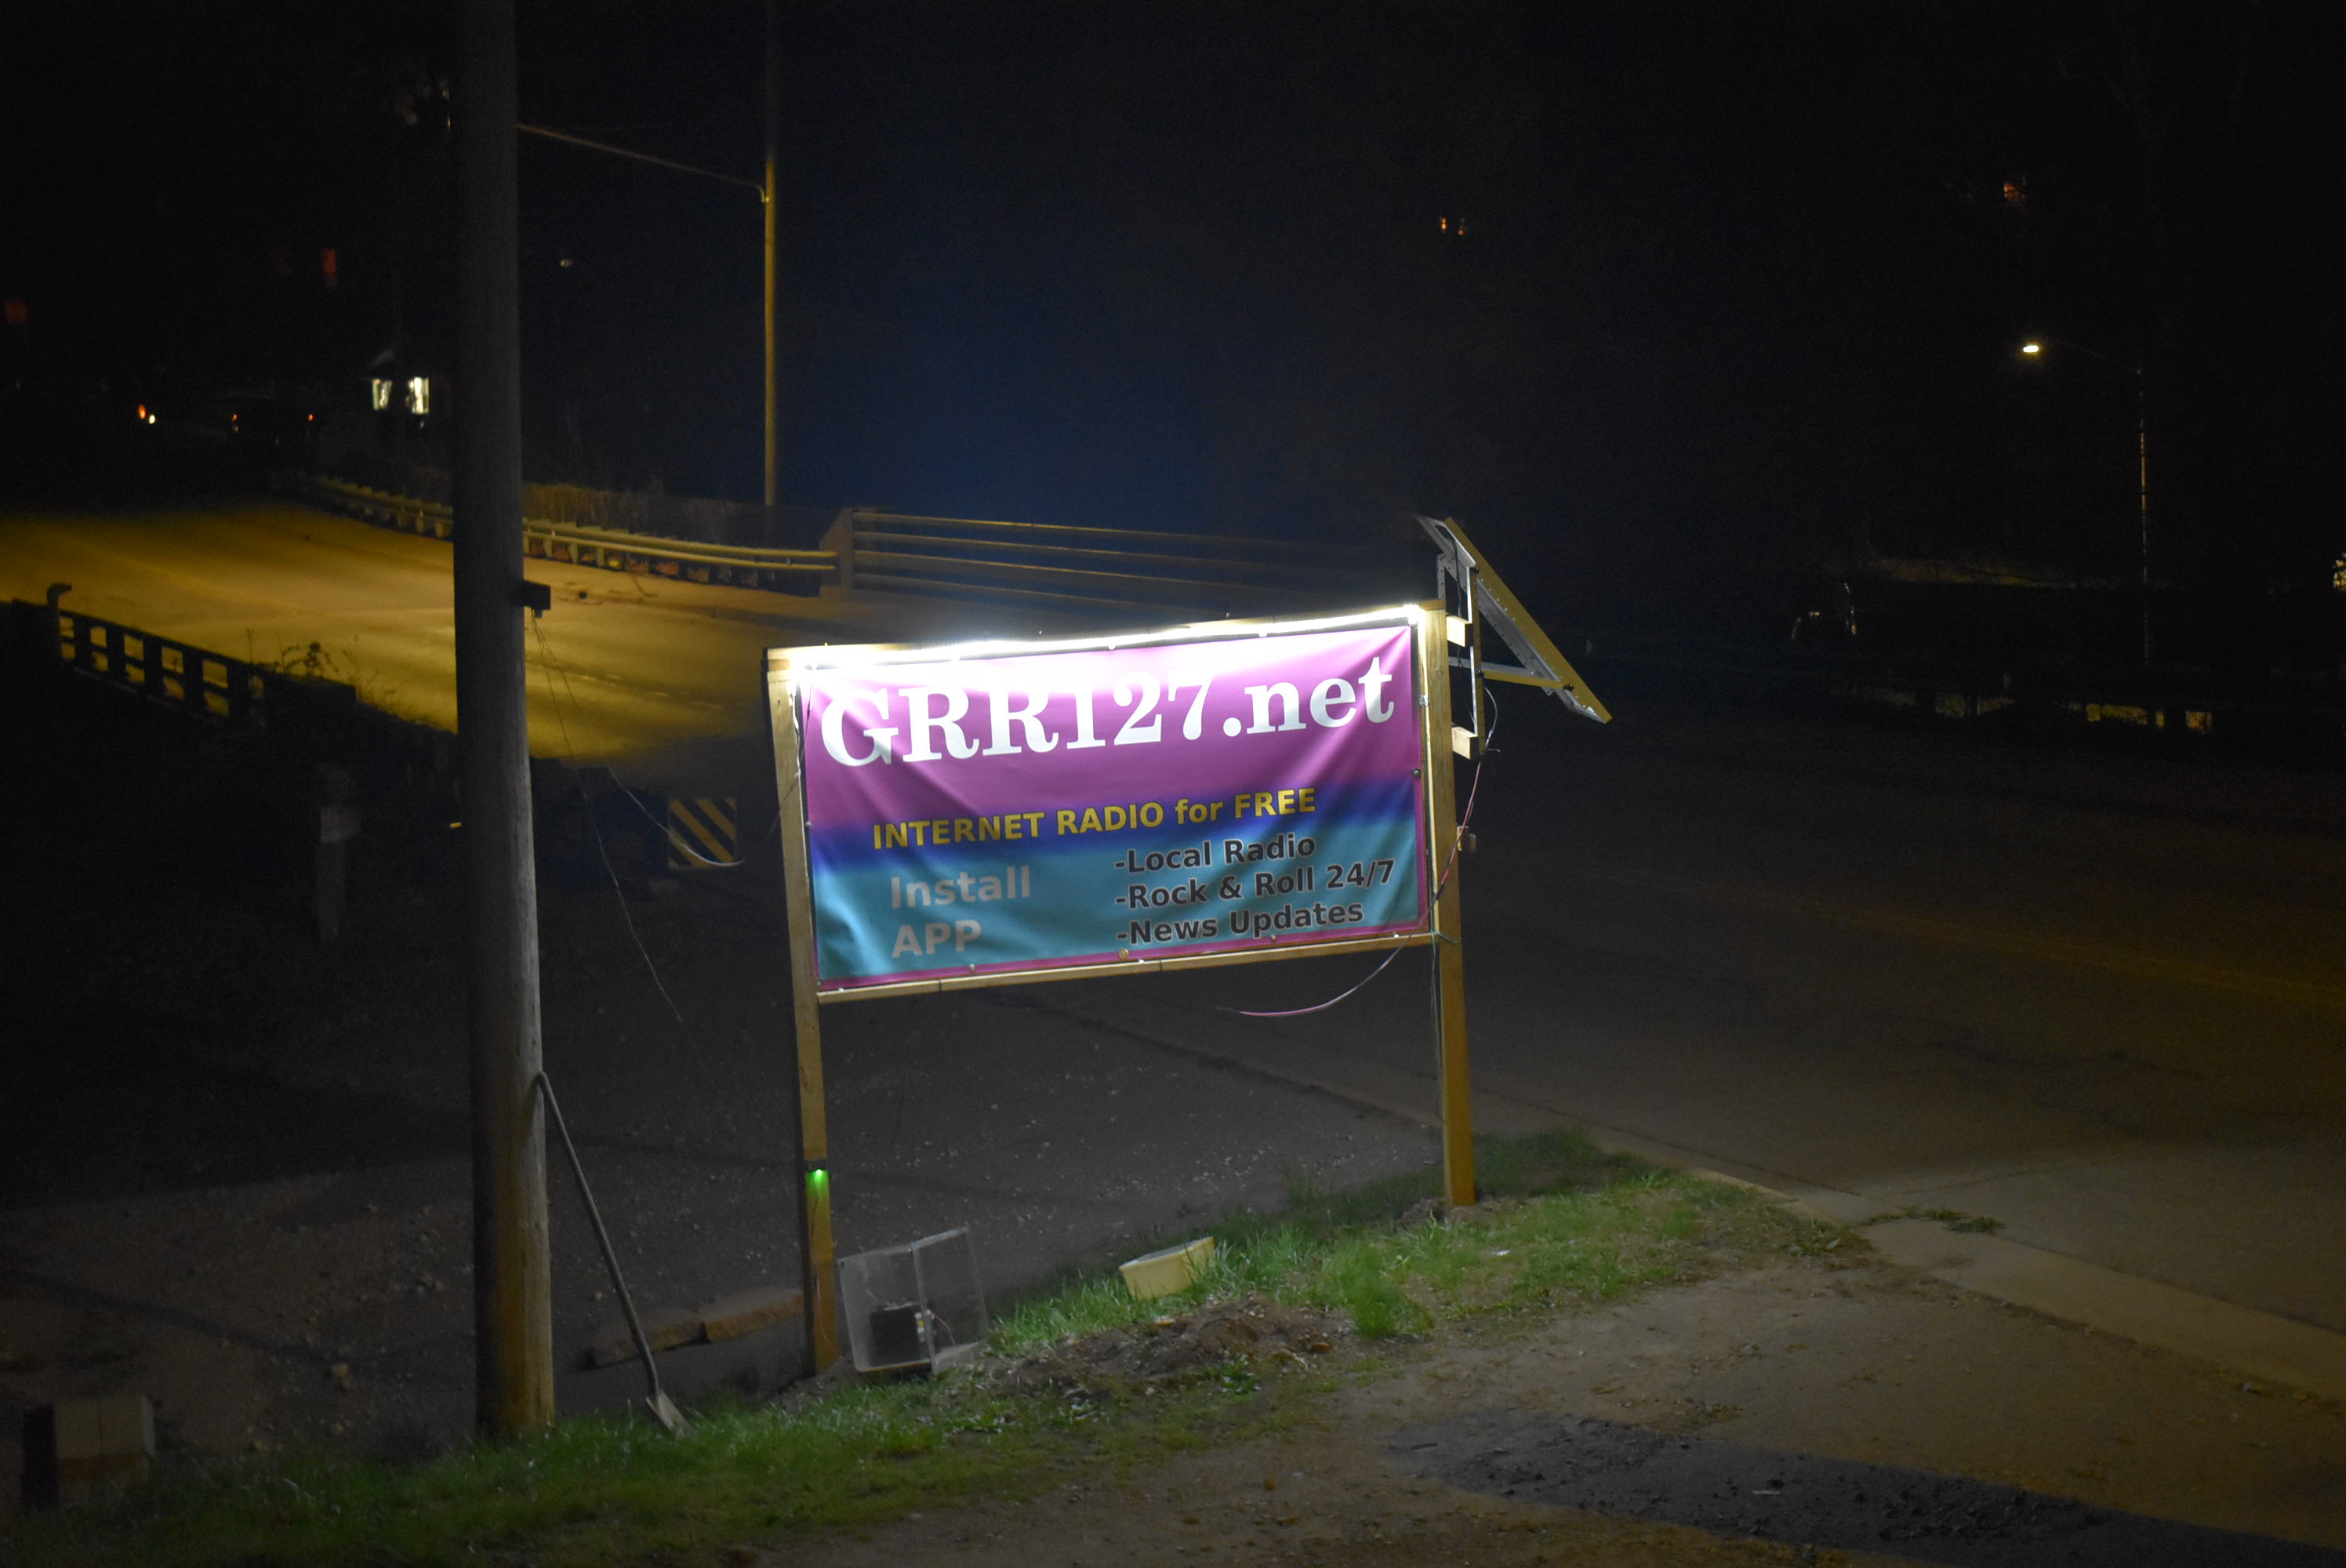
My solar powered radio street signage survived the winter however improvements were absolutely essential. The sign was drooping horrendously from the wind of winter and I had to unplug the LED lighting due to a lack of solar panel power production.
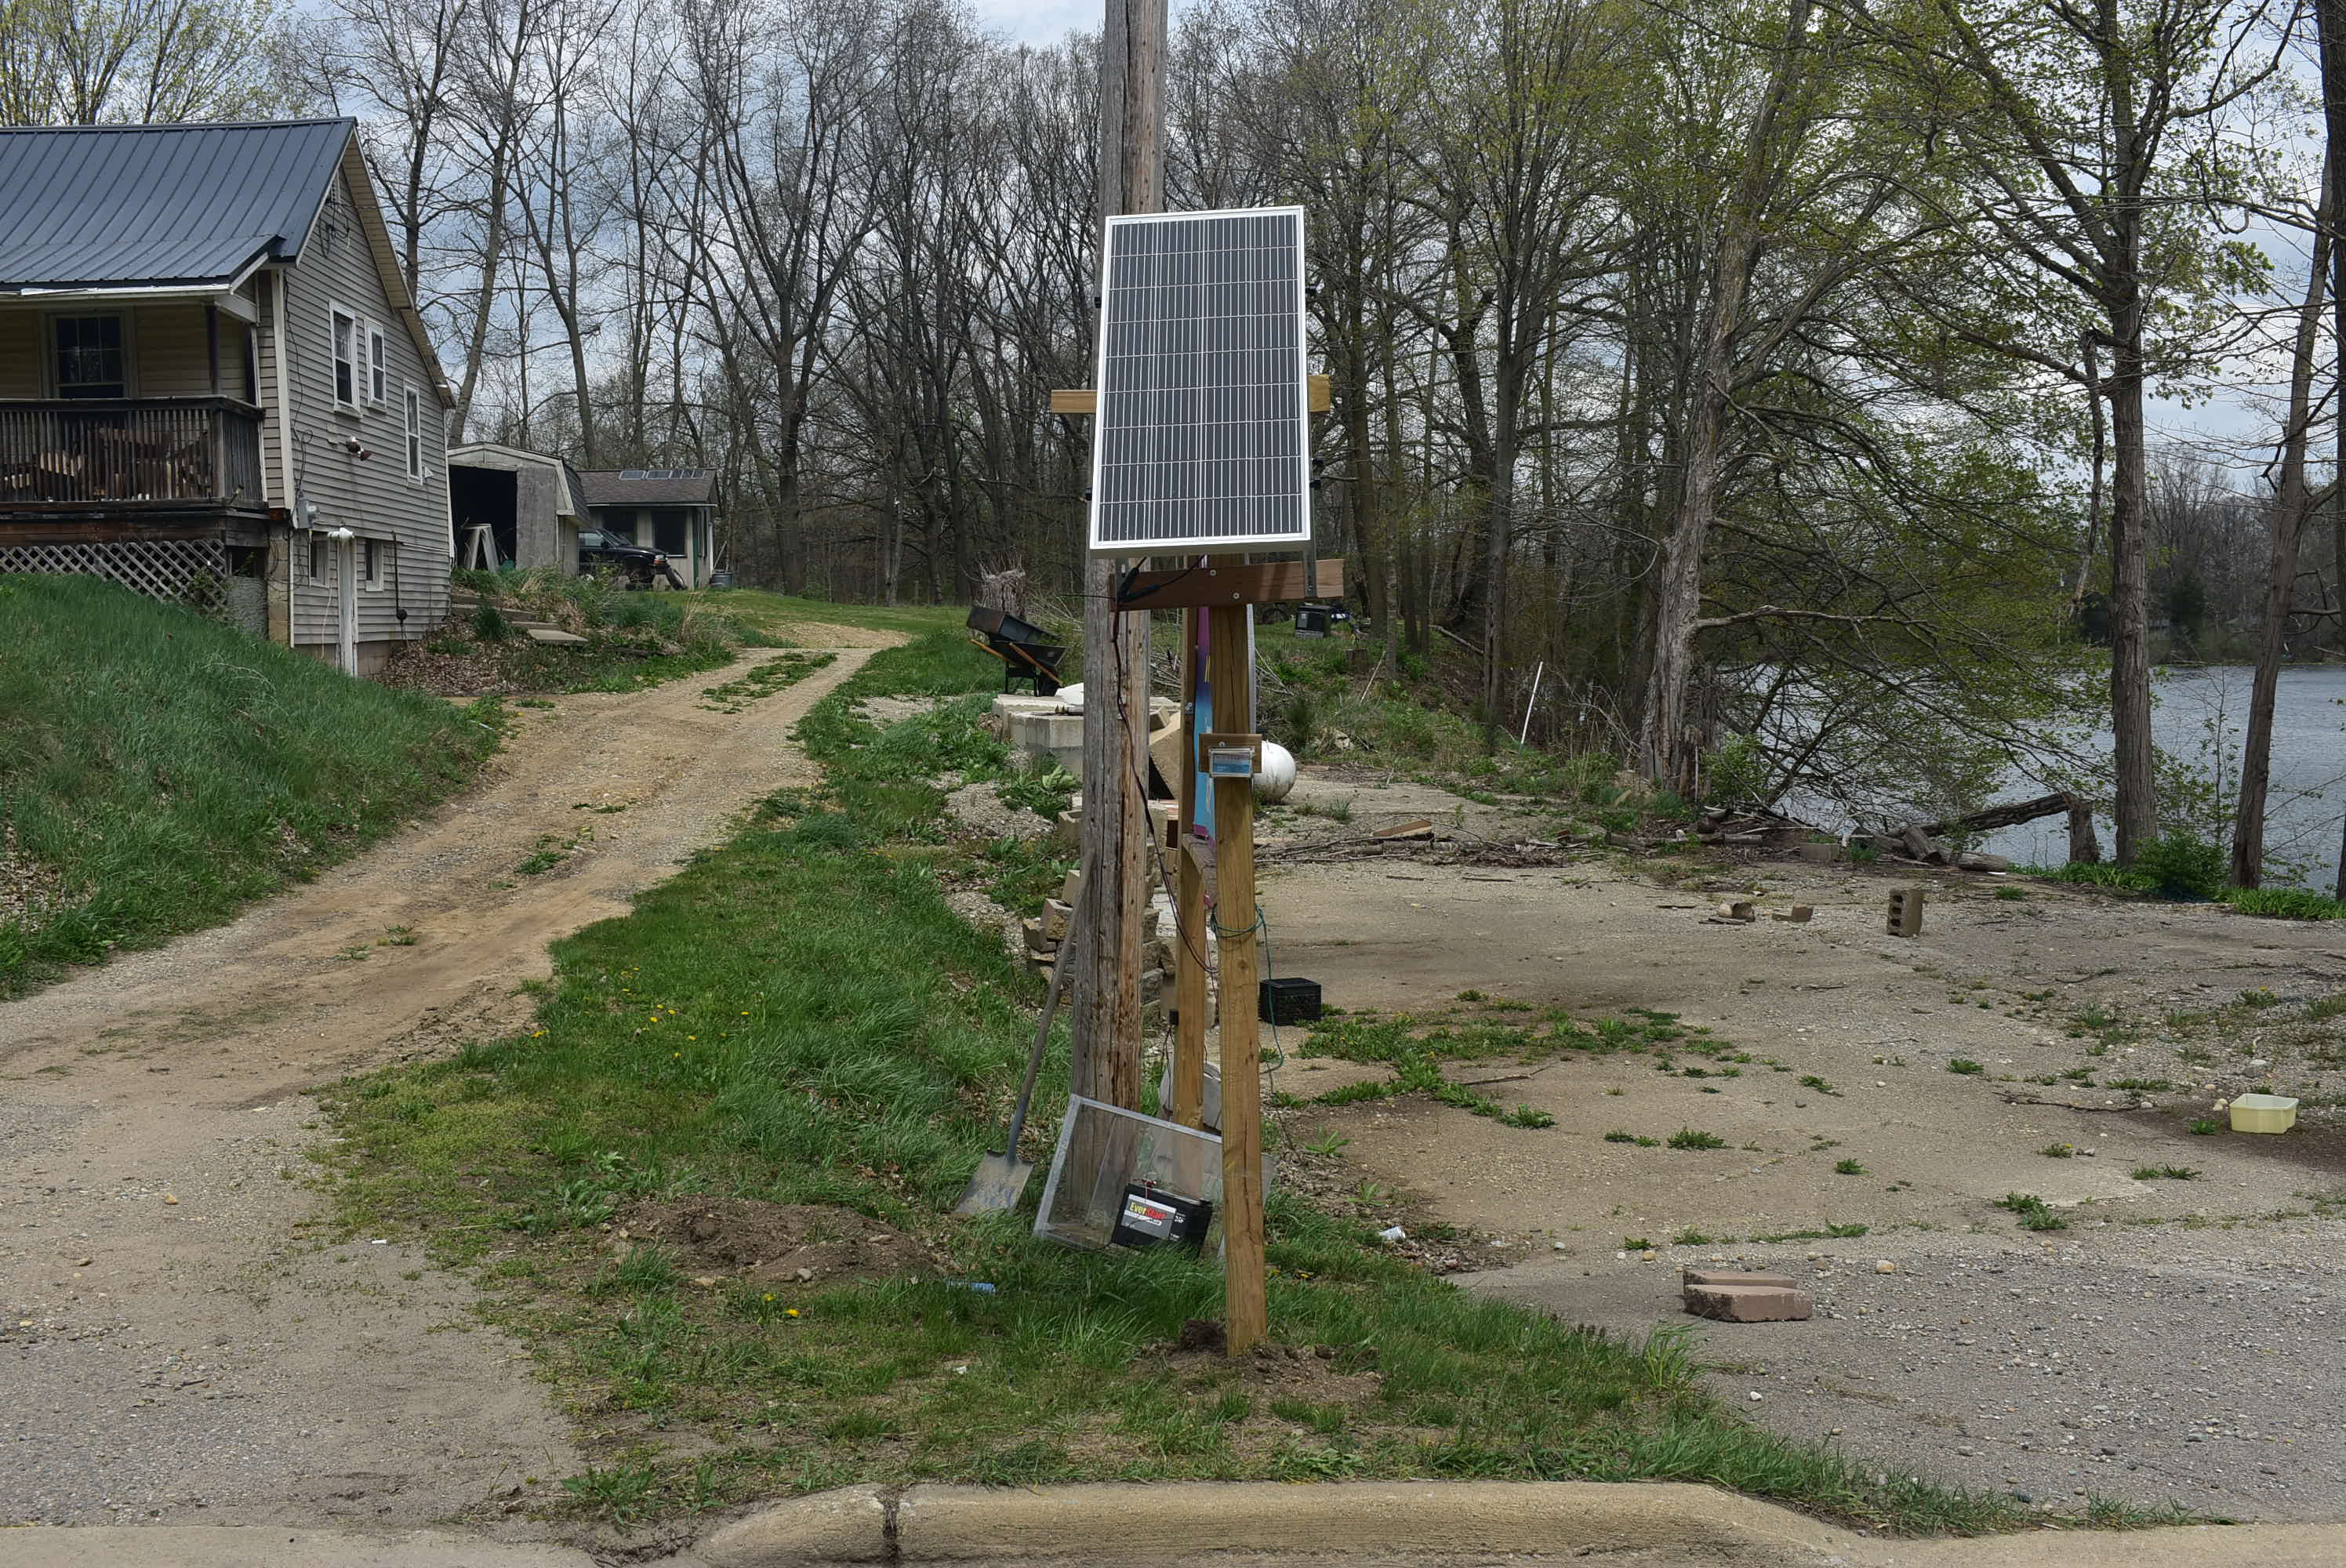
Since spring has arrived I was able to collect the materials and apply the labor to correct my sign and solar power problems. The solar panel was strung up between the telephone pole and the sign itself, which was applying additional weight onto the sign and impeding the sun which leads to lower power production.
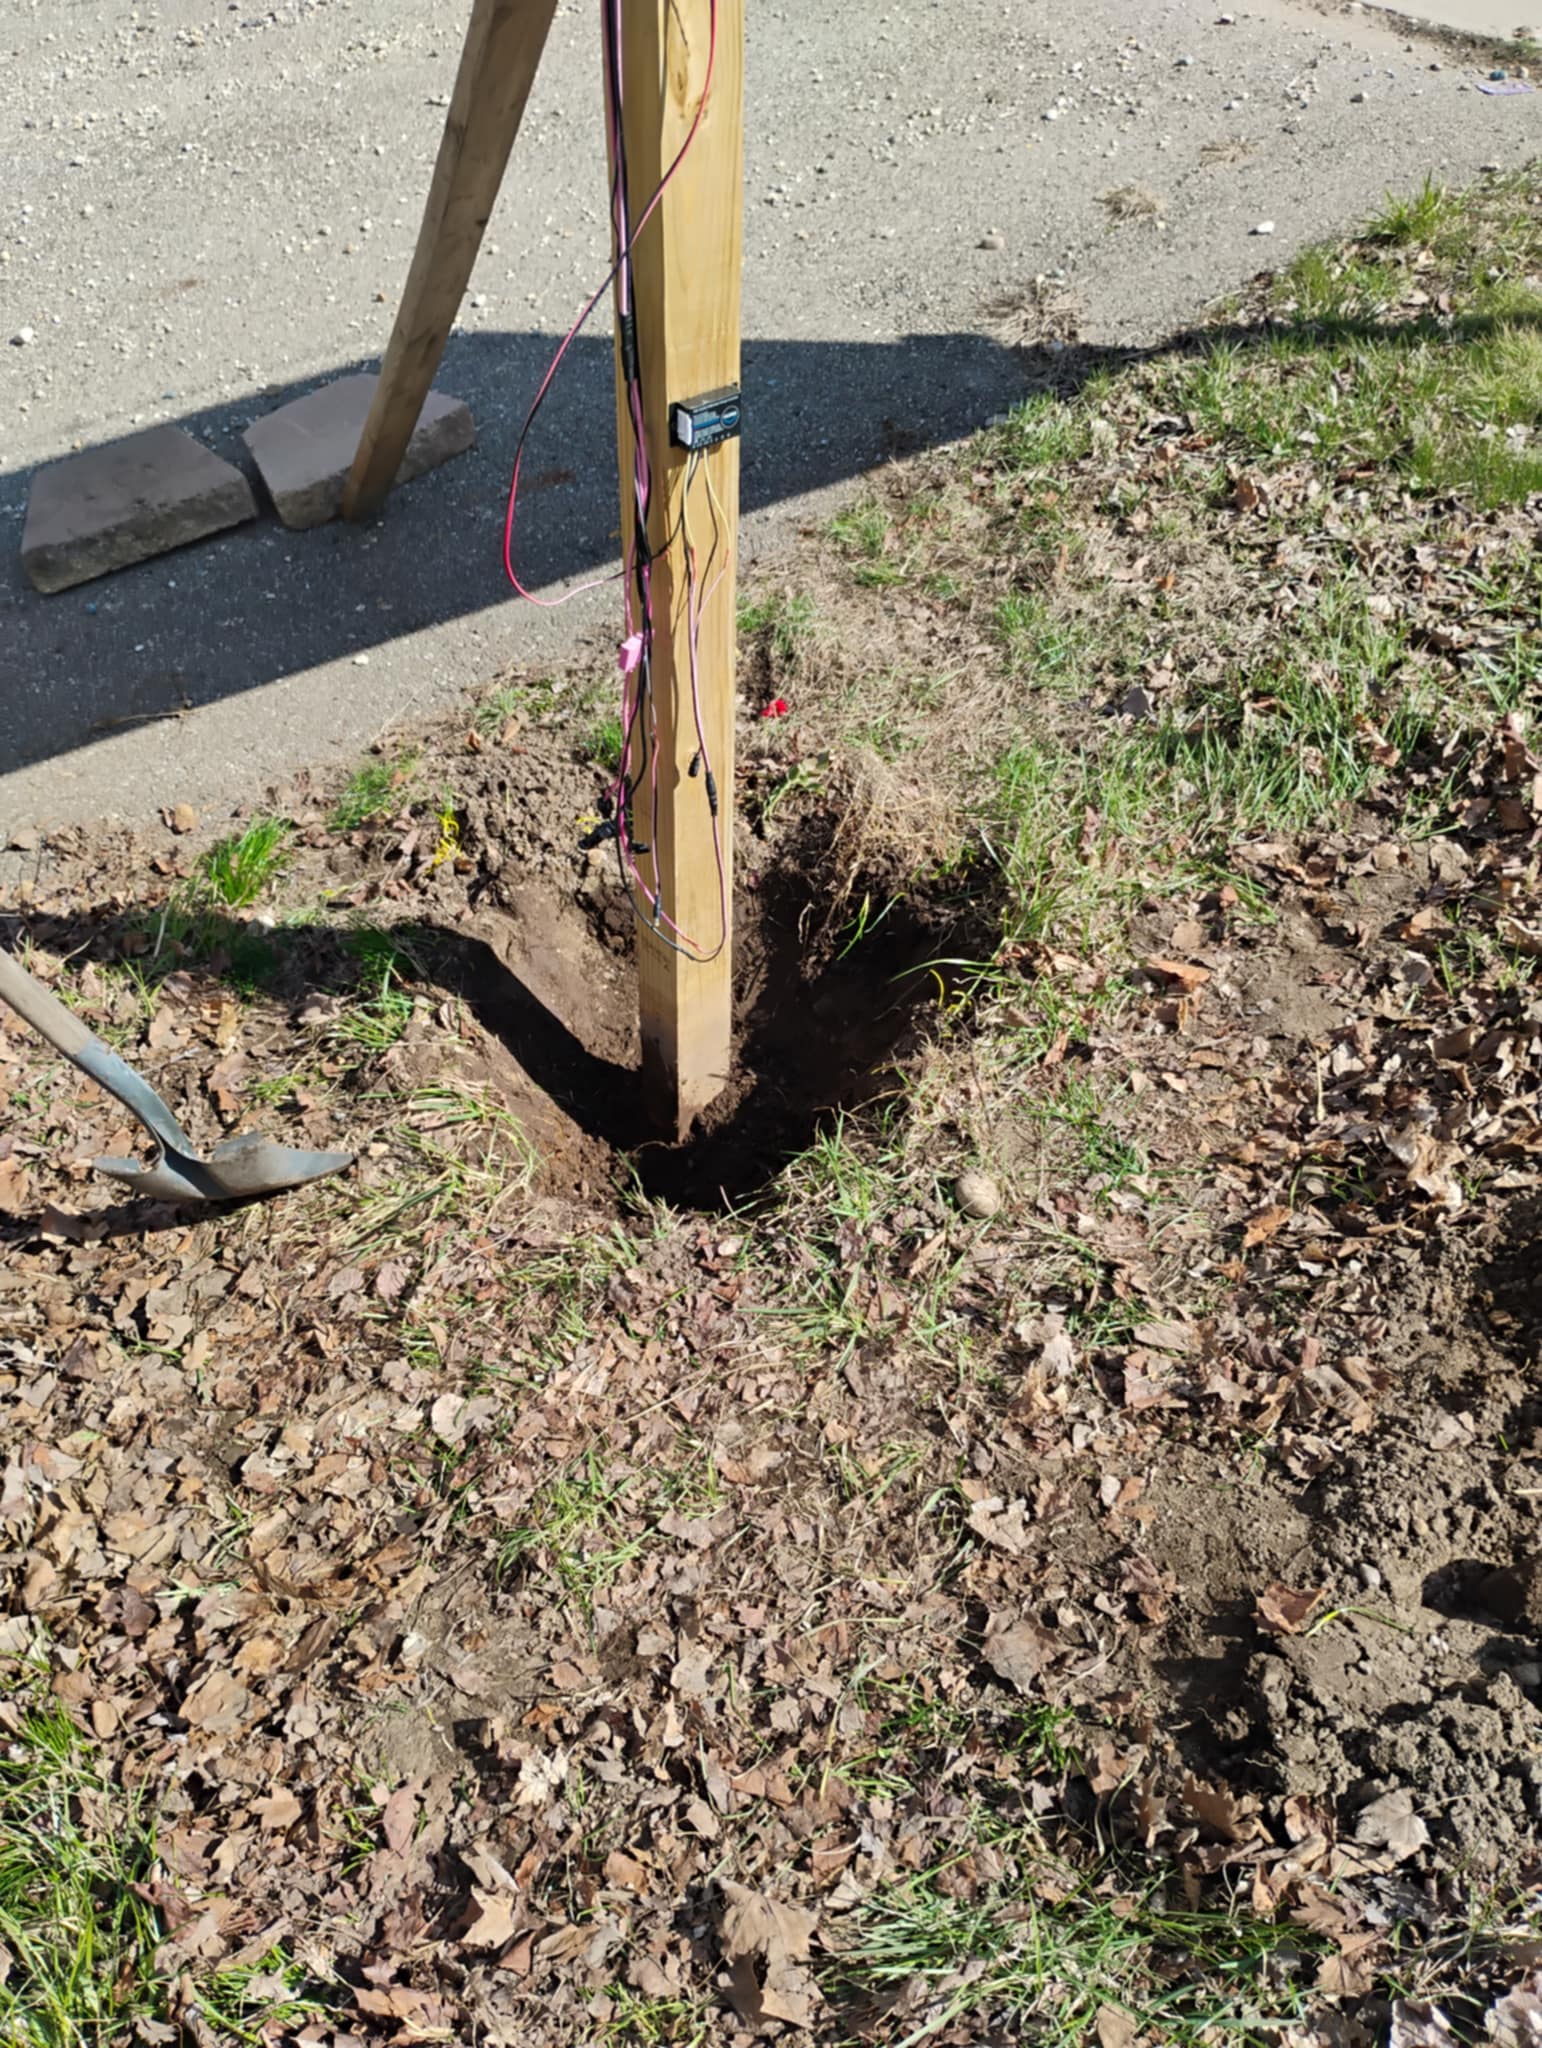
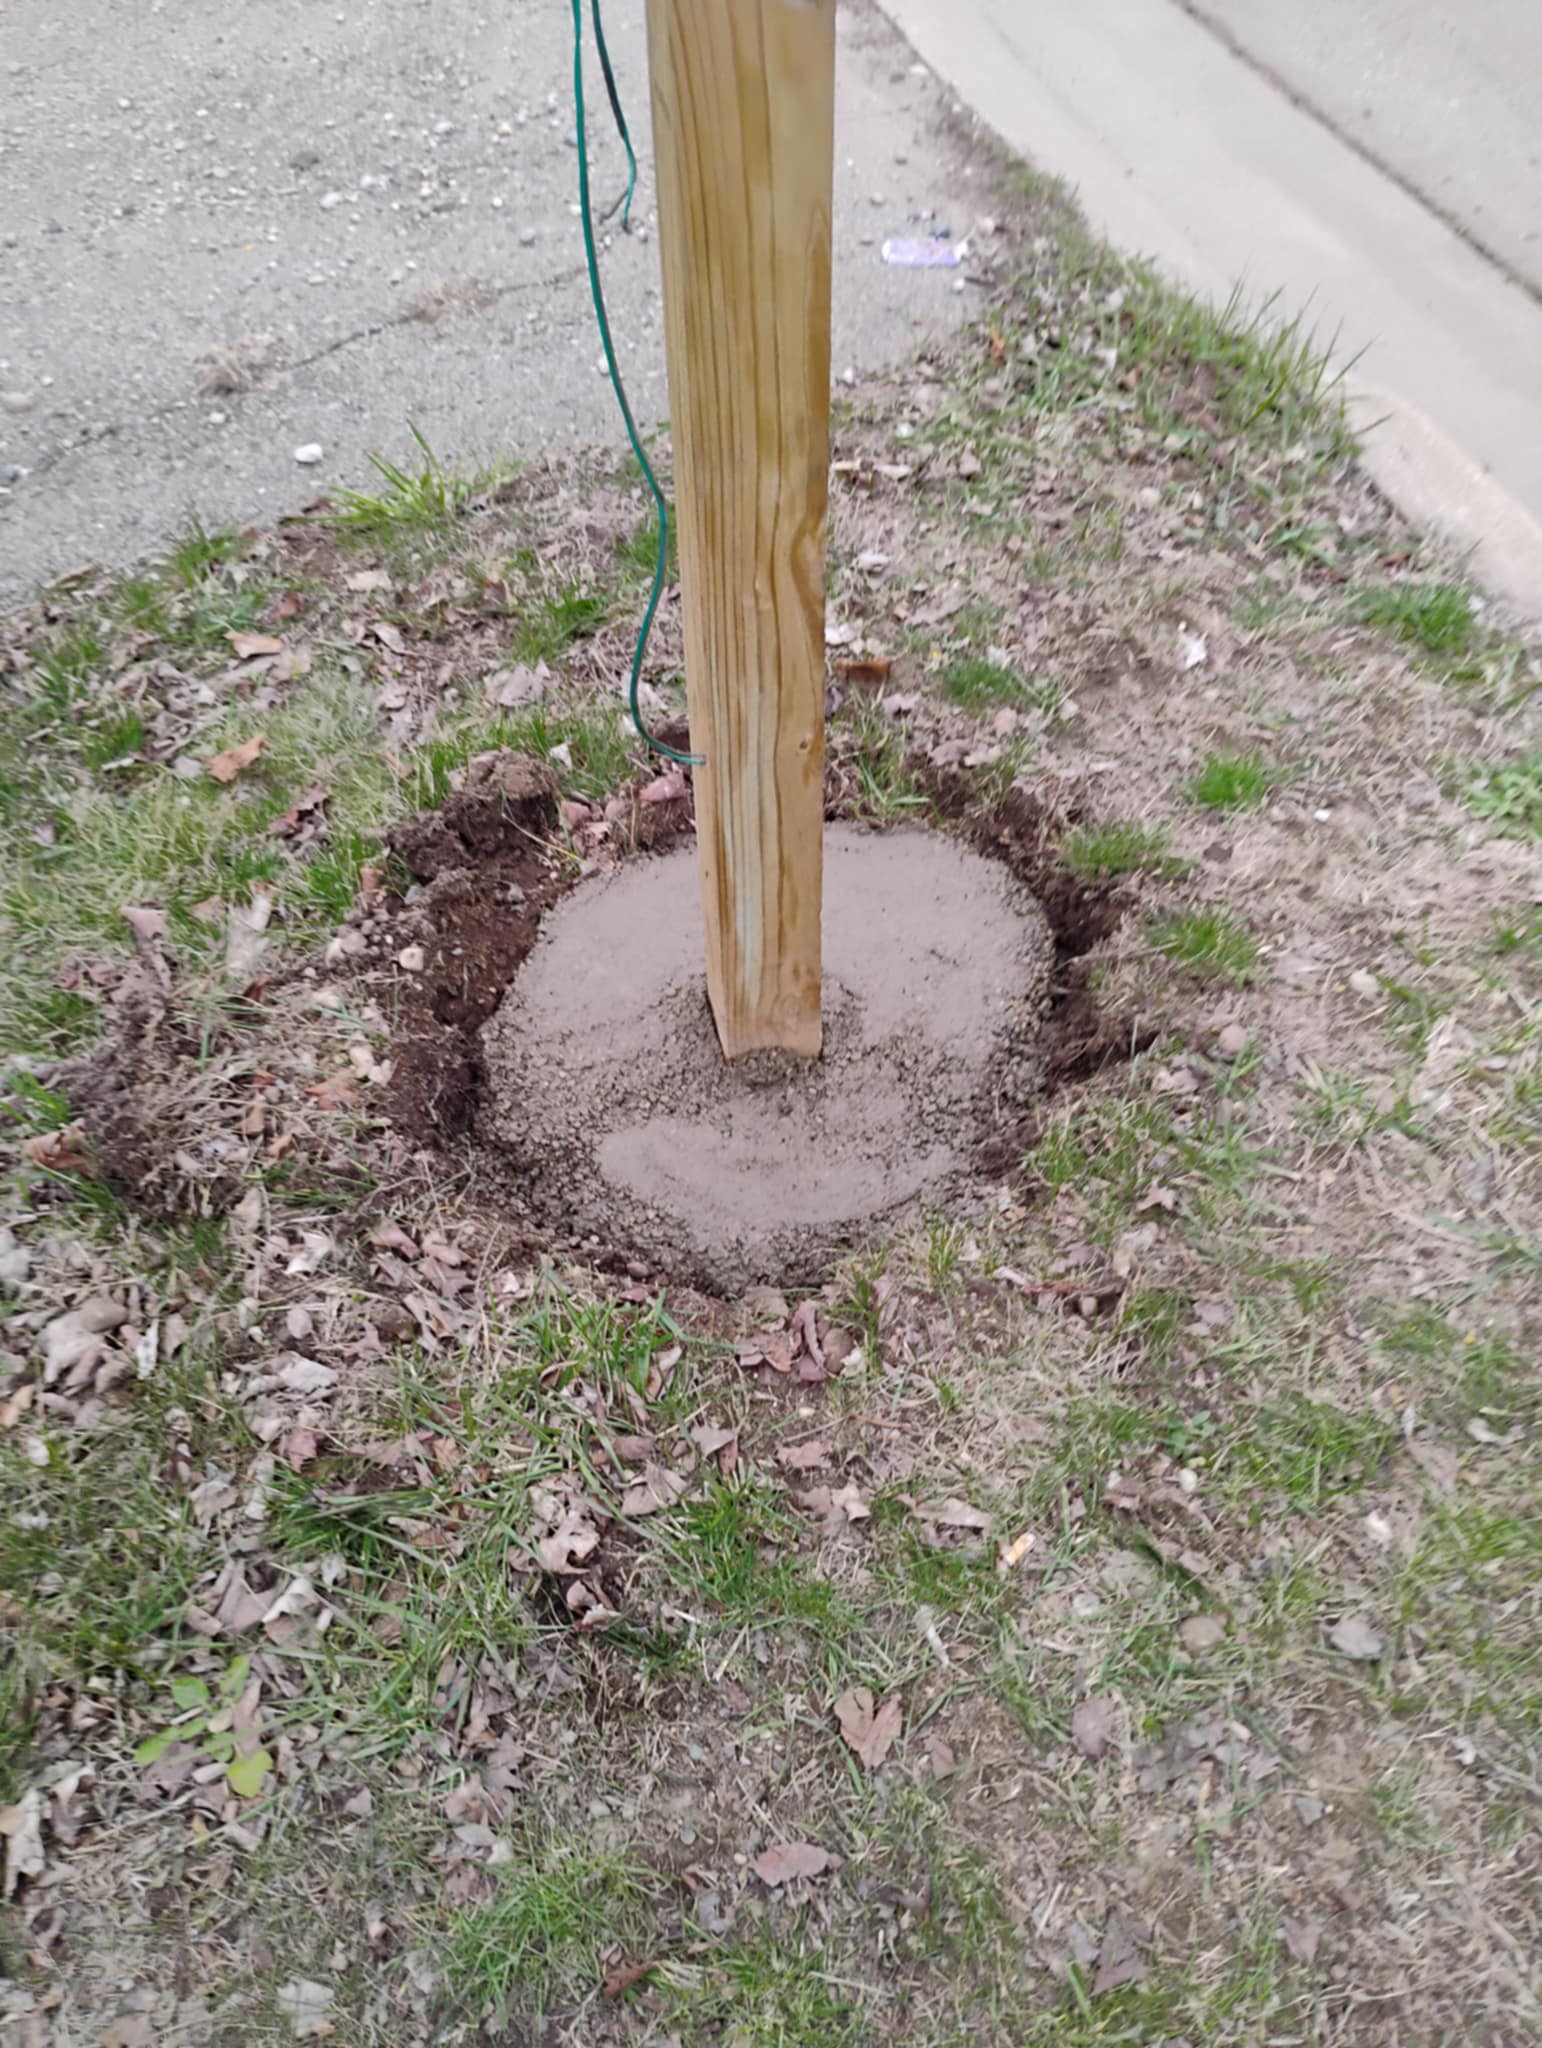
In order to strengthen the sign I dug up around the sign posts with the VIPER trencher shovel which was helpful because it goes 16 deep and all I had to do is step on its pegs. After digging around the posts I poured concrete into the holes to give the sign strength. I put three 60 lb bags in one hole and two 60 lb. bags in the other hole. Hopefully the sign will not be leaning anymore.
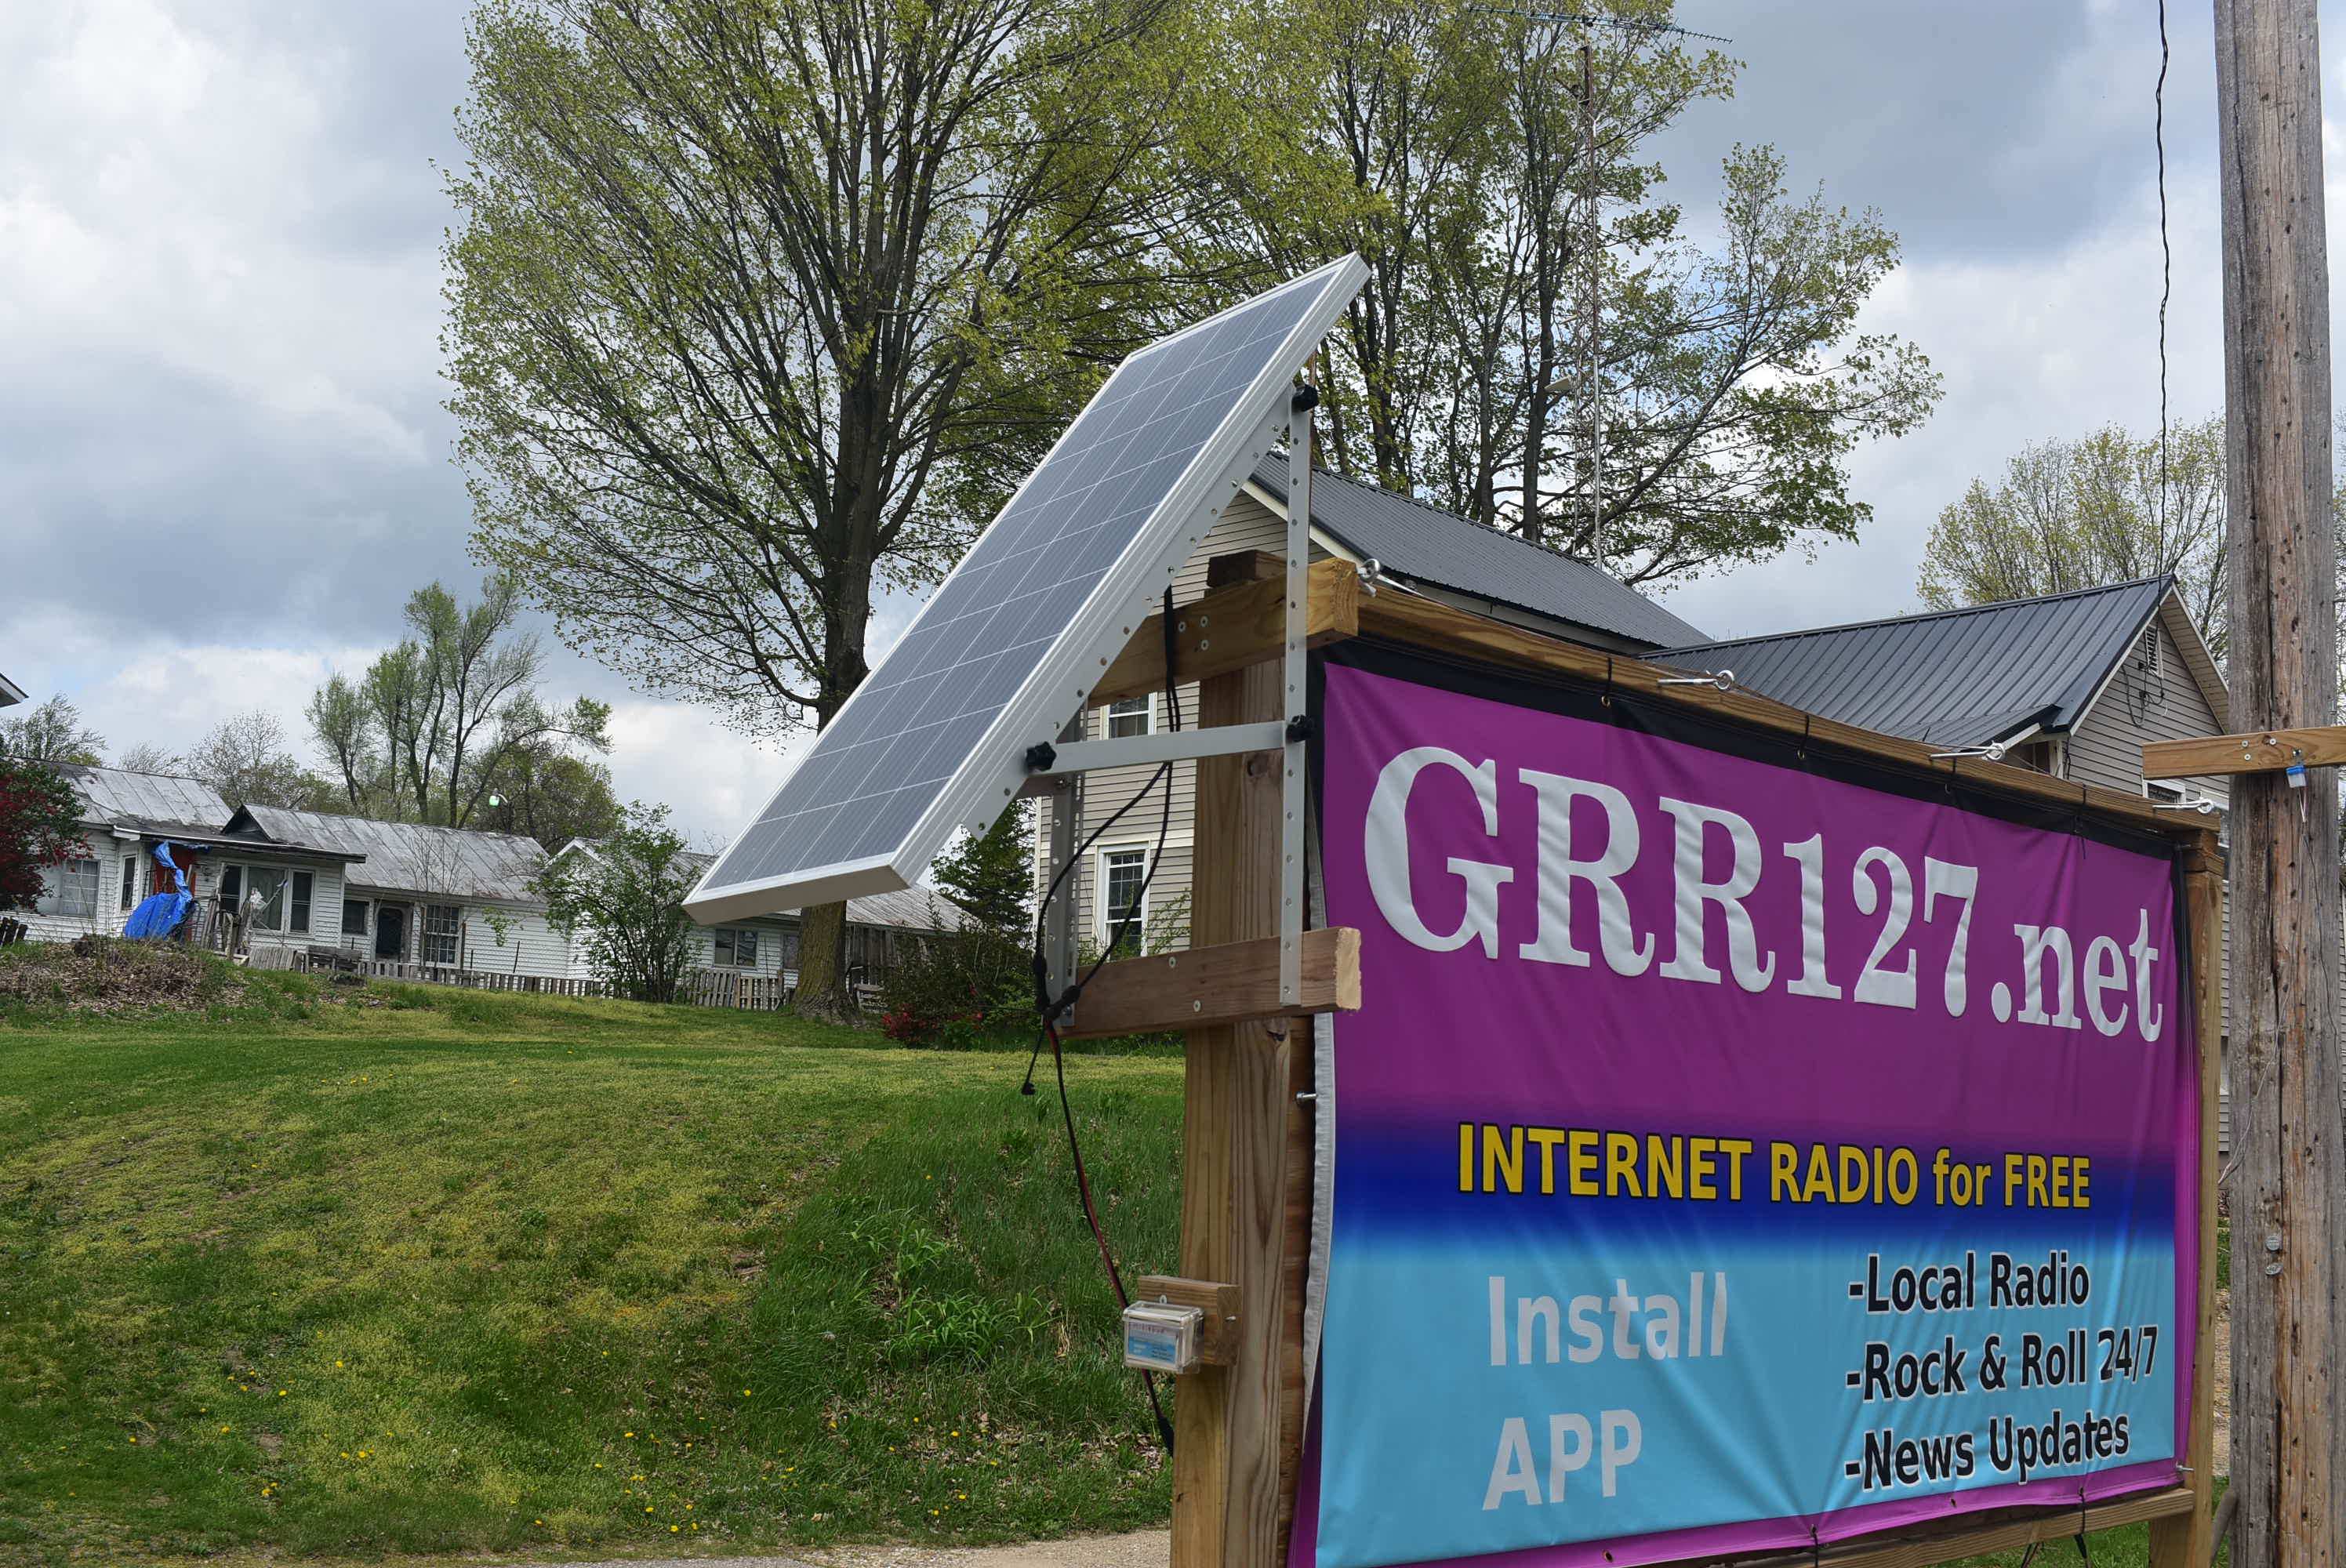
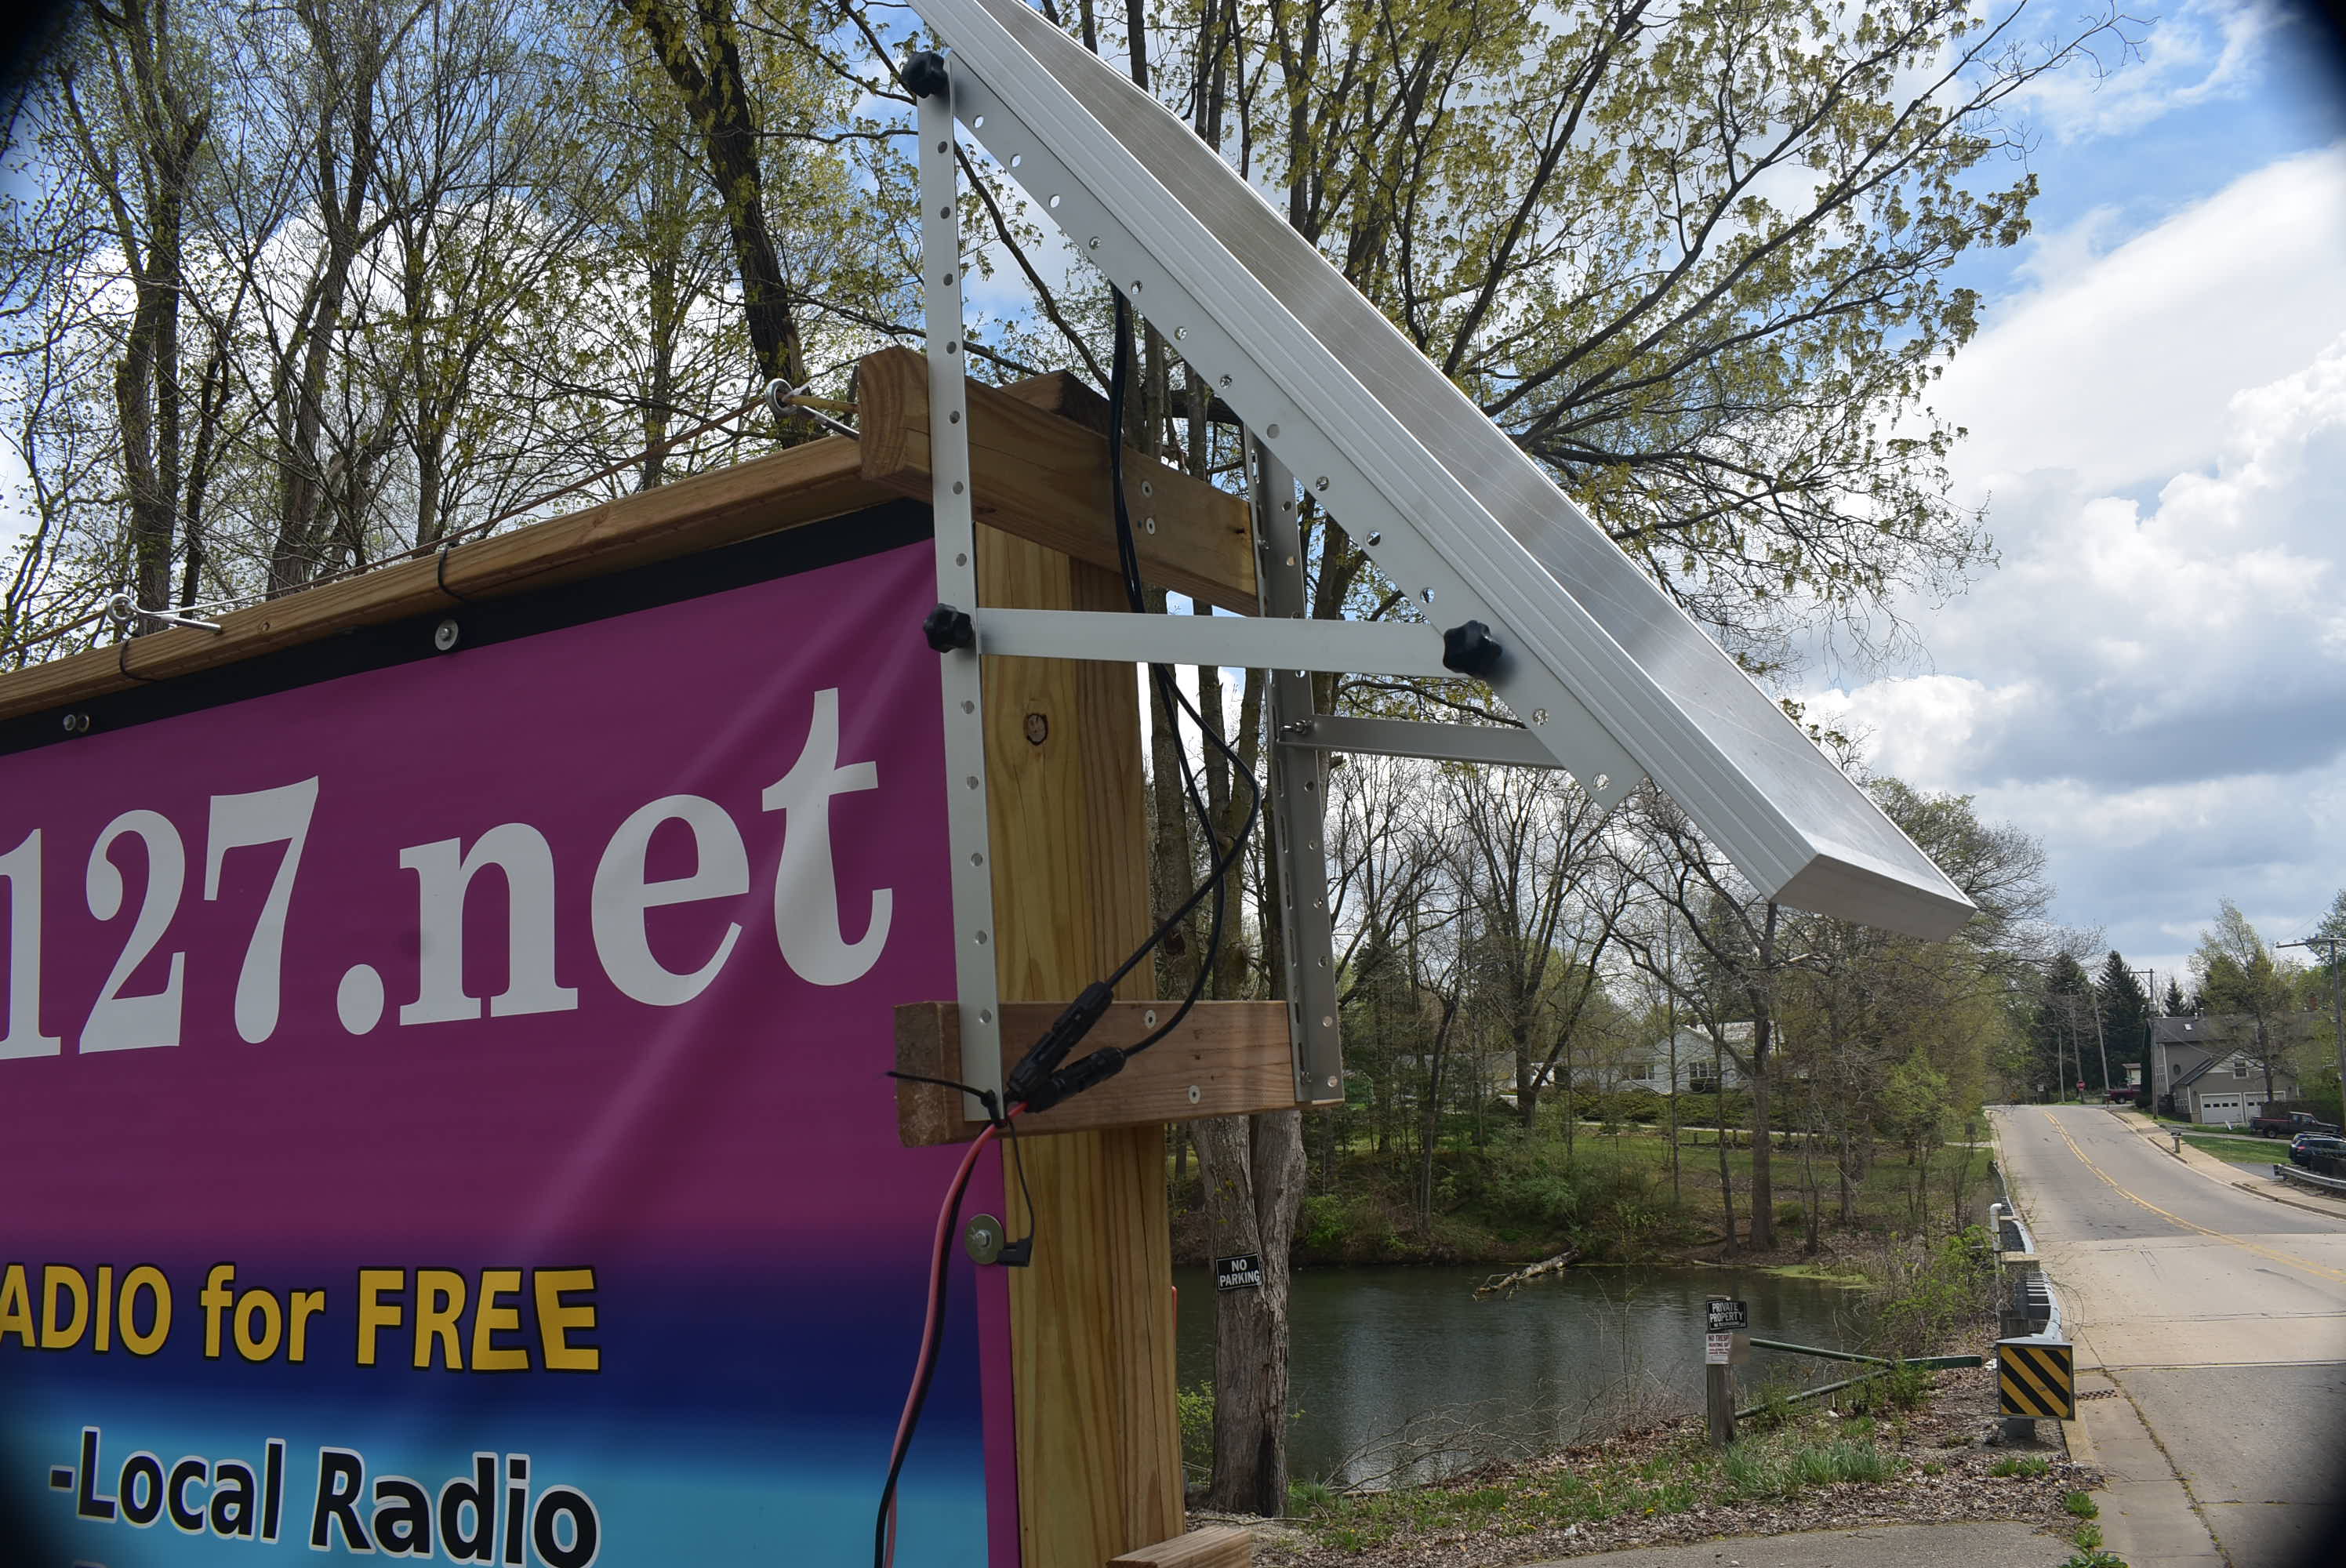
After having the sign strengthened I mounted the solar panel on one side of it utilizing adjustable rack system off eBay and a couple of two by fours. The rack system from eBay is essentially a kit of 6 aluminum angle brackets with holes and the hardware to bolt together and the solar panel to it. This new mounting method gets the solar panel higher, straighter, and puts the solar panel in front of the sign.
Hopefully having the solar panel mounted higher and straighter and in front of the sign as opposed to behind the sign will yield better solar production. Although it worked good before in the summer time, once fall set in, the days become majority gloomy and it was not yielding good efficiency.
Anchoring The Sign Better
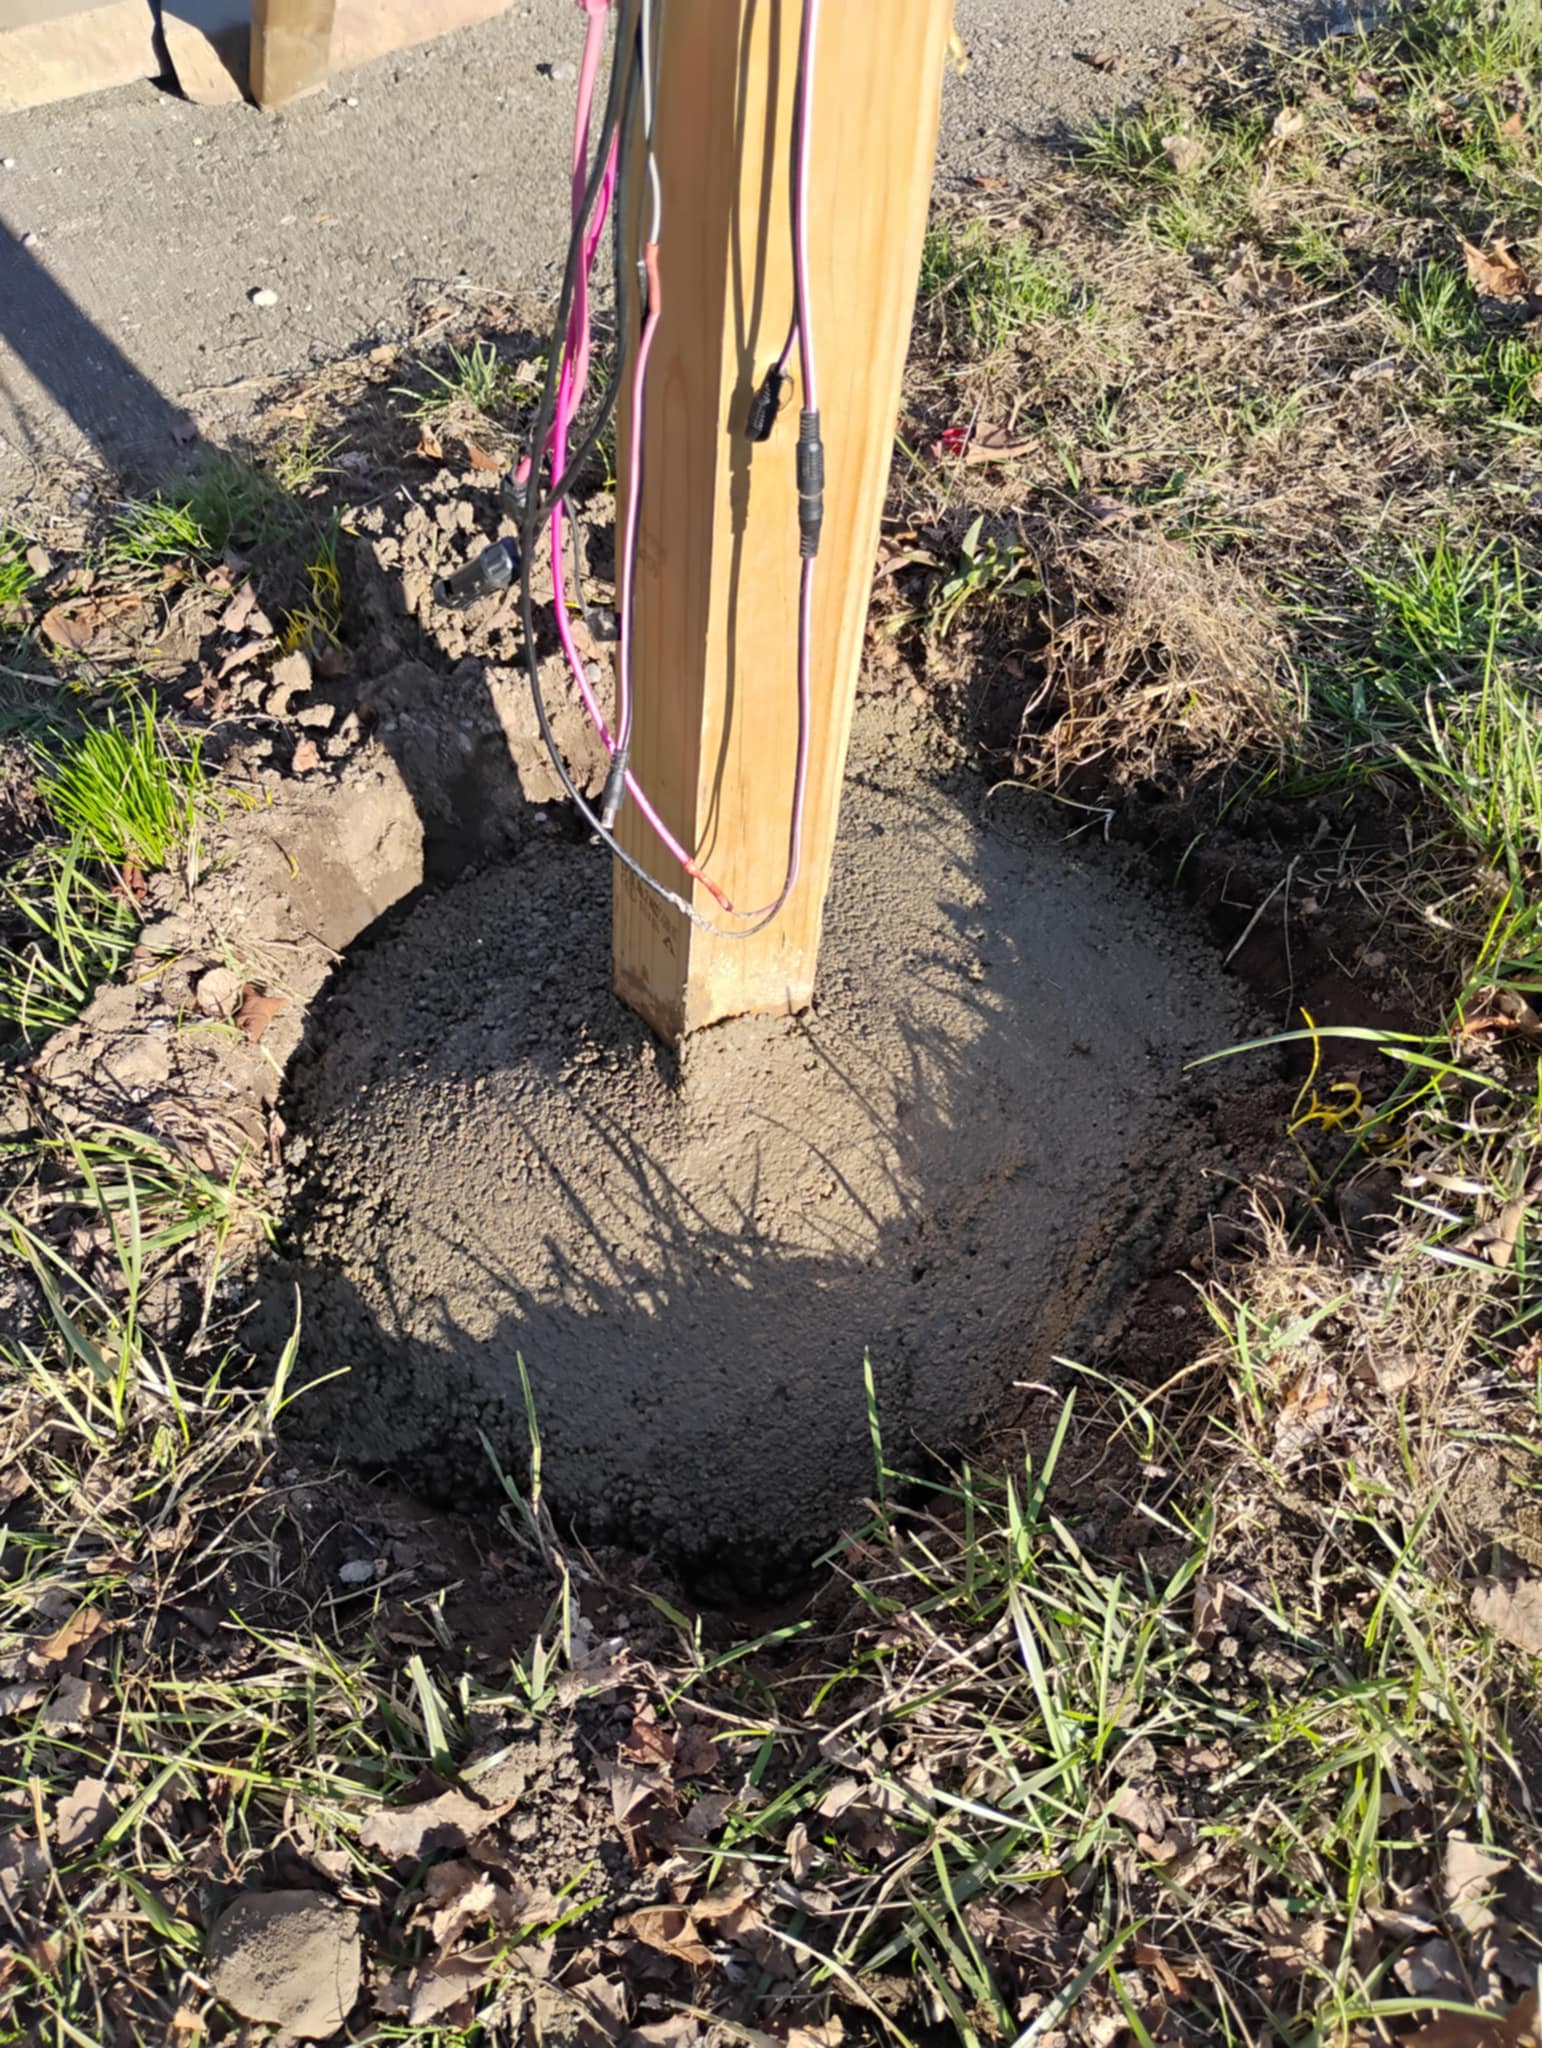
Considering how bad the sign ended up leaning over the winter I had to make significant changes. I thought I would have to physically remove the sign itself then dig the holes deeper. Instead, I simply dug "around" it's 4 by 4 posts and poured concrete into the holes. I dug probably 1 ft deep by 1-2 feet wide.
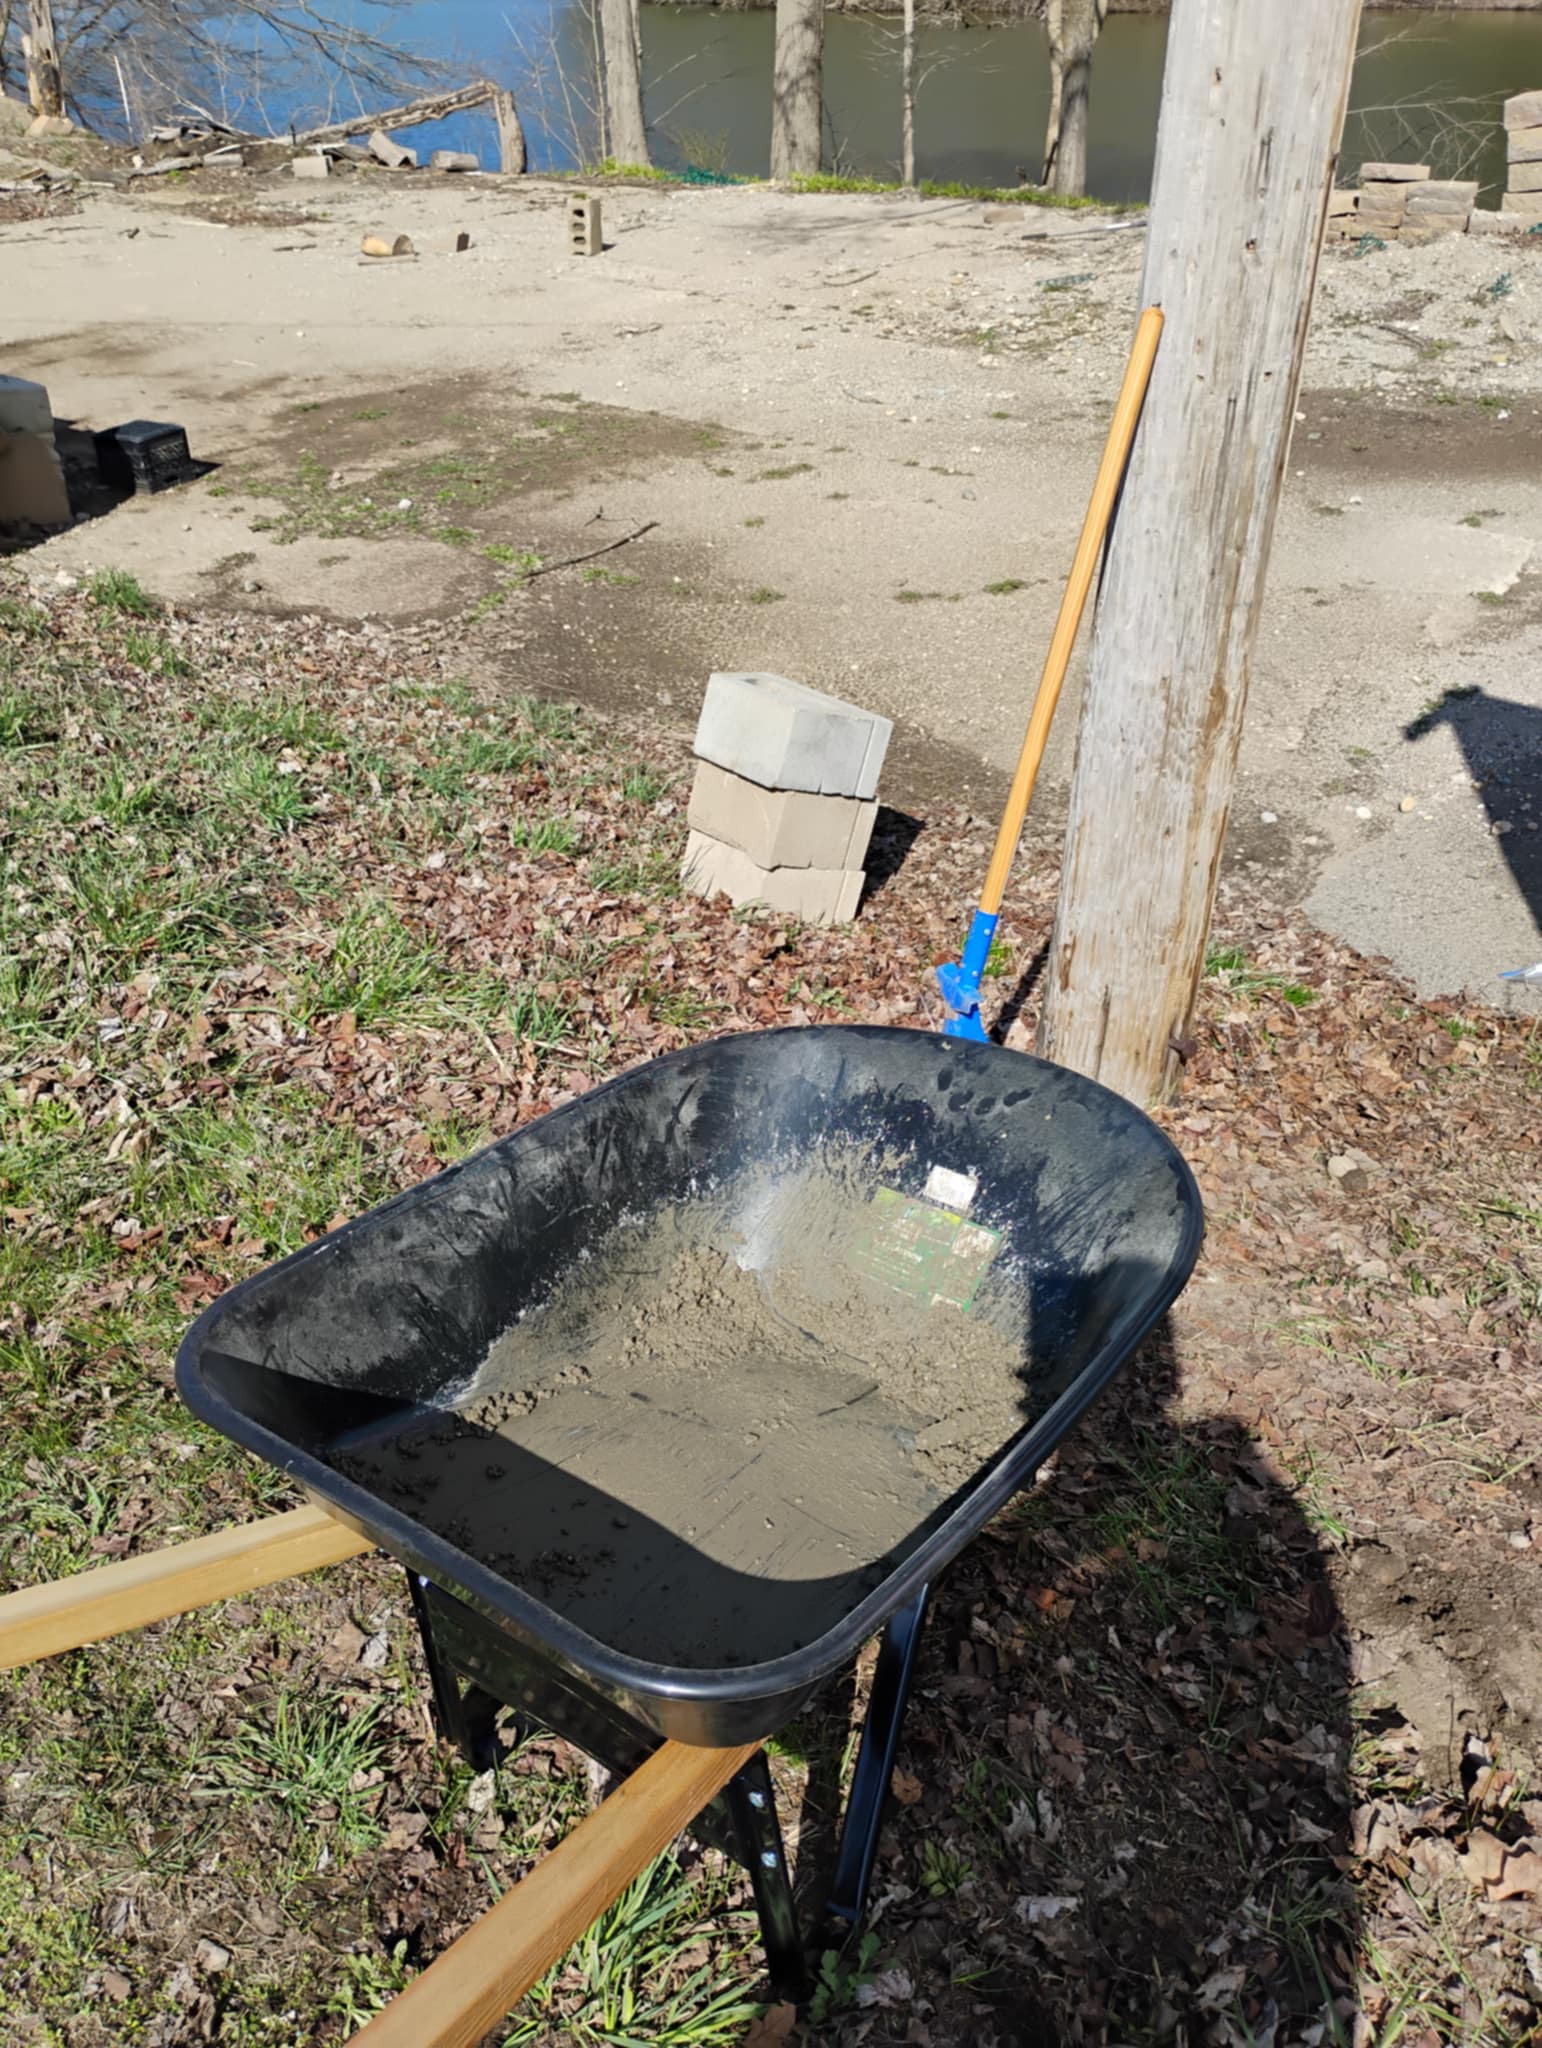
I utilized concrete that was leftover from Menards and a cheesy wheel barrel from WalMart. Although the wheel barrel worked it is made of plastic so time will tell how long it lasts. The concrete was from 2020 which is slightly old however it still mixed up and hardened. Maybe Menard's plastic packaging safe-guarded the concrete mix.
Adding Racks for Better Solar Yield
Not only was the sign leaning, the solar panel mounted to it was also not producing enough electricity, especially during fall / winter season. In addition to abysmal solar production I also needed to remove the panel from the telephone pole.
eBay has nice adjustable racking options for solar panels. Eco worthy themselves even have there own brand of solar racks. The rack system I utilized are pretty much just aluminum angle bracket with holes milled and screws nuts and bolts included. The holes make it nice to customize the overall panel orientation.
The included hardware with the rack consists of nuts, wingnuts, bolts and screws. Additionally the bolts that holds the aluminum brackets together were molded with nice plastic handles. The solar panel slope can be adjusted after the solar panel is mounted it's easy to grip the wing nuts and plastic molded handles.
I chose the generic rack as opposed to eco-worthy's OEM brand rack simply due to cost. However, it would appear as though they are pretty much the same kind of hardware.
I chose to use all treated lumber for the sign.

Current Sign Specifications
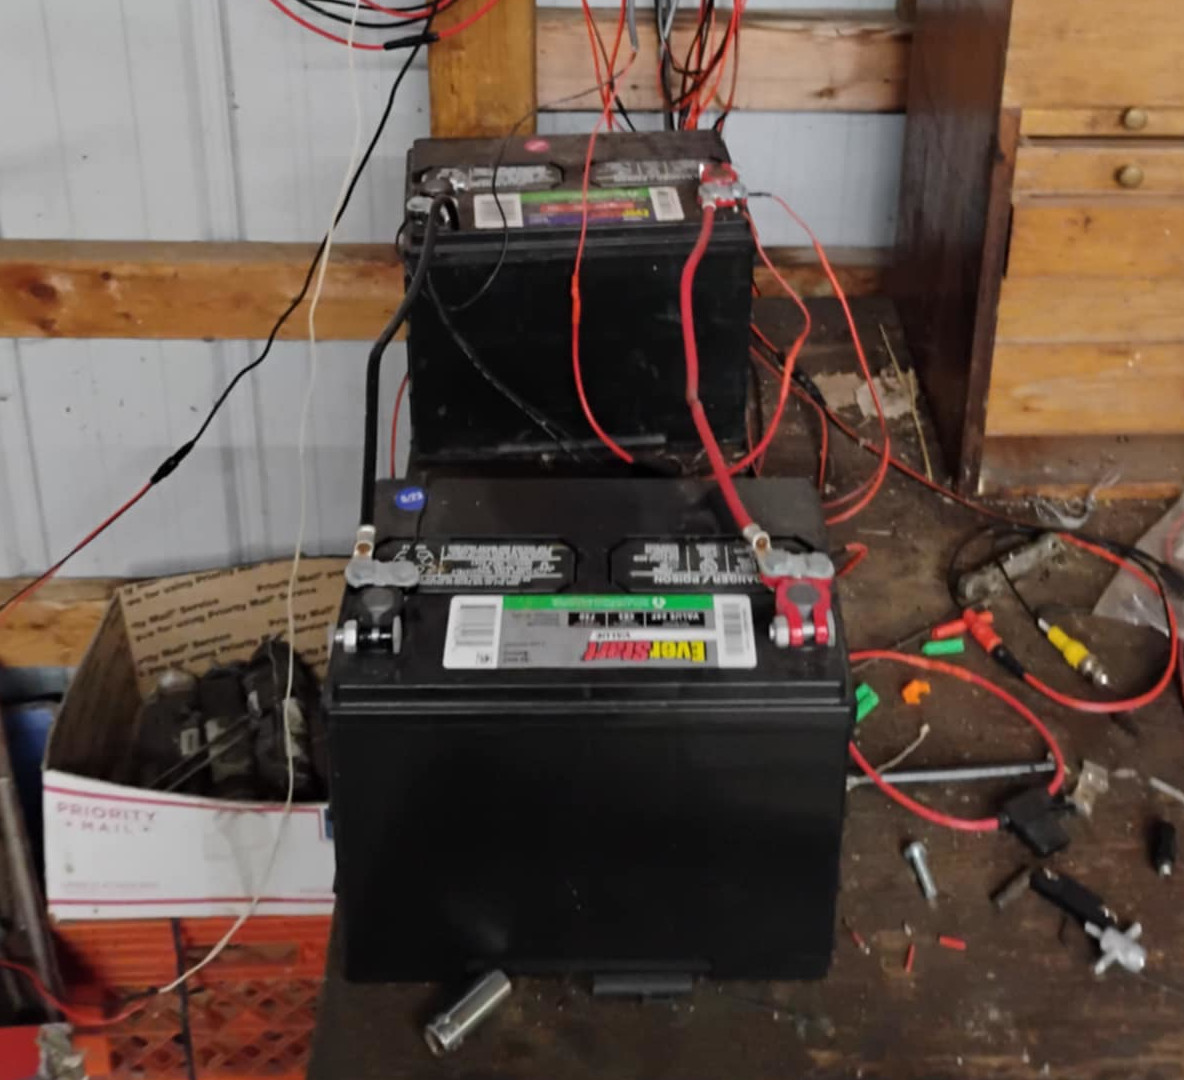
As of this post the sign consists of two 4" by 4" posts, two 2" by 4" boards, and a 4' by 8' piece of plywood. The lights are two 16 ft led light strips by YI-LIGHTING, and the electricity is generated by 1 single eco-worthy 100 watt solar panel. It is using 1 car battery from Wal Mart and a waterproof charge controller from YI-lighting. The sign is anchored down by 300 lbs of concrete.
ECO-WORTHY 100 WATT SOLAR PANEL
- Wattage: 100 WATTS
- VOLTS: 19 DC
- Model: ECOM100W
- Connectors: MC-4
Vinyl Sign
The graphics are printed on a flexible vinyl sign. Each side is it's own vinyl and I am impressed with how well they have held up over 3 different seasons now. Both banners are equipped with metal grommets to go ahead and fixate it. I went ahead and drilled holes in the treated plywood where the grommet would be then utilized 2" bolts with washers and nuts so the sign stays in place. Both vendors included zip strips with the sign. I think they intended using zip strips to attach the sign.
I purchased each side from different sellers. I supplied the same graphics to each vendor. I went with Vista Print for one side and an eBay seller for the other side. The VISTA print is of much better quality but was twice the cost. Considering that there's a piece of plywood behind the vinyl the vinyl has held up very well.
Concrete
Adding concrete was quite frankly the cornerstone improvement to my signage. It was leaning horribly bad and the concrete makes it nice and sturdy and was fun to mix up. I used a total of 5 bags of concrete and had some concerns going into mixing up and pouring the concrete.
The concrete was from Menards and was over 3 years old. I was quite worried it may not work since it was so old. In my case it held up. I stored it in a dry basement, on a bench so no water could get into it. Additionally the basement is the home to the furnace so it was kept climate controlled. Upon opening the unused concrete I noticed it was not to clumpy however the menards concrete would appear slightly on the rocky side.
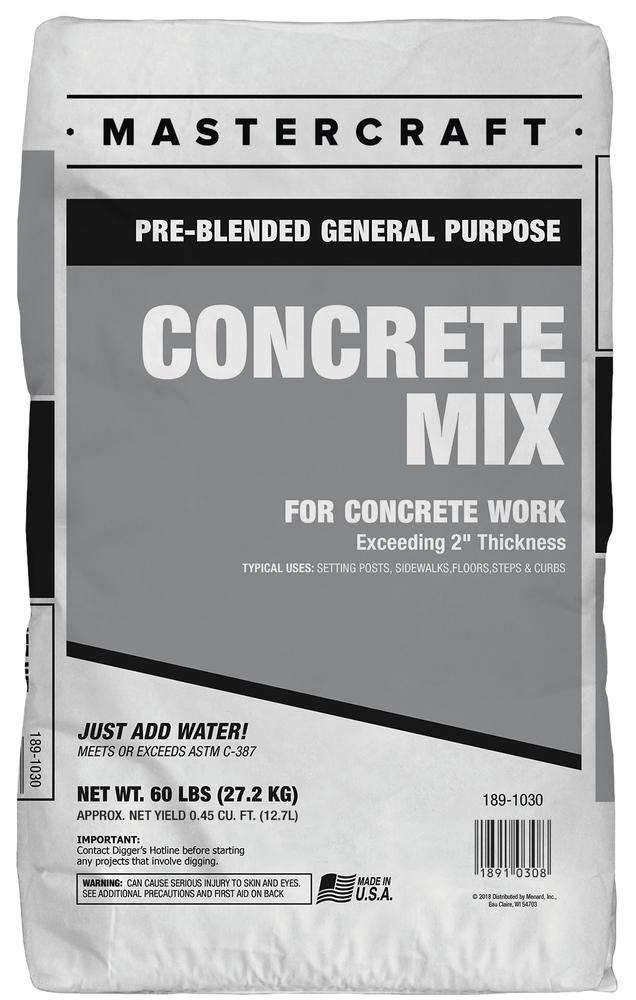
- Concrete Brand: Menards
- Number of Bags Used: 5
- Sign Size it supports: 4 foot by 8 foot sign banner
Solar Signage Updates: Links
Helpful solar signage links. The following links consist of the items I used to upgrade my solar signage.
Related SOLAR Posts
-
Pages
Home Page
About BP
Submit Review
Now on The GRR
Listen Now: BetterPart's own Internet Radio station is Hillsdale's Good Rock Radio The GRR!
-
 Better Parts
 -